How to Hide the Most Obvious Mistakes When Repairing Your Own Hands
Renovating or renovating your home on your own can be an affordable and very enjoyable journey. You’ll learn practical skills, decorate your living space for less, and feel a sense of accomplishment. You can also gradually lose your mind when you find out why people hire professionals. Restoration and repair is a big job that requires great skill. As the work drags on and you become more exhausted and frustrated, mistakes can start to pile up. Eventually, you may reach a point where ripping out part of your work to make it right is just not an option, and you start to agree with yourself: this tile isn’t that bad , is it?
Some repair bugs need to be fixed, but some minor bugs can be covered up with a little creativity and determination. Here’s how to cover up some common DIY repair mistakes.
Light switch gaps
Cutting a hole for a switch in tile or drywall is painstaking work that will make you look back lovingly at your high school geometry and math lessons—and openly cry when you cut that hole too big and find your wall plates aren’t covering it. break completely.
However, your solution is quite simple – choose huge wall plates . You can get some pretty short ones that will hide your sins, and if you use them all over the place all the time, no one will ever notice. Many building codes define allowable clearances around electrical appliances, so make sure you follow them before checking.
Too deep sockets and switches
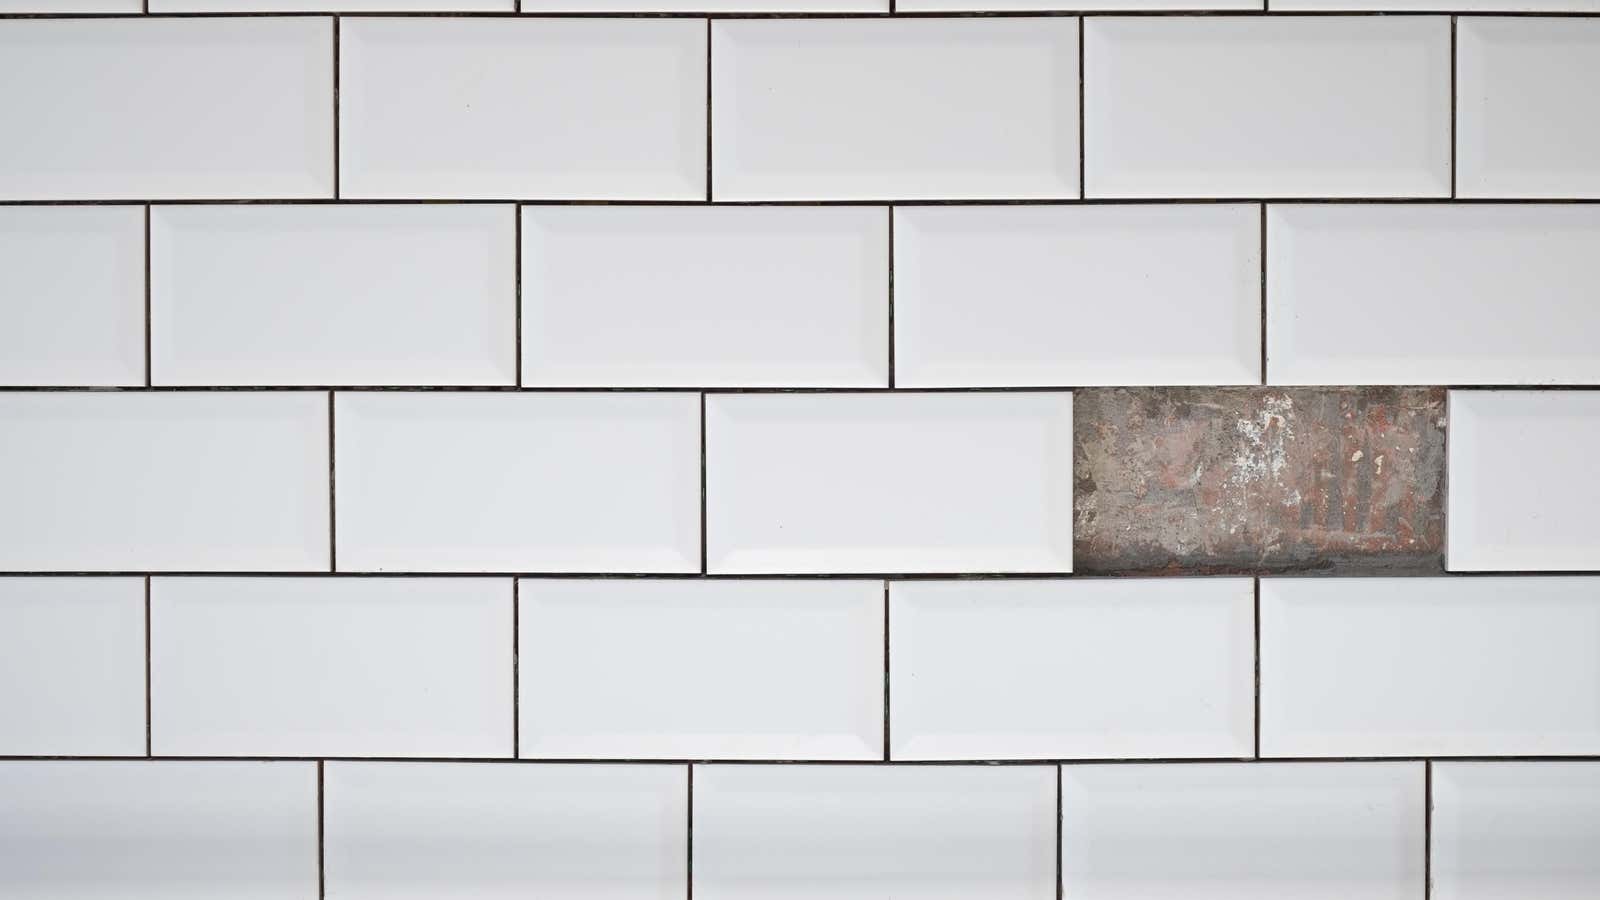
Something home crafters may forget when doing their first tiling job is the depth of their walls, especially when laying tiles on top of tiles, but this can also happen if you use thicker drywall or if the tile you choose ends up being thicker. than expected. You go to attach your wall panels and find that your outlets and switches are hidden too deep.
The solution doesn’t require tearing off your tile – you just need an outlet spacer expander . There are a few different systems to consider, but they all work more or less the same – they’re plastic pieces that push your sockets and switches further out so you can mount the plates effortlessly.
Gap in shower
Cutting holes in rough plumbing tiles can be tricky, and it’s easy to cut a hole so large that the trim kit that comes with the shower head and faucet won’t fill the entire gap. Not only does this look unsightly, but it also allows water to get behind the tile, which will cause more problems in the long run.
If you have unsightly gaps around the shower flange, overlay and/or bathtub spout, you have several options:
- Grout or sealant: If the gaps are relatively small and even, you can add some grout or sealant of the appropriate color. Most grout manufacturers also make matching colors of caulk so you can easily find a tube.
- Large trims and flange plates: check if your manufacturer makes trim kits in different sizes. If they offer a larger version it might solve your problem. If not, look to other manufacturers to see if there is a larger trim kit option that is similar in style.
- Make your own: If you’re creative enough, consider cutting a plastic disc to size and then drilling a hole for a tub flange, handle, or spout. You can paint it to match a specific finish with metallic spray paint .
Gap in plasterboard floor
Hanging drywall is a pathetic job. And once you’ve hung, plastered, and taped the walls and started laying the floor, there’s nothing more demoralizing than realizing that the gap between your floor and your wall is just too big. This is a fairly common problem if your ceiling is just over eight feet high—even professional drywall installers will often walk away from gaps at floor level, assuming your baseboards will close them.
And skirting boards can certainly be the answer – if needed, just opt for slightly wider skirting boards that cover a larger area. But simply installing skirting boards from scratch is fraught with problems in the future, so it’s best to put a few strips of drywall behind them first. The trick is to stick these strips to the wall instead of trying to screw them in, which usually ruins the drywall; sticking it on will stabilize your baseboards without driving you crazy.
Gaps between skirting boards and walls
Every do-it-yourself repairman eventually understands that there is no straight line. Even brand new homes are a mysterious collection of slightly curved corners and barely curved lines. This often only becomes apparent towards the end of your remodeling job, when you install the baseboard and realize that you have an uneven gap between the baseboard and the wall because the wall is slightly curved.
There are two ways to fix this:
- Plaster and caulk: If the gap is quite large, fill it behind the baseboard with a neutral material – some people use toilet paper, but anything that fills the gap will work. Use a thin tool to knead it there so that the baseboard has some support. Then just seal along the gap line – the stuff you stuff will support the putty so it doesn’t fall into the gap.
- Blend: Alternatively, you can try to even out the wall. Cover the baseboard with tape, then use a 12-inch seam trowel or other ruler to determine at what height the wall curves. Then blend the sealant up to this point, evening out the curve. At the point where the baseboard meets the wall, apply joint sealant in place to fill the gap. Apply the joint compound until it is sufficiently smooth and even, then finish as usual (remove the tape before the joint compound sets to avoid cracking).
uneven floor transition
Renovating rooms can make your home feel new again, but installing new floors can lead to a situation where you have floors of different heights, with dangerous transitions between them. This often happens when you’re remodeling a bathroom and adding underfloor heating mats or needing to use cement board for tiling, and it’s often not noticed until you’re done. You can put a bulge or other finish on a high floor, but while this will hide the rough edge, it won’t stop you from tripping over it in the middle of the night.
The best solution is to install a conical transition . Measure the height of your gap, then choose an adapter that matches the slope you need. If it’s wood, paint it and polish it to match your floor as closely as possible. They also make tapered thresholds in stone if that is better for the floors involved. This will give the floor a finished look and prevent you from tripping over sudden elevation changes.
Damaged ceiling
Here’s a not uncommon scenario: You’re doing DIY renovations and you’ve got a plumbing problem that’s caused damage to the ceiling below. At the end of your renovation, you have a choice: add another huge ceiling removal and replacement job, or do a repair job that may or may not turn out perfectly (it doesn’t).
To hide the damage (assuming you’ve dealt with the problem and made sure there’s no mold) you can quickly and easily add wood paneling or glue surface mount tiles (assuming the ceiling stays level) without having to remove everything. . This will hide the damage and give your room a new architectural detail.
Gaps in crown molding
Everyone loves sculpting a crown and everyone hates installing one. It takes Job’s patience and craftsmanship to get those bevel cuts right, especially when you realize there is literally no such thing as a right angle in your home. If you’ve hung the molding on the wall and have a lot of small gaps, you can easily hide them.
For the gaps between the ceiling and the stucco (where the ceiling curves slightly), sealant will help. Apply as thin a bead of paintable sealant as possible and sand it as gently as possible. When you paint the molding, be sure to tape it outside of the sealant line so that it is painted along with the molding, making it invisible. For gaps in the corners, it is better to use putty instead of sealant. Use your finger to rub the putty into the cracks and spread it as thinly as possible. Using a dry, fine-grained sanding sponge, you will be able to sand the putty, regardless of the angle of inclination and the ornament on the molding, if any.