This Meat Will Help You Build Your Confidence by Consuming Charcoal
New kitchen toys always excite me in cooking – sometimes too much . It’s easy to dive into the novelty of it all and immediately want to dive into complex recipes and complex projects, but every new method and device takes learning, so it’s usually best to start small and build your confidence before you get down to business. something big and expensive.
When I first got my Weber Kettle, I was eager to smoke the meat, but doing it successfully depends on being able to manipulate and control the air through the charcoal grill. This takes some getting used to, so I pulled my closest goals back a bit and focused on the simpler proteins.
In addition to the hot dogs (which are almost too simple), I now quite confidently cook on my Weber Charcoal grill exactly two things – flank steak and chicken thighs. Mastering these two simple proteins made me more relaxed when working with the grill and its vents, and each protein helped in its own way.
The steak helped me understand how hot coals actually look and work, and the chicken made me think about the importance of a two-zone grill. If you’re also new to grilling, I highly recommend both meats as a good starting point on your own grilling journey.
To get used to browning, light the flank steak.
Flank steaks are thin and low-fat and are best cooked quickly over high heat, making them great candidates for grilling. (You can roast one on the inside, but it can get quite smoky.) Cooking a flank is a great way to get used to very hot coals – it may sound simple, but can be daunting at first.
Flank steaks are also a bit indulgent if not overcooked until completely oblivious. The tenderness of the meat depends on how thin you cut it – always try to cut perpendicular to these long muscle fibers – and even slightly overcooked sides of the meat can be tender and juicy if properly sliced and sprinkled with a cardboard sauce . To make your first flank, you will need:
- 1 flank steak about two pounds (start with a smaller piece until you are confident – spoiling two pounds of meat is not as bad as spoiling four).
- Salt
- Ingredients for the carton sauce , if you are using
- Neutral oil such as vegetable oil.
- Instant reading meat thermometer
About an hour or two before cooking, salt the steak heavily on each side and leave in the refrigerator. When you’re ready to grill, fill your chimney with charcoal and place it on the grill rack over something flammable. I use Weber lighter cubes but crumpled newspaper works too. (If using cubes, you can light them and install the chimney on top; if using paper, install the chimney on top and then light it through the grate.) When you see a dark orange glow emanating from the inside of the chimney, and the top embers are just starting to ash around the corners and edges, pour the coals onto one side of the grill and place the wire rack on top. Make sure the bottom hole is completely open and go for the steak.
If you have a sloping side, you can cut it in half, or if you are feeding a group of people who like their steaks of varying degrees of doneness , accept the fact that some portions will be cooked more than others. Pat the steak dry with paper towels and lightly brush with a thin layer of neutral oil. (If you cut the steak in half, place the thick one on the wire rack about three minutes earlier than the thin one.)
Grill the steak for 3-4 minutes on each side, until you have a nice dark crust and the steak reaches an internal temperature of 125-135 ℉, depending on how well the meat is cooked. (If you have someone on your team who doesn’t like pink in meat, serve it until the very end.)
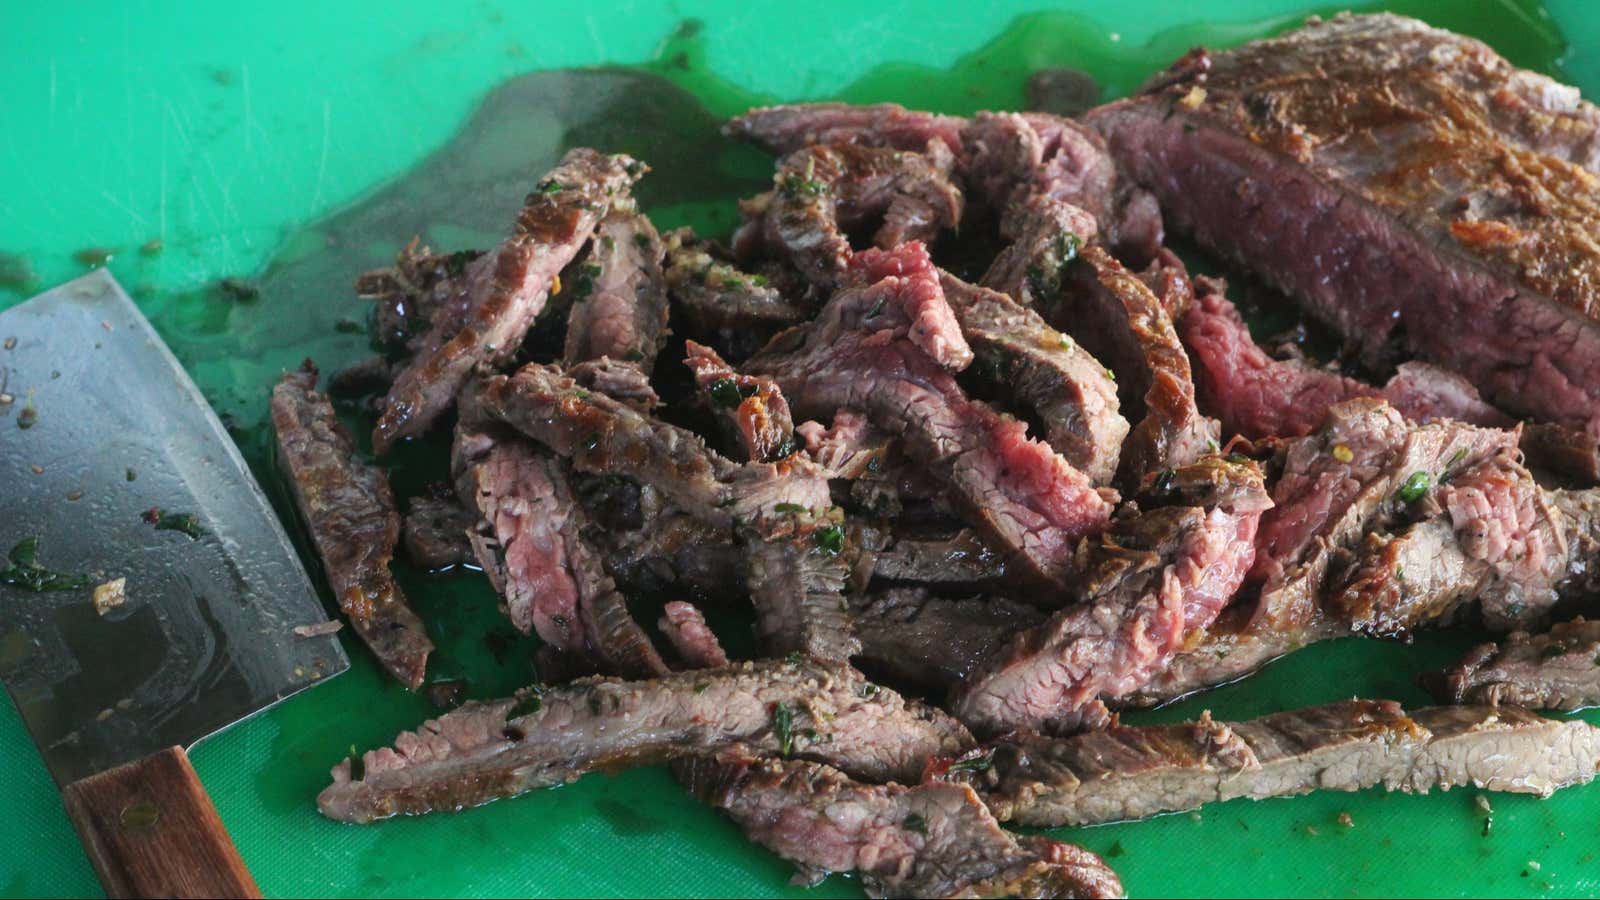
If serving steak with carton sauce, pour the sauce onto a cutting board, place the hot steak on top of it, and cut the meat into thin slices – aim 1/8 inch – across the grain, tossing the slices. meat with butter, herbs and your own steak meat juices to prepare the sauce. If you are not using a sauce, let the steak sit for five minutes and then cut it into thin slices.
Chicken thighs will make you appreciate both zones
One of the keys to effective grilling is really understanding the importance of setting up two zones. In domestic kitchen terms, the area directly above your coals is like a hotplate, and the side opposite to the coals is your oven. You can use these two zones just like your real stove and oven to flip toasting on almost anything, including the delicious, incredibly forgiving chicken thighs.
As I mentioned earlier , chicken thighs are great chicken for beginners, no matter how you cook them. Their high levels of fat and collagen mean they stay moist at high temperatures, so nothing tragic will happen if you underestimate how hot your grill is and cook it at just over 170 ℉. (However, I recommend purchasing a thermometer with a sensor that sits inside your grill – those little round ones on top of the grill dome are not nearly as accurate.)
I love marinating thighs overnight, but a few hours is fine if that’s all you have (my favorites are miso , buttermilk, and yogurt ). Either way, leave the chicken to hang in the refrigerator until you’re ready to toss it on the grill. To grill chicken thighs you will need:
- Chicken thighs as much as you want
- Marinade of your choice
- Instant reading meat thermometer
Mix the marinade and pour over the chicken. You can do this by adding everything to a freezer bag and stirring together, or placing the thighs in a deep baking dish or skillet and sprinkling with marinade and stirring before covering with plastic wrap. Leave the chicken in the refrigerator for at least a few hours, ideally overnight.
Fill your chimney with charcoal and place it on the grill grate over something flammable. (If using cubes, you can light them and install the chimney on top; if using paper, install the chimney on top and then light it through the grate.) When you see a dark orange glow coming from the inside of the chimney and the top embers just start to ash over corners and edges, pour the coals onto one side of the grill and place the wire rack on top. Place the dome on the grate, make sure the bottom hole is fully open, and adjust the top hole so that it is about 1/3 open. Let the temperature stabilize for 10-15 minutes and go for the chicken.
Wipe off any remaining marinade with paper towels, then place the chicken on the indirect side of the grill (opposite the coals) skin side up. Place the dome back on the grill, making sure the ventilated side is over the chicken (opposite the coals) to allow indirect oven-like heat to flow from the coals to your food.
Let the chicken cook for 10 minutes, then check the temperature to see how it is making progress. If it gets too hot and too fast, close the top opening a little more to calm it down. Turn the chicken over, place the dome on top again and let it cook for another 10 minutes, then check the temperature again.
Continue doing this – flipping and checking – until you reach an internal temperature of 150 ℉. Leave the dome on and run your hips over the coals to make your skin crisp. Turn them over every couple of minutes until they are beautiful on both sides and reach a final temperature of 165 ℉, but don’t worry if they get a little higher. My chicken thighs got hot up to 178 ℉ and – thanks to all this very healthy and gentle collagen – they were absolutely delicious.
Updated at 4:33 p.m. EST on 5/14/21 to include a note to include the starter.