How to Make a Highlighter Look Like Your Beautiful Skin
Most people who wear makeup do it to look their best; Better roughly translates to prettier, which is almost always younger code. A fresh, youthful glow has long been the desired result of makeup, and the recent explosion of highlights means it’s easier to achieve than ever.
Well, sort of – the vast majority of highlighters on the market are made for smooth, youthful, perfectly lighted skin. If you’re over 25, experimenting with a highlighter can be frustrating. Fine lines and wrinkles are so stigmatized that even people who are not shy about their own are unlikely to deliberately highlight them with something shiny – this is exactly what the super-intense highlighters marketed for Youth do.
I’m only 29, but I apply the highlighter in a very different way than I did two years ago. It’s not impossible for a heavy highlighter to look great – even up close in natural light! – but it takes a little subtlety.
Choose the best formula for you
The difference between “Wow, you have amazing skin” and “Eyeshadow on your cheek?” is in the formula. Ideally, a shimmery highlighter is invisible until it catches light and then shines.
It is much easier to find in liquid or cream formulas. Liquid highlighters evenly suspend particles of shimmery pigment in a translucent base that evaporates as it blends, leaving nothing but a beautiful shine. If you need a highlighter to smooth textured skin, use a cream or liquid. I carefully select my favorites on the back of my fingers because I think this illustrates how the highlighter handles uneven skin texture:
Powdery highlighters are usually much more opaque and therefore less gentle. Transparent formulas with a harder compression are best; they all look pretty unimpressive in samples, but dynamite on my face:
Reflective eyeshadows with translucent base pigments are great for a highlighter too:
Soft, dense powders look great in a sweep, but can dramatically accentuate skin texture. Check out what my Iron Man fingers look like!
You might be wondering why I didn’t discuss color. To be honest, color is not as important as texture: huge color mismatches (too light highlighters look ash on dark skin, and too dark highlighters look cloudy on light skin), subtle color variations in highlighters are invisible after application. As long as the non-reflective portions of the formula are translucent, any highlighter color – from champagne to bronze, green to icy pink – can look surprisingly natural.
Use the correct powder brush
For years I’ve been applying and blending powder highlighters with my fingers. Fingers are the perfect tool for liquid and cream highlighters, but if you are working with opaque powders they can be very stiff, especially on skin with any trace of uneven texture.
I am now applying the powdery highlighter with a brush. The right highlighter brush should be firm enough to pick up powder and tough enough to polish, but anything too tight or too harsh risks setting too much at once. I find this BS-MALL Tapered Fluffy Brush (with an incredible name) and the Real Techniques Base Shadow Brush do what I want. Both are pointed, which I prefer, and the synthetic bristles are definitely thick and stiff enough. I use a larger brush for wide, blurry work with smoother formulas, and a smaller brush for more intensity and / or precision.
If none of your brushes can handle a powdery highlighter, I sincerely recommend buying a cheap synthetic fiber brush set from AliExpress or Amazon – that’s where the larger brush came from. Always do your research, but thanks toprivate labeling, many of these sets are amazingly good: soft, easy to use, and durable enough to withstand regular washings .
Think outside the cheekbones
Reflective makeup accentuates the area it is applied to, which can dramatically alter bone structure – in well-lit, heavily edited photos. In real life, wrapping shimmery pigment in an area fading into the shadow does nothing but a very fancy glitter shadow. If you don’t naturally have prominent cheekbones, aggressive highlighting can quickly turn into “fancy shadows” territory, but there are many other options.
The easiest way to figure out where to apply the highlighter is to look at your naked face in a mirror, steps away from a window that is receiving indirect sunlight. Smile a few times, tilt your head – basically, bend a few faces. Where and when do you see the darkest shadows? The highlighter will look most natural when applied directly over these eyeshadows, so choose spots that highlight your favorite features and move from there.
My cheeks are my favorite feature; they are cute, plump and offer truly luxurious properties. They also cast a serious shadow when I smile, and I found that applying a small amount of highlighter directly to the apples on my cheeks attracts light as they move, so the smile literally illuminates my face. I also love my eyes, which are deep-set and close enough. Highlighting the brow ridges accentuates my deep crease rather than fighting it off, and adding a little bit to the bridge of my nose draws attention to my eyes.
Everyone has different faces, so these specific suggestions may or may not work for you. It’s important to remember that even if you like a radiant cheekbone – I certainly love – highlighting a few extra features produces a more diffused glow that always looks more realistic. (Have you ever seen someone sweat only on their cheekbones? Me too.) People with oily skin are warned against using a highlighter on a “more is more” basis, but I am constantly amazed at how great I look when I brush it recklessly. dust off it. all over my face. It’s counterintuitive, but it really works.
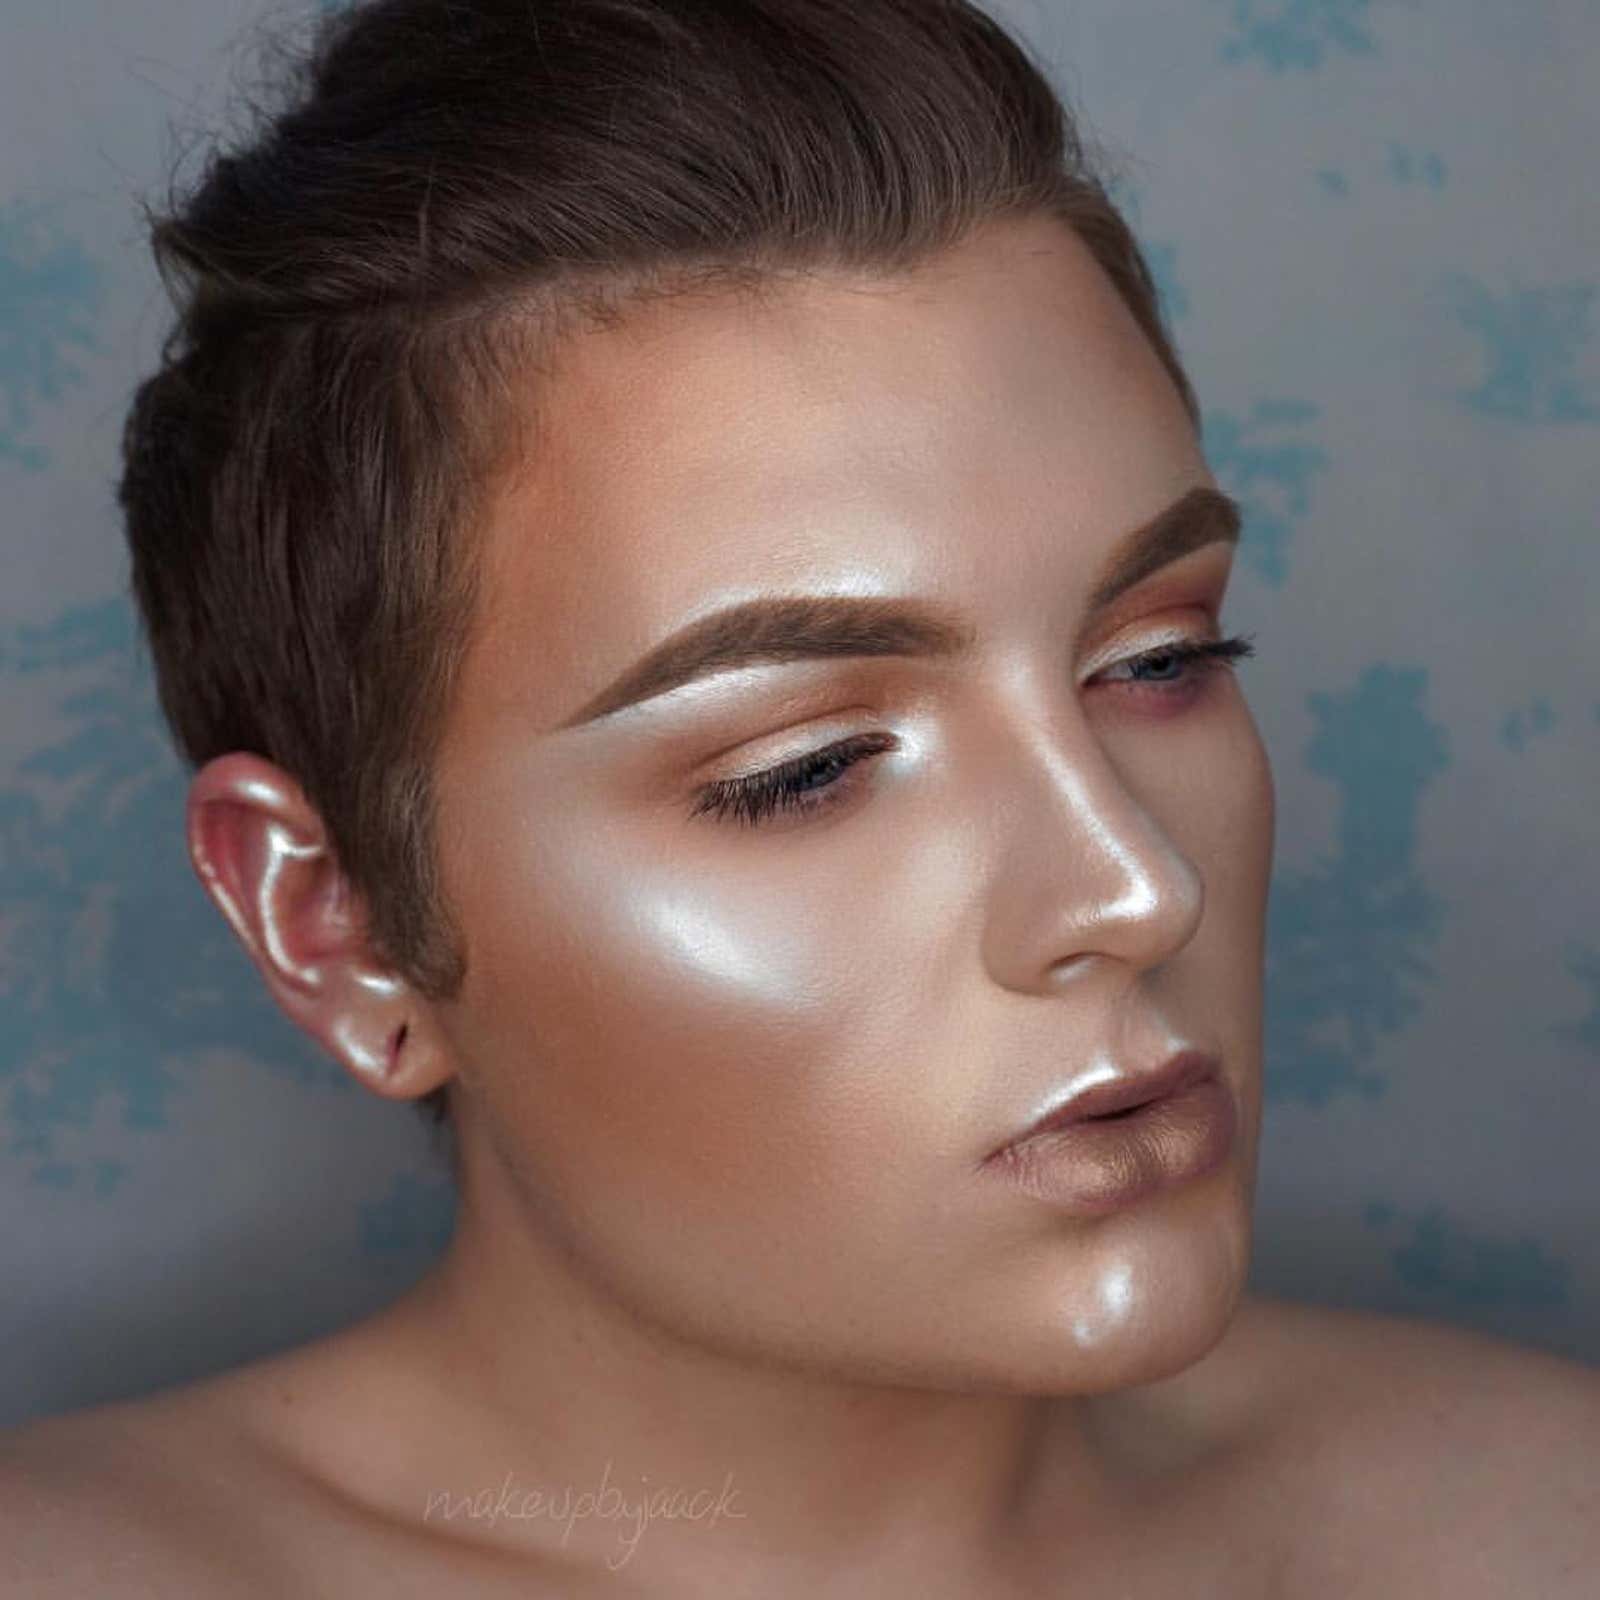
There is one more thing to keep in mind when it comes to highlighter and makeup in general: Instagram is an endless pit of lies. Photos of beautiful people with shiny cheekbones are the result of an expensive constant light source, even more expensive cameras, neat posing, heavy post-processing and (usually) undisclosed amount of sponsorship money from at least one cosmetic brand. This is what the highlighter looked like in natural light, but I still had to play with highlights / shadows and whites / blacks in Lightroom for it to really show up:
What looks good on camera usually looks odd in daylight. Apply makeup as close to the window as possible and take a break if you don’t look spoiled. In natural light, no one does this – not even the pretty people on Instagram.