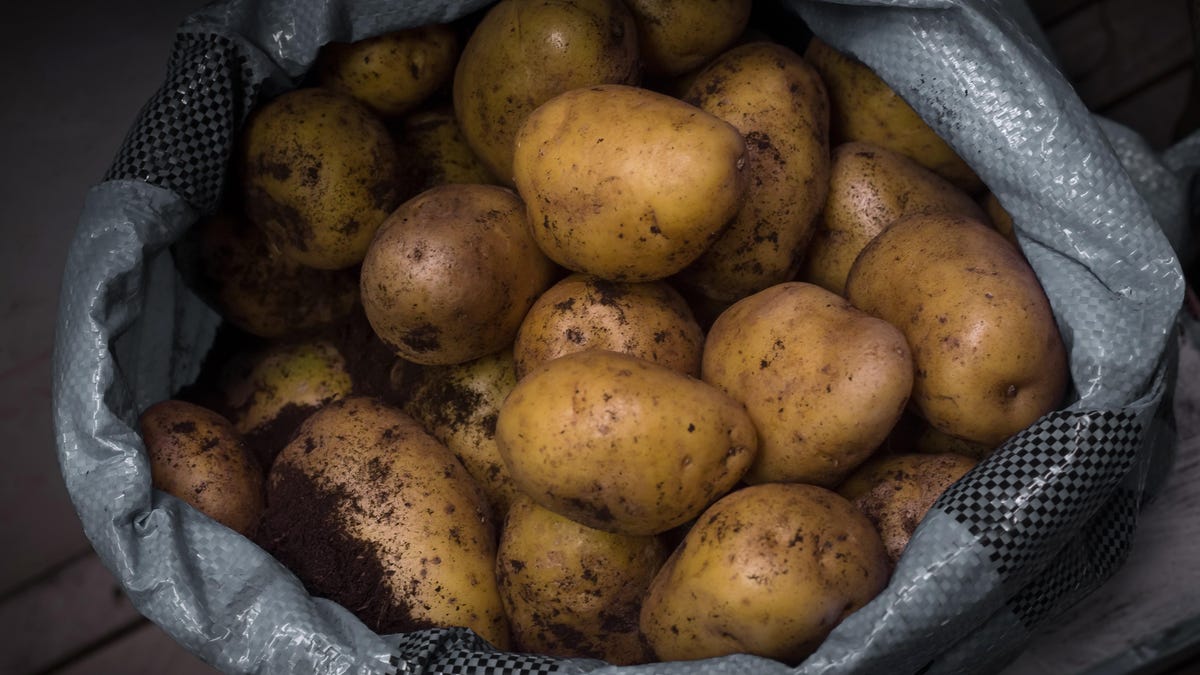
How to Create a Cellar in a Modern Home

While most of us aren’t looking to move onto a plot of land to build a homestead, there are small lifestyle aspects that can help you save money, grow more food, and feel self-sufficient. I’ve long thought that basements, which are a staple of older homes, were impossible to live in the city, but it turns out that a basement is more of a concept than a physical space, and you can create one in your home quite easily.
You don’t even have to grow your own vegetables to reap the benefits of a root cellar—it allows you to buy items in season and cheaper, and store them for use when they’re harder or more expensive to buy. in the shop.
Wet and dry basements
The most interesting thing I learned about root cellars is that you really need two places: one where the humidity level is kept high and one where it is reduced. Vegetables that grow in the ground, such as root vegetables, need an environment as close to the ground as possible. Cold, damp and dark.
Meanwhile, your garlic, sweet potatoes and squash want dry conditions and enjoy air flow. This is your dry basement.
Creating a dry cellar
Your house, in all likelihood, is already in winter close to a dry cellar. The heaters are turned off, but most likely there is a corner or closet that is not heated and is a little drafty. You may have a garage or extension that would do the job, or an actual basement. Conditions are simply easier than in a damp basement, so as long as the temperature is 50-60 degrees Fahrenheit and the humidity is around 60-70%, you’re good to go; your vegetables can sit in milk crates and be quite happy. You’ll want to check them weekly, but you probably raid them for vegetables at least once a week.
Creating a wet cellar
The hardest thing about a damp cellar is that you create the perfect conditions for mold to grow. This is why real basements and outbuildings work so well. However, the ideal place would be a partition in the garage or an old refrigerator. You want to keep the air temperature between 32 and 40 degrees Fahrenheit and the humidity as close to 100% as possible. One of the most ingenious methods I’ve seen comes from Meg Cowden , author of Grow, Cultivate, Harvest, Repeat , who built a space in her garage with open ventilation to outside Minnesota air, which naturally keeps her healthy. insulated space at the desired temperature and protects the rest of the garage from moisture.
Most people outfit their spaces with wire shelving or other easy-to-clean shelving. (Wood doesn’t make sense because of the dampness.) However, instead of just placing vegetables on these racks, you want to place them in containers or boxes with sawdust, shredded newspaper, or sand. Remember, we are recreating growing conditions. The medium, whether sand or sawdust, should be moist but not wet. You simply place vegetables in containers, layering them. This will allow your vegetables to last for many months.
Again, you’ll need to check your carrots, cabbage, etc., but one can assume that if you’re going to this trouble, it’s frequent raids of the warehouse for food.
Monitoring and maintaining conditions
The nice thing is that we live in an era of smart tools that can help us monitor our root basements and adjust them accordingly. The first step is to purchase a thermometer and a hydrometer. This is difficult because many of them turn out to be unreliable. However, I was pleasantly surprised by the Smartbot hub , which measures both and reports the results. Meross also has one that has worked well so far. You will need one for each of your cellars. From here, you can create automations that turn on humidifiers, dehumidifiers or fans, air conditioning, or simply alert you to abnormal conditions so you can manually adjust them. You can even set weekly reminders to check your root cellar. And if you want to get really nerdy, you can connect the humidifier to a water source like the one you use to connect your washing machine or to a hose spigot.