You Can Now Format Text in Google Keep
There are plenty of note-taking apps out there that will gladly eat up your time and money, but you don’t have to look far for one: Google Keep is good enough these days to get by with simple note-taking and writing. . The company recently updated the app to support version history (thank goodness) and now lets you format text in a note.
Advanced text formatting was one of the missing features that made Google Keep a less attractive option than other note-taking apps. Of course, for quick notes: who cares if all the text looks the same. But when you’re trying to organize your thoughts into a neat, easy-to-use document, you need the ability to create headings or add emphasis with bold, italics, and underlining.
Over the past few months, the company has been gradually introducing text formatting capabilities to users . Initially, this feature only worked with new notes, but now you can retroactively format the text of old notes as well. This feature currently only works on the Android version of Google Keep, so you won’t be able to customize note formatting on the iOS versions or the web apps.
How to Format Text in Google Keep
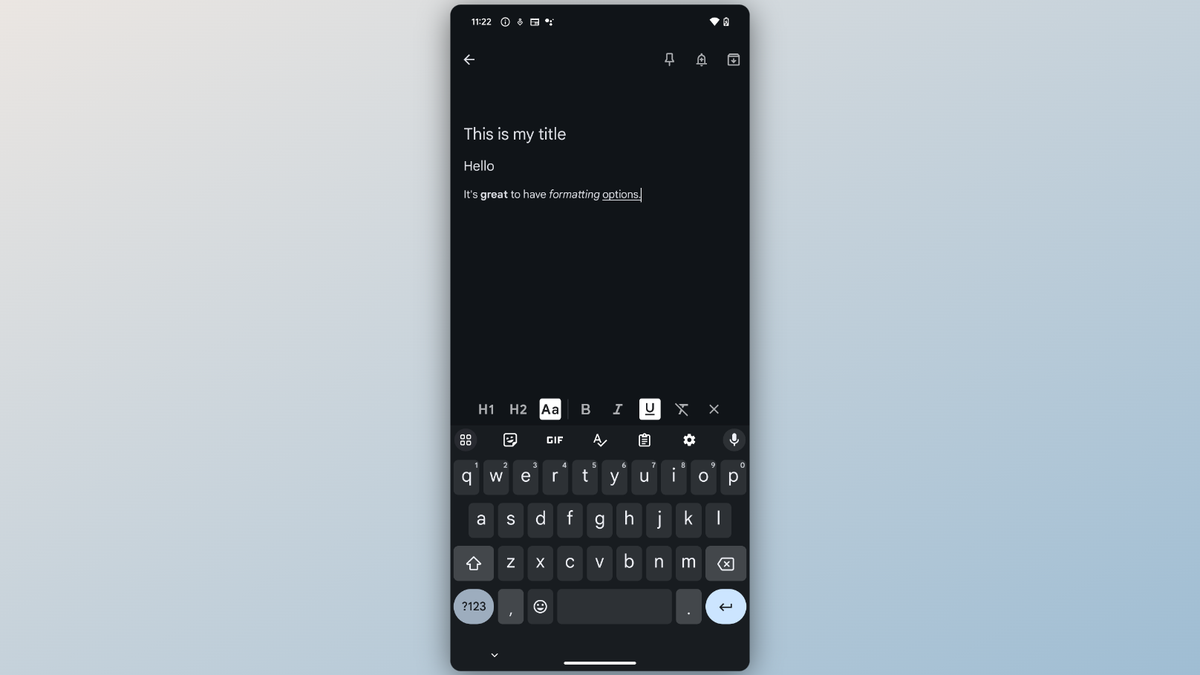
First, make sure your Keep app is fully updated, and then open it. When prompted, update the app to enable the latest features. Next, create a new note or open an existing one, then press the new “ A ” button that appears. (The first time you use it, you may see a pop-up highlighting this feature.)
You can use any of the options presented here to customize your text, from H1 and H2 headings to bold (B), italic ( I) , and underline ( U ). At the end of this toolbar there is even an option to remove any formatting you have applied to the text.