Make a Mini Loaf of Bread From One Cup of Flour
There are many simple white bread recipes, many of which make enough dough for several loaves. Whether you’re an experienced baker or trying yeast bread for the first time, sometimes you just want one small loaf of bread. Here’s a recipe for one mini loaf of bread with a short list of ingredients, no pre-sourdough, and a quick bake.
How to bake homemade bread faster
More traditional bread recipes add flavor from a pre-fermented yeast mixture. It can be sourdough, poolish or biga. Produced in large batches, this lean bread requires extensive kneading of high-gluten bread flour to achieve a chewy texture and long proofing time.
But if all you need is a regular small loaf of bread, less is more. Bread prepared for same-day cooking may not need to be pre-fermented the night before and use a higher dose of instant or active dry yeast to produce more gases in less time. (More bubbles speed up the proofing.) Will some bread lovers say this is “bad bread”? May be. But they are wrong. I’ve had bad bread and this isn’t it.
If you don’t have bread flour, you can use all-purpose flour. The bread won’t be as chewy, but the slightly lower protein content will make the dough less elastic, which will allow the gas bubbles to move and expand more freely. Now you have a relatively quick bread made with yeast that will have more malty flavor than fermented flavor and a little less chew. These are not bad things. Basically, it’s the perfect white sandwich bread.
How to Bake a Mini Loaf of Bread with One Cup of Flour
One of my favorite things about the mini loaf is the very reasonable ingredient list. Five ounces of flour (about one cup) instead of 35 ounces sounds much more affordable.
1. Knead the dough
Start by pouring water into a medium bowl and sprinkle the yeast on top. Allow the yeast to bloom; it only takes about 30 seconds. Using your fingers, mix the flour and salt in a smaller bowl, then pour the flour on top of the yeast water. Use a rubber spatula or bowl scraper to knead the dough. The dough should come together into a slightly sticky mass.
Continue stirring and working the dough for a couple of minutes to pick up some gluten. Lightly flour your work surface and place the dough on top. Knead the dough for about a minute, folding it in half, turning it 90° and folding it in half again. Repeat this five or six times, then round the dough to form a ball.
2. Proofing the dough
Place the ball of dough, seam side down, in a lightly oiled bowl, making sure to get oil on all sides of the dough. Cover the bowl with plastic wrap or a damp kitchen towel. This will take an hour or two, depending on the conditions your dough is in. Check it after an hour to see if bubbles have appeared and if it has doubled in size.
Now you have a choice. You can grease a loaf pan and use it to shape and support the loaf, or you can prepare a free-form loaf on a baking sheet or in a Dutch oven. I used a Dutch oven.
3. Shape the dough
Dust your work surface with flour again and place the dough ball onto the flour. This time, make letter folds to tighten the dough. To do this, fold the dough in half, giving it an oblong shape. Then, just like the letter you receive in the mail, fold one of the short ends over a little more than halfway. Click to seal it. Take the opposite end and fold it over. Pinch the seam to seal it, making it oblong again. If your dough is shapeless, repeat folding the letters until the dough becomes more elastic.
4. Proof the dough again.
Place dough, seam side down, in a greased eight-inch loaf pan or on a baking sheet lined with parchment paper. Cover the dough loosely with plastic wrap or a plastic bag. Let it brew for another 40 minutes in a warm place. If using a broiler, preheat the inside of the oven to 425°F for the last 15 minutes of proofing the bread.
5. Score the loaf
Just before baking the bread, dust the loaf with flour and score the top with a sharp knife in a straight or curved line, a quarter to a half inch deep. This allows you to control where the bread breaks as it rises in the oven. Place the pan with the bread in the oven. If using a Dutch oven, lift all the parchment into the pan and close the lid before placing it in the oven.
6. Bake mini bread.
Bake the bread until puffed and browned on top, about 20 minutes for a loaf pan or up to 35 minutes in a Dutch oven. For the broiler, uncover the pan for the last 10 minutes to allow the bread to brown well. Cool loaf completely on a wire rack before slicing.
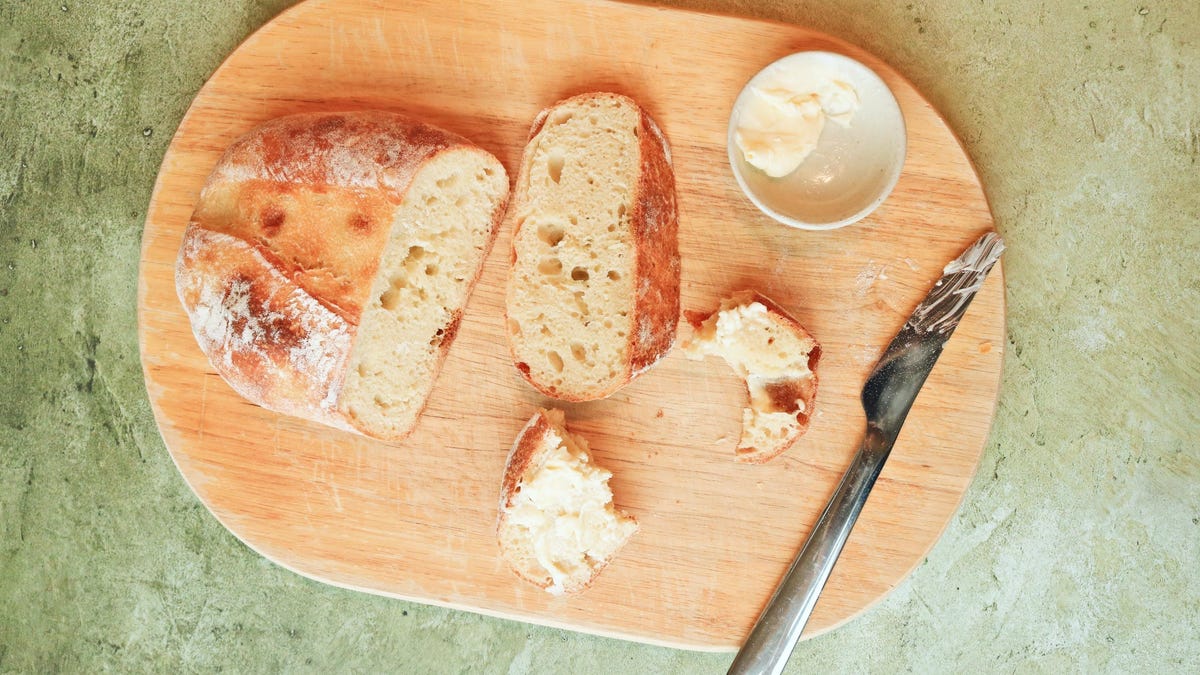
The loaf will be about six inches long, fluffy, slightly chewy, with a thin crust. It makes a great mini sandwich, or you can cut it in half to make two humble breakfast sandwiches.
Mini loaf bread recipe
Ingredients:
- ½ cup warm water
- ¾ teaspoon instant yeast
- 5 ounces (about 1 cup or 142 grams) AP flour
- ½ teaspoon table salt
Add yeast to water in a medium bowl. Give the water a whirlpool. Add the flour and salt to a separate small bowl and stir in the salt. Pour flour mixture over water mixture. Mix the dough thoroughly for about two minutes.
Dust the countertop with flour and turn the dough out onto the flour. Knead the dough for another minute or so. Form it into a ball. Lightly oil a bowl and place the dough in it, turning the mixture so that the oil is soaked on all sides. Cover it and let it sit for about an hour or up to two hours until it has doubled in size.
Flour the countertop again and place the dough on it. Fold the dough into letters several times to tighten the skin. Form the dough into a ball. Place the dough on a parchment-lined baking sheet and cover loosely. Let the dough rise for about 40 minutes. Meanwhile, preheat oven to 425°F. Preheat the broiler inside the oven for the last 15 minutes.
When the dough is ready, carefully remove the broiler from the oven and place the dough along with the parchment paper in the pan. Cover with a lid and bake for 25 minutes. Uncover the bread and bake for another 10 minutes until lightly browned on top. Cool completely on a wire rack before slicing.