How to Grow (Good) Weed Indoors
Unless you live in a sunny climate where cannabis grows well without much intervention—in other words, if you live in most of the country—you could be forgiven for not trying to grow your own weed.
Although cannabis is legal in many places, it is not available everywhere. Even in legal states, most counties prohibit sales and stores, and in some cities taxes on recreational purchases can be as high as 29%.
Cannabis is expensive whether you have access to it or not, but is growing it the solution for your wallet or your schedule?
Depending on where you live and how you set up, outdoor growing is possible. Almost anywhere cannabis is legal, with extra lighting you can grow anywhere from a few pieces to several pounds.
However, growing indoors is an investment. You can’t just put a seed in potting soil and see what happens—you need a game plan and the right equipment. We’re going to talk about everything you need to grow as a beginner, from lights to tools to fully automated setups.
Collect your goods
You can grow one plant at a time or up to six plants in a medium-sized tent. Indoor cannabis can be grown in a soil environment like any other plant, or it can be grown hydroponically using only water. The equipment you purchase will depend on this choice, but lighting, nutrients, pruning shears, a fan, and possibly a dehumidifier and portable heater are must-have essentials.
Some gear suggestions:
Retailers like Amazon offer grow kits that often state in store displays that they are not intended for cannabis (even though we all know they are), but you need to carefully check the reviews to make sure the equipment is compliant your needs, such as space. , growing environment, etc.
Packages:
One approach, if you have the means, is to purchase an automated grow box, which is a class of innovative electronic devices designed to create ideal conditions and notify you of tasks, ideal for beginners.
Self-contained, app-controlled grow devices take a lot of the guesswork out of the process. The initial investment can range from $500 to $2,000, but you can easily make that profit from just the first two plants if you are successful. Devices like the Hey Abby Grow Box even offer a nutrient subscription, as well as most of the tools you need to get started right after you open the box.
Making your own DIY grow kit can also be incredibly expensive. Some people invest in climate control, extra carbon dioxide, and premium lighting in their basements or closets, so weigh up how important the initial investment is versus the initial harvest – as you learn, you’ll get better with each harvest and You can continue to collect new plants from the same transmission repeatedly.
Without the help of an app, you can look for a growing calendar to keep track of things like water changes, pruning cycles, and nutrient application schedules.
Make some decisions
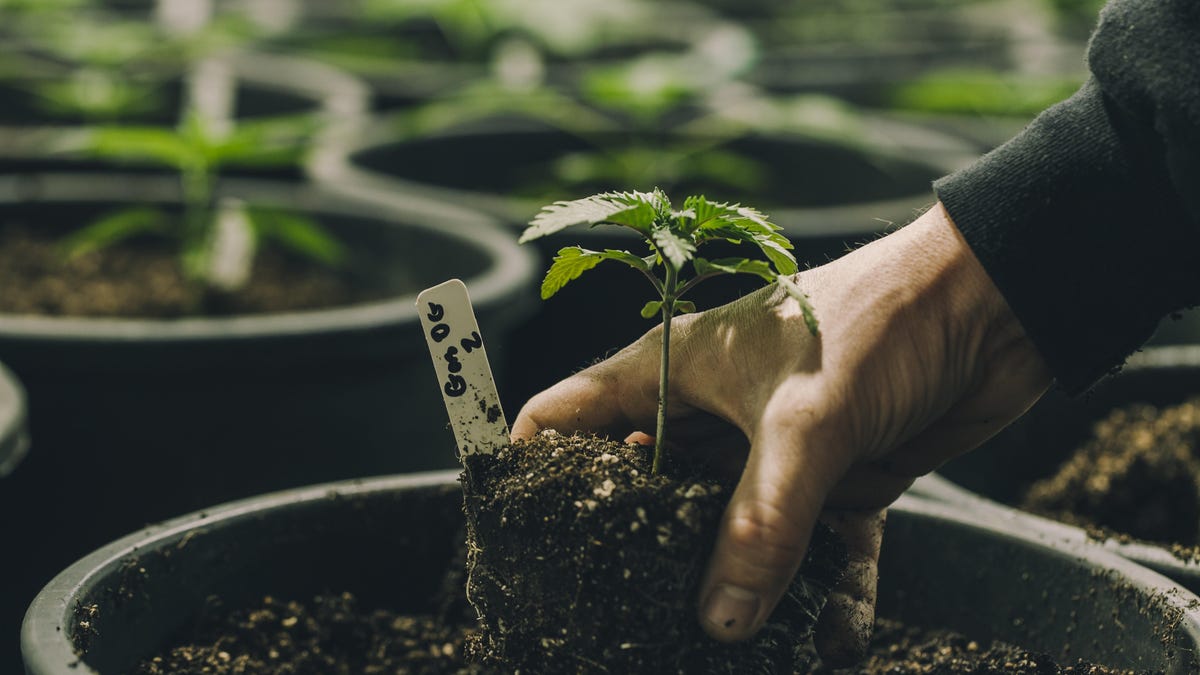
Once you have purchased a setup that suits your indoor climate, you will need to start growing either from seeds or what is called a clone.
Cannabis seeds can be found fairly easily online or purchased in stores in many states, depending on the legality of growing your own seeds, but once they are available, you need to make sure they are female—a male plant will only grow cannabis. seeds, not buds, encrusted with cannabinoids.
Purchasing seeds and clones labeled “feminized” takes this issue off the table in most cases, but you may still end up with a stray male, so keep an eye on the seed pods anyway.
Clones are rooted cuttings of a cannabis plant taken from a mother plant, which is usually grown from seed. Some drug stores have clones available for $10 to $30 that will get you a few weeks closer to flowering than growing from seed.
Clones are also easier for beginners, but no matter what strain you buy, you’ll need to learn its characteristics and preferred environment to adjust your settings. Some varieties will flower automatically, while others will respond to the light cycles you give them.
During the seedling stage, plants will need additional light to help them grow fast and strong, and then they enter the vegetative phase.
Vegetation station
For autoflowering plants, the vegetative stage is a set period of several weeks. Non-autoflowering plants will grow as long as light conditions allow. Most plants take three to eight weeks to vegetate before they form seed buds that develop into large flower nuggets.
During this time, you need to monitor how the plant grows in the space you provide for training preparation. When five to seven nodes appear on the plant, cut off the top – this is called “topping up”. Energy is diverted from vertical growth into existing industries.
As your plant gets larger, prune it regularly, carefully removing the fan leaves with very sharp and clean (this is important) scissors. Fan leaves are dark green leaves that grow straight from a stem with a large stem of their own, rather than smaller leaves coming out directly above them.
Training a plant means using nets, ropes, ties and other things to spread the plant’s branches so that light can create as many buds on the stems as possible. If they don’t get enough light, they won’t produce big buds, just little guys.
During the growing season, plants need regular nutrition to provide the right combination of nutrients to keep the plants growing big and strong, as well as favorable conditions for flowering. Good conditions during the growing season contribute to the appearance of magnificent flowers, so humidity should not exceed 60-65% and not lower than 40%, and the ambient temperature should be between 65-85 degrees.
Flower power
The plant has entered the flowering stage when you begin to see tiny flowers. On cannabis plants, they appear as small tufts growing from the main stem where it joins the stem of a smaller leaf. They eventually grow around these stems like hops, taking on a cone-shaped appearance, and these buds take six to 12 weeks to reach full size.
If you have an autoflowering clone in an automatic grow box, all you have to do is tell the box that you are seeing flowers, but if you control the light yourself, you will have to increase the nutrients and create a new light schedule. , creating more darkness that the plant will experience in nature as autumn approaches.
With consistent weekly pruning of additional fan leaves, small buds and small branches at the bottom of the plant, it will continue to transfer energy to the growing large buds on the branches you have saved. These small sprigs can be rooted and turned into new clones, but the tiny buds will yield little and are not worth storing; people call them “Lurphy kidneys.”
Important Cautions
This is when you make sure that the humidity level is correct and that the cannabis growing environment is not too dry or humid – this is where technology can help you a lot. Some weather and humidity monitors use Bluetooth to notify you of the deal directly to your phone.
Proper humidity levels and air flow are critical to successful growing, and even growing outdoors in the best weed regions does not guarantee these conditions.
Offline technology comes with a built-in device, often also a display, and can often alert you when it’s turned off, but even if you’re using a high-tech or legacy humidity device, you’ll need to read the number every day.
Useful tools:
Having a small dehumidifier and fan at the ready, or even a portable heater, can make the difference between a failed harvest and a successful one. Expand these settings as needed to keep everything within the range stated above.
Get your hair cut religiously . Excess fan leaves and small buds will not only take energy away from flavor and THC production, but will also increase humidity and the likelihood of mold in your garden. Always clean your pruning shears before and after pruning to prevent cross-contamination.
Wash and harvest
This is where researching your strain is crucial: sativas grow one way and indicas grow another, and hybrids, autoflowers, and other differences between strains do completely different things. If you don’t know how many weeks your plant should flower, you may harvest too early or too late, compromising its effectiveness.
Do you think the important moment has arrived? Take a magnifying glass or a quality camera. Typically, when the tiny crystals – trichomes – turn milky and the little hairs sticking out of the buds, called pistils, start to brown, it’s time to stop fertilizing and get ready to harvest.
Flushing is a pre-harvest job where your plant is given only plain water and no nutrients. This plant-based diet lasts at least a week to ensure that nutrients are not present in the kidneys. After a week of washing, you are ready for the next step: preparing the harvest for smoking or eating.
Dry and cure
Trim the plant and remove all fan leaves. Cut a small transverse stem off each branch to serve as a hook so you can hang it upside down to dry. Drying should take place in a low humidity environment – this is where a heating element and dehumidifier can be of great help.
Once the moisture content is low enough that there is an audible click when the stem is bent, the curing process can begin. The initial drying phase of cannabis typically takes three to eight days. Once everything is dry, it’s time to manicure the sugary leaves that lie a little closer to the buds so that you’re only treating the flower and not the leaves.
The process of curing cannabis allows the cannabinoids in the flower to begin to gradually age, allowing naturally present THC-A to be converted into smokable THC. It also helps the flowers develop a strong, deep flavor without the overpowering herbaceous notes that poorly cured cannabis can have.
Place supplies in clean glass jars to harden and store in a cool place with little light. Make sure each jar is 2/3 full and “burp” the jars every day to keep the humidity low – just open the jars for a few minutes each day. Treatment may take two to four weeks, depending on the strain and conditions.
The best way to test a medicine is to try it by smoking it, so sample a little each week until you get the taste you want. Leave the cured marijuana in these sealed jars in a dark place for up to 18 months.
Each harvest takes 12-18 weeks to harvest, and growing marijuana yourself is quite a labor-intensive endeavor, but once you get the hang of it, it can be quite a rewarding hobby. With the average price per ounce ranging from $400 to $500 in most markets, harvesting a few ounces at a time from a plant you’ve invested a little less money into, but perhaps more time, can save you a lot, depending on your lifestyle . and levels of consumption (or sharing).