Winterize Your Grill Now to Prevent It From Rusting.
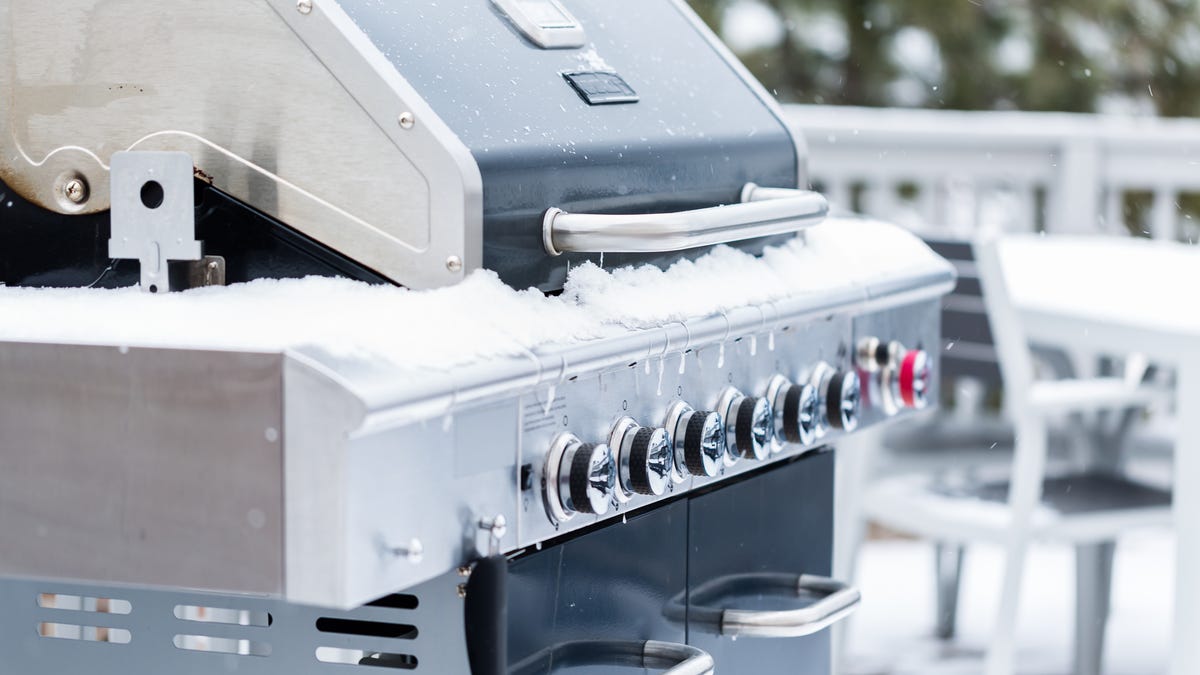
At the end of the season, it’s understandable that you want to cover everything up and forget it for the winter. I encourage you to consider better treatment of your good friend, the BBQ grill, which has already been in a constant battle with rust its entire life. Because preparing your grill for the coming winter has huge benefits in terms of grill performance and longevity. Here are the steps you need to take to winterize your outdoor grill.
Inspect the grill and evaluate the details.
The internet makes it easy to replace almost any part of your grill these days, so be careful. If the handles are broken, they will expose the connections below to moisture in the winter, so order replacements now. Do any wood elements still repel water? If not, sand and seal them, and where you see rot, replace them. And don’t just tape off the visible parts of the wood; take a wrench, drill and remove anything in the way so you can seal the parts that come into contact with the metal or plastic. (This will also allow you to carefully inspect these metal parts for rust.)
Fighting rust
A great start to really seeing what’s going on with your grill is to burn off any leftover food left on it. Turn the grill to high heat, checking that all burners are working, then close the lid and let it cook for twenty minutes. If you have a gas grill, simply turn the knobs to high and close the lid; If it’s a charcoal grill, add a bag of charcoal, grill the last of the turkey leg or ribs, then cover the grill and let the charcoal burn completely. The grill cools (and the ash is removed) and you can see what you’re working with.
Start by disassembling the grill, removing as many parts as possible—grill grates, aromatics, baskets, and any other removable parts—and inspecting them for rust. Scrub them with a steel wool or brush and clean them with a cleaner specifically formulated for metal grill parts, such as Weber Grill Grate Cleaner or Goo Gone Grill and Grate Cleaner.
At this point, you should be able to see rust, which you can begin to remove by using a stainless steel brush on your power drill to get into the crevices where grease or food has accumulated. Wear a mask because the rust is about to fly. Don’t overdo it – you’re not trying to get to bare metal. You just need to remove the rust, which will metastasize over the winter.
If you’re dealing with stubborn rust, it’s time to grab a rust remover like Rustoleum Rust Resolver Gel . Spray it on and let the gel eat away the rust for thirty minutes, then scrub again. Even if you can’t get rid of all the rust, knocking it off as much as possible will extend the life of your grill.
Clean the inside and outside surface
The inside of the grill is just as vulnerable as the removable parts. Bring along some cleaner and a power drill attachment and make sure you remove any obvious signs of rust. Remove the drain pan and clean it thoroughly. Use a drill to remove dirt and rust from the recesses where the aromatics and grill plates are located, and be sure to clean the edges of the grill.
If there is what looks like peeling paint on the inside roof of your grill, it is actually a buildup of charred grease. While it won’t hurt you, it tastes terrible, so take a metal scraper and remove as much as possible.
For the exterior of your grill, use a cleaner specifically designed for this material, such as Weber Exterior Grill Cleaner . Personally, I have found that if I wipe the film thoroughly with a rag or paper towel afterwards, I get a very nice shine.
Check and clean the burners and close them.
Although not necessary for a charcoal grill, inspect the burners of a gas grill. If, like me, they sometimes stubbornly ignite, wipe them down with a glitter sponge and check where the pins meet to make sure the holes line up. Check the burners and replace parts if necessary. Once everything is working, it’s time to start assembling the grill. If you have exposed metal, coat all parts with a thin layer of barbecue oil. Add back your flavor bars, now clean, and grill grates, check the burners again, and let the grill burn off the oil or fumes for a few minutes. Once it’s ready, it’s safe to cover it and let it rest until the season.