How to Replace a Filter on a Hood
You probably use your hood fan all the time without even thinking about its filter. You may not even know it’s there, but chances are it’s there—and if this is the first time you’ve heard of it, it’s probably overdue for a change. Luckily, you can replace the filter yourself by following a few simple steps.
Some ranges will actually have multiple filters, and luckily some of them can probably be reused. To maintain them, it is enough to remove and clean the filters, which should be done about once a month. If the filters are disposable, you can find the specifications for replacement filters on the filter itself or by searching for manufacturer and model information. Disposable filters must be replaced every two months or every 120 hours of cooking. Since not all models are the same, you should check your filters before you start taking them apart to avoid ending up with a non-functional hood while you search for replacement parts.
When you’re ready, here’s how to change your hood filters.
Turn off the power
Start by turning off the power to the hood fan. The easiest way to do this is to turn the switch that the fan is connected to in the electrical breaker box to the off position. If the switch is not marked, you may have to trial and error to find the correct one, but opening the hood fan housing without turning off the power is dangerous, so this is an important step.
Remove the strainer
Most hoods have a stainless steel mesh filter over the opening through which the fan draws air into the vent to the outside. You can remove this by pressing the filter either on the edges or by the handles that some filters have. You can then tilt the filter to remove it. The outer filter can be cleaned with dish soap and water—just make sure it’s dry before putting it back in.
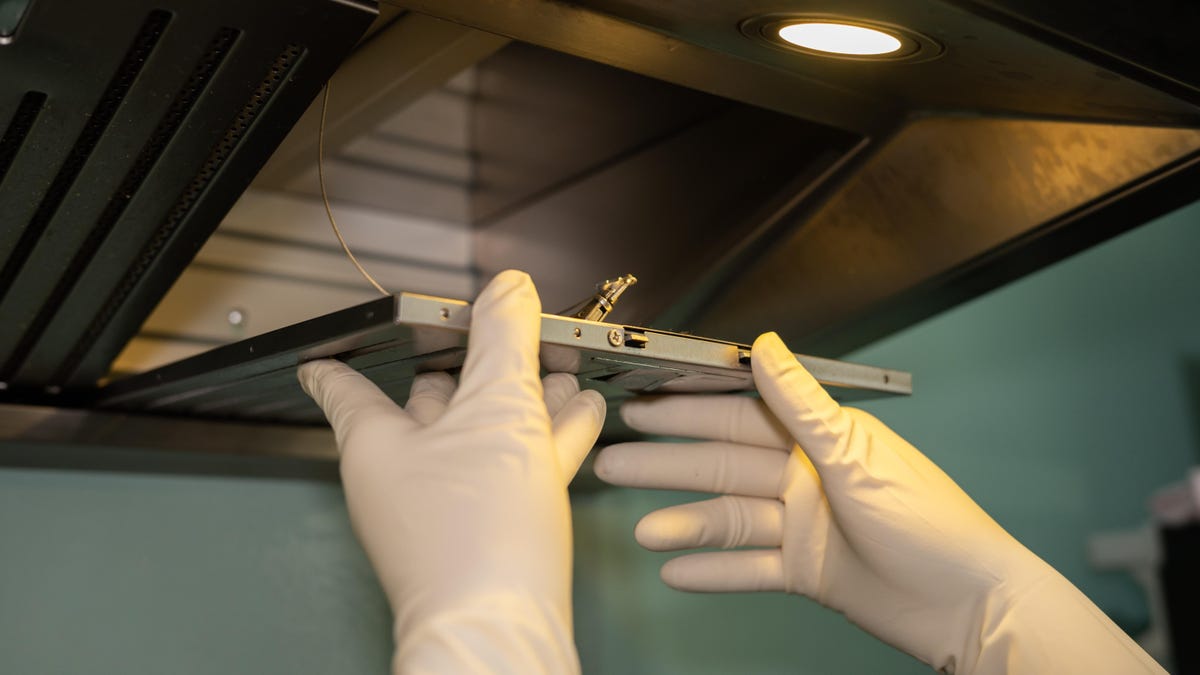
Remove the grease filter
Additionally, your hood may have a grease filter on the back of the hood. The grease filter is usually made of a metal mesh, similar to the one found on the hood opening. It can be removed by unfastening the clips that hold it in place, or sometimes by sliding it up and out of the slot. Since this part is located inside the hood body, it does not always have machined edges, so be careful and wear gloves when removing it. It can also be cleaned and reused, but you should replace it every couple of years.
Remove the disposable carbon filter.
The last filter that may need to be replaced is a disposable carbon filter, which, if you have one, will be located between the fan and the air intake above the stove. This filter is designed to control odors and clean the air passing through the air intake. They cannot be cleaned, so you will need a replacement if you have one.
Reassemble and turn on the power again.
Once all filters are removed, clean the reusable filters with degreaser or dish soap and water, drying them well before reassembling the hood. You should also clean the exposed interior of the hood as you work using a degreaser. Once everything is clean and dry, you can replace the filters and turn the power back on. Turn on the fan and listen for a minute to make sure everything is working as it should and the filter replacement is complete.