Turn a Crowded Garden Into a Batch of Dumplings
Now the garden is flying fast; every day I collect a mixture of vegetables or berries. From day to day, one harvest is rarely enough to make a large batch of, say, eggplant parmesan or blackberry jam, so it piles up in the kitchen as each meal becomes a sort of variation on something primavera.
When fatigue eventually sets in – and it will – it’s time to start thinking about dumplings – the perfect way to move any garden produce from the kitchen to the freezer.
Stuff them ravioli
Few cars are as perfect as stuffed pasta. Ravioli, tortellini, agnotti – the shape doesn’t matter. The main thing is to roll out a few sheets of pasta and turn the garden products into a stuffing. All your nightshades work for this purpose, from tomatoes to eggplant to peppers. Zucchini and pumpkin? Throw them in there. Mix almost any vegetable, add a little olive oil, a little garlic and a lot of cheese, and you have a stuffed pasta meant for the middle of winter.
Freeze raw stuffed pasta on a parchment-lined baking sheet, uncovered. Once they are frozen enough to hold their shape, toss them into a freezer bag, bleed all the air out (vacuum bags are really good here), label them, label them again because you probably didn’t listen a minute ago, and place them in freezer.
In winter, they do not even need to be defrosted; drop them directly into boiling salted water and enjoy your summer booty. If you don’t feel free enough to just sauté the vegetables along with the cheese, check out The Ravioli Cookbook or follow my recipe below.
Summer pumpkin ravioli
Ingredients:
- 1 large zucchini or several small yellow zucchini
- 2 garlic cloves, finely chopped
- 2 tablespoons olive oil
- ¼ cup ricotta
- ¼ cup parmesan
- Salt and pepper for taste
- Fresh pasta sheets (can be bought at the store if you can find them).
Cut the zucchini with the skin into a bowl. Sprinkle with 1 tablespoon of salt and mix it with the zucchini. Leave the pumpkin covered on the table for one hour. When you return, squeeze the zucchini as best you can, setting the water aside on something else. (It tastes great, but we don’t need it for this recipe, but you can use it just like you would in the other recipe.)
Heat the olive oil in a saucepan, add the garlic and continue to stir until you can smell the garlic in the air. Now add the zucchini to the pot and keep stirring them for 6-7 minutes until they stop releasing water. Arrange the zucchini in the pan and stop stirring for one minute so that they brown on one side. Flip the zucchini to brown on the other side. Season with salt and pepper to taste and remove from heat to cool. Once it reaches room temperature, toss it with the cheeses in a large bowl.
Imagine the size of your ravioli based on the width of the pasta sheet. Ideally, you’re working with pasta sheets that are 3 inches wide. Dust the worktop lightly with flour to keep the pasta from sticking. Place half of the sheets on a floured countertop and, starting 1 1/2 inches down the sheet, place a tablespoon of filling every three inches.
Using a pastry brush, dampen the pasta around the filling with a little water and carefully place additional pasta sheets on top of the filled pasta sheets. Work your way down from one end to the other, pressing down on the filling so that all the air is expelled towards the edges. You should end up with a long sheet of pasta with ridges every 3 inches. Now, using a knife or pasta cutter, cut the sheet into squares between each ridge.
You can either immediately drop them into salted boiling water for one minute and eat them, or you can freeze them following the instructions above.
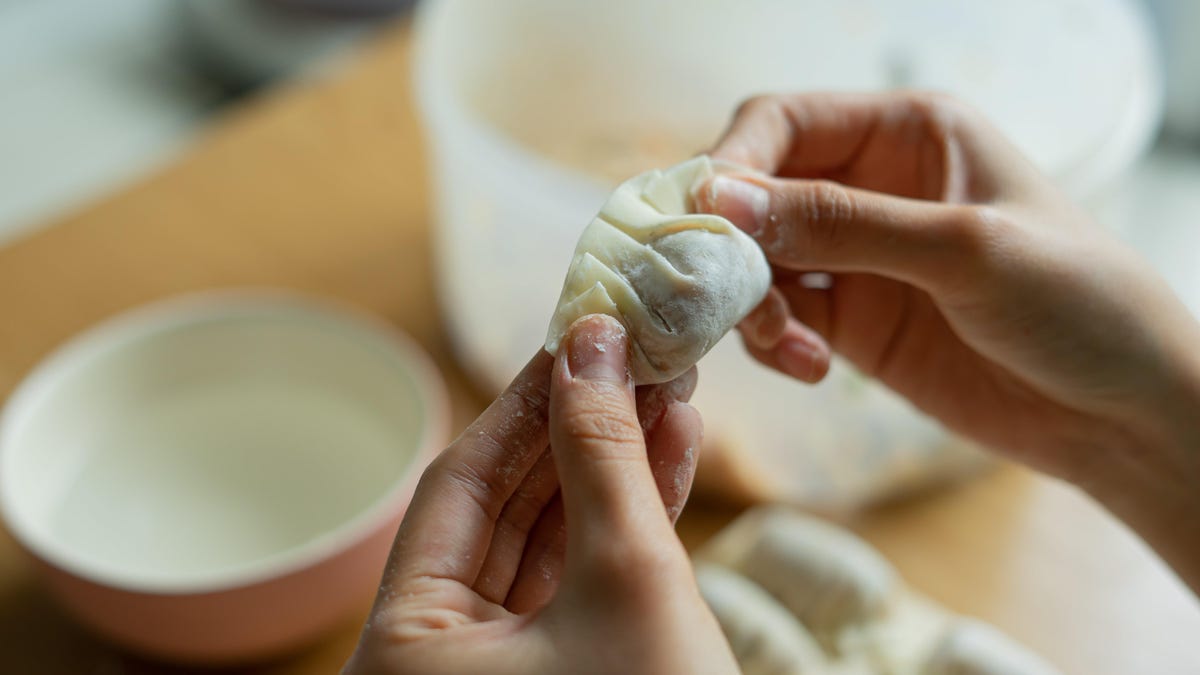
Pin them in potstickers
Every year I plant far more cabbages than anyone needs: napa, savoy and large purple cabbages. Take all these rough foods, combine them with celery, carrots, green onions, a couple of hot peppers and chop it all up. Fry it in sesame oil and a little soy sauce and you have a great dumpling inside.
Of course, you can add additional foods, such as protein – pork, chicken or shrimp. You can also add other vegetables such as broccoli, bamboo shoots, or water chestnuts. As far as flavors, spices and seasonings go, you can take any flavor from my favorite dumpling book: The Dim Sim Dumpling Book.
Get pot sticker wrappers from your local Asian grocery store (they’re better than the ones at the supermarket, but they’ll work just fine), place a teaspoon of stuffing in the center of each wrapper, and dampen the ring with a little water. around the inside of the wrapper. Now crimp it. There are a lot of ways to do this , but ultimately you need to close those damn things.
Unlike pasta, these dumplings will need to be cooked before being frozen. Start in a skillet with a little sesame oil and place over medium heat. In a separate saucepan, make one cup of your favorite flavored broth for every 15 boiled and cooked dumplings.
Once the oil is shining, place the stickers flat side down in the pan, filling the pan with about 15 stickers, but not allowing them to touch. Let them cook for one minute over medium heat, watching and checking that the bottom is brown and crispy, but not black. At this point, add the broth to the pan, cover the pan with a lid and leave to standby. In the broth, dumplings will boil and evaporate.
After about 10 minutes, you will hear the stickers on the pot sizzle again as they come into contact with the bottom of the pan and the oil after the broth has boiled away. Remove the lid, wait another minute, and carefully slide the pot stickers onto an oiled baking sheet lined with parchment. Now freeze them like pasta on a baking sheet and then toss them into a bag, remove the air, label them and put them back in the freezer. To cook them later, toss them in the microwave, add to soup, or thaw and steam until warm.
Bake them into rolls
If you ate it with jam, but there are piles of fruits from the garden left, it’s time to think about a handmade pie. Unlike the classic round cake found on windowsills, you don’t need a fork to eat it. Hand pies almost beg you to eat them and are the easiest to make. Of course, you can make dough for pies. But you also ca n’t make pie dough and relax by buying it.
Take the fruit, remove the stones and, if necessary, chop them coarsely; large pieces can be used (eg apples, peaches and plums). Now add the fruit and a tablespoon of water to a saucepan, place over medium heat and let the fruit boil. You want a nice jam-like consistency that will need to be stirred over a fire for 20 minutes. Now try. Is it sweet enough? If not, add sugar. If you like everything the way it is, leave it alone; that’s the beauty of a handmade cake. Feel free to add any spices or flavors you desire, including some vanilla or almond extract. If you are stuck because this is not your kind of creativity, refer to any pie recipe you like. I especially like portable pies .
Roll out the dough. You need to make a series of 8″ x 8″ squares. Place one to two tablespoons of the filling on one side of the dough square, then fold the dough in and seal tightly. I really can’t stress this, but don’t overdo it. How much is too much? Oh, you’ll know when you try to seal it.
Now place the sealed pie(s) on a paper-lined baking sheet, tap it lightly with a fork to pierce the top crust but not the bottom, brush it with egg wash and sprinkle with a little sugar. Bake at 375℉ until the crust is golden brown, usually about 16 minutes.
Take out the pies, let them cool, place them in a freezer bag with parchment paper between them, label them and put them in the freezer. (If you stayed, because, come on. Pies in hand.)