When to Treat Wood Rot Without Replacing It

Wood is an incredible thing. It literally grows out of the ground, it’s durable, attractive, easy to cut and shape – it’s no surprise that 90% of new homes are still at least partially built from wood . Chances are, the house you currently live in is completely filled with wood, from the beams and studs that hold everything up to trim and other finishes.
And this can be a problem, since wood is prone to decay . The air around us is filled with fungal spores, and these fungi are happy to feast on the wood in your home. All they need is a wide range of ambient temperatures and some moisture to work with, and different types of fungus will begin to feed on your wood, destroying its structural integrity and turning it from an attractive, durable building material to a crumbling mass.
Rotten wood is no longer durable and attractive, but you may not have to rip it out entirely and replace it. Rotten wood can be repaired with just a few products and some time.
Check for rot first
The first thing you need to do is learn how to identify wood rot in your home. Wood is often painted or hidden under other materials, so rot usually reaches a rather dramatic stage of decay before we notice it. To do a do-it-yourself rot check, take a flashlight and any screwdriver and inspect the place. Things to look for include:
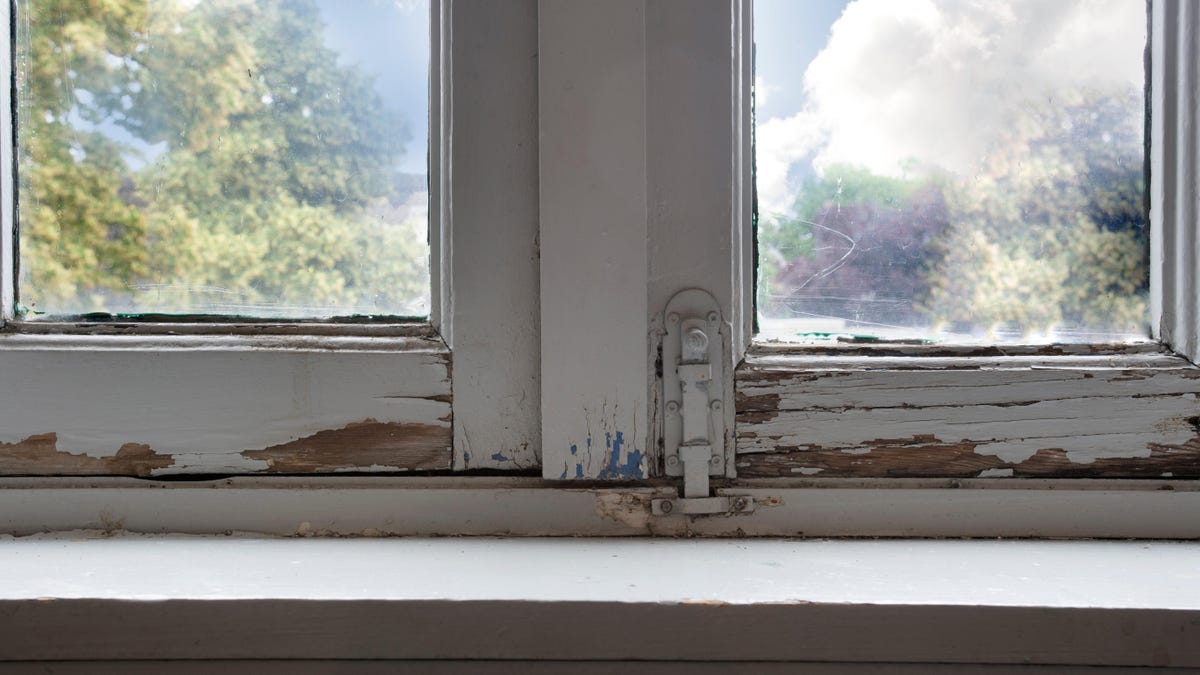
- Water spots. Do you see any evidence of water damage? Stains on walls, ceilings, or floors that indicate moisture or water intrusion are often spots where rot has made its way into wood fixtures. Peeling or blistering paint is also usually a good sign of rot.
- Soft spots. Press the tip of a screwdriver anywhere you suspect there might be a problem. Even softwoods such as pine must offer strong resistance. If your screwdriver easily enters the wood, it is likely to have rotted.
- Bleaching. Areas where the wood has discolored—turned dark brown, white, or yellow—may indicate rot. These are ideal places to pull out a screwdriver and test its softness.
Once you have identified the rotten areas, your next step is to determine if repairs are possible or if you will have to completely replace the wood.
When not to repair
Usually rotten wood can be repaired with great success, but it is not always worth it and not always wise.
Your first concern is cost. Wood is a relatively inexpensive material, and if you have a lot of rotten wood, you can pay a lot more for repairs than if you just bought a few pieces of fresh material and replaced everything. Once you understand how much wood needs to be treated, evaluate the cost of repair materials versus lumber – you might be surprised which approach is cheaper.
The second issue is whether rotten wood is structural or not. Rotten-repaired wood will never be as strong as healthy wood, so if you have rotten beams or wall studs, it’s best to just rip them out completely and replace them once you figure out how moisture got on them. first place. Things like wood trim, paneling or moldings, and window frames are ideal candidates for rot repairs, as are anything that has sentimental value, as long as they don’t support your roof or something.
How to eliminate rot
Once you’ve identified the rotten wood and decided it makes sense to fix it, it’s a fairly simple process:
- Remove rot and clean. Remove any damaged wood. If the wood has gone really far, the rotted areas will be easy to rip out with a screwdriver or any other tool with a blade. Be aggressive here; Rot is like cancer, and you want to be sure you’re making a good profit – keep ripping through wood until you hit hard, durable material that isn’t easy to scrape off. Then remove any remaining dust and debris.
- Dry. Make sure the wood you are repairing is dry and that the source of moisture has been eliminated. It may take several days for damp wood to dry sufficiently, so be patient. You can use a heater and/or fan to try and speed up this process.
- Harden . The key to repairing rotten wood is a quality wood hardener . There are many different types, but they all work in the same way: you apply the hardener the same way you would stain or paint, allowing it to soak deep into the wood. After hardening for several hours, damaged wood will be strengthened and restored to a level close to its original strength and durability. You can apply several coats to make the damaged wood as strong as possible.
- Fill. After you have hardened the damaged area, fill the remaining void with wood filler . This material usually looks like cookie dough and is very easy to pack into the space left by rot and will bond tightly to the hardened wood. After it dries and hardens as instructed, you can sand and shape it to match the rest of the area and then paint or stain it like wood.
Boom – instead of completely replacing something, you cut out the rot and repaired it. However, don’t stop there: the rot has probably alerted you to a moisture problem in your home, and you need to address the root cause.