You Can Fix a Chipped Granite Countertop in Five Minutes
Design trends come and go, but some materials remain. Granite and other natural stones have always been a popular choice for countertops in kitchens and bathrooms due to their natural beauty and incredible durability – granite can last for decades if properly cared for . But durability doesn’t necessarily mean indestructible , and after a while, you’re likely to find a chip or tiny crack somewhere on the counter. This does not mean that your countertop is about to fail, and chances are that you can completely ignore a small imperfection while living your best life. But if the chip is bothering you, the good news is that it will be easy to fix.
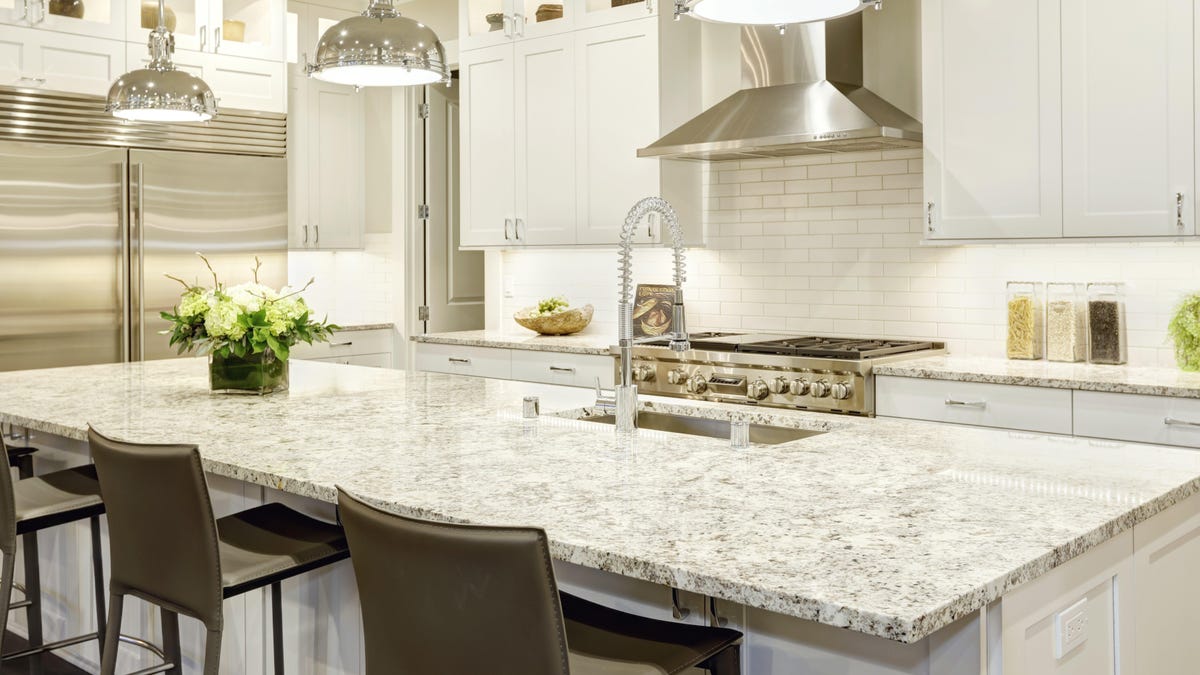
The first thing to consider when repairing chips or small cracks in a granite countertop is the color and pattern of the slab. Light, rich patterns are easier to repair because you can simply use clear filler and the pattern and color will come through and make the repair almost invisible. But if your slab doesn’t have as many pebbles or veins and is more of a solid color, more effort may be needed to match your slab’s color.
How to repair a chipped granite
The basic procedure for repairing chips or small cracks in granite is quite simple:
- Clean. Thoroughly clean the area around the damage. It is recommended to use a cleaner specifically made for granite or acetone to ensure a really clean surface. Any residual dirt or dust can damage the filler.
- Ribbon. Use masking tape to seal off the damage. This will help you be precise with your filling material and prevent mess, and help you navigate if the chip is hard to see (which is often the case with rough granite patterns).
- Fill. You can repair a small crack or chip in a granite slab with ornate patterns using superglue. Simply fill the open area with adhesive until it is flush with the rack. Wait at least 24 hours for the adhesive to set and dry. Alternatively, you can use any clear epoxy . Simply fill in the damage as above and follow the directions on the package.
- Sand and buff. Once the filler has hardened, take a razor blade and scrape off the excess until you can no longer feel the bump. Then take some fine sandpaper and gently buff the repair until it’s shiny and matches the polish of the rest of the rack. Now remove the tape and clean up the area.
This will work very well for counters with a lot of patterns because the clear infill will blend seamlessly into the existing countertop. But if your counter is more monochromatic, you may need to be more precise with the color of the stone. You have two options to do this:
- Grind. With a clear filler such as epoxy or superglue, you can try adding a small amount of granite dust to it before filling. This includes a diamond-tipped drill and removing dust from your granite—either from an inconspicuous spot (such as the underside of a counter) or from the rest of the stone left after installation, if you have any. You don’t need too much – a teaspoon of dust is probably more than enough. Mix it with the filler before adding it to the chips and it will match very closely. If you get the proportions right, this is your best chance for a perfect match.
- Use a kit. You can also purchase stone repair kits that offer color matching options. FillaChip kits come with everything you need to repair natural stone with a variety of color options, although they can be pricey. If you know what color you want, you can get a basic set and syringe for one color much cheaper, other sets are also available offering different color options.
However, most small chips and cracks in a typical granite countertop can be fixed with the superglue you have in your bin and a little time. The repair will be almost invisible, and your counters will remain useful and attractive for many years to come.