Install an Automatic Watering System for Your Garden
Watering your garden may not seem like a chore at first, but dragging hoses around, getting them stuck on grates or railings, and wasting time on each bed to make sure everything is well watered can be a problem. Automatic watering is the solution for morning and late hose adventures and will keep your garden looking great all season long. Although it may seem intimidating, parts for an automatic irrigation system are inexpensive and the system can be controlled with a few tools and good planning.
Supplies for this project include:
- Electric water timer
- ¾” PVC pipe (long enough to reach the bed)
- Accessories for its assembly
- PVC glue and activator
- Shut-off valves
- Male and female hose ends
- One soak hose for each bed you want to water.
You will also need some tools, including a manual or electric saw for cutting PVC pipe, a tape measure, and a set of drill bits .
Measure, draw and list parts
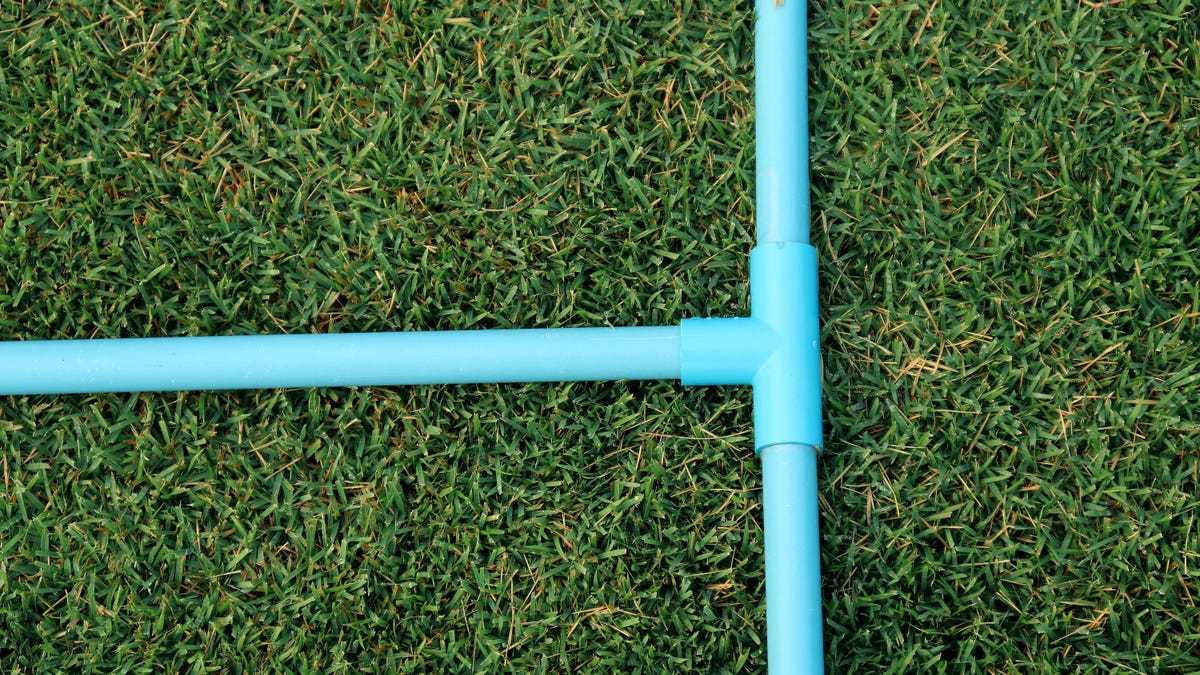
Before purchasing parts, you need to plan your system configuration. Start at the water source and measure to the first bed you want to water. Then measure the distance to each extra bed. If you want to branch, use a “t” or “x” connector on each connection, where “t” is for a one-way branch and “x” is for a two-way branch. path branch. It can help to sketch out the location of your beds and water source, and then mark distances and intersections as you walk to keep track of the numbers.
If you are irrigating raised beds, you will also need corner fittings on each bed to supply water to the soak hose. Each bed should also have a valve that can be turned off if some areas need less water than others. Once you calculate how many of each part you will need, you can make a parts list. Add up all the distances between the beds and between the first bed and the water source to estimate how many PVC pipes you will need. Remember you will also need a pipe large enough to carry water to the top edge of the bed if you are using one, so measure the height of the bed and multiply that by the number of beds you need to get. total length of pvc pipe you will need.
Lay pipe and make connections
You can bury the PVC pipe about ¾ inch below the soil surface, or run it along the edges of raised beds – just make sure it’s protected from snagging or cracking when walking or driving. If you choose to bury your PVC, be sure to call 811 before digging to avoid utilities. Once you’ve paved the path, use a tape measure and a saw to cut the PVC to length and attach the fittings with PVC glue and activator. Be sure to do this part in a well-ventilated area. Don’t forget to add a valve for each bed so you can control which beds to water.
Attach the pipes to the water source
Then attach the timer to the water source and attach the PVC pipe to the timer. You may need a short extension hose to do this job. You can use male or female hose connectors in PVC hose connections. Once all of your pipes are connected, set a timer on your irrigation controller to check for leaks or problems with your piping system. Make sure all your pipes are well secured to avoid wear and tear over time and to prevent cracking when water pressure builds up inside the pipes. If you need to, you can use a two-by-four block and a pipe clamp to give the pipe a solid support. Use your drill set to screw the pipe clamp into the block, grabbing the pipe, then screw the block to the side of the raised bed for support.
Bury your pipes and attach your hoses
After your pipe is leak proof and stress tested, you can bury the pipe under ¾ inch of soil. Then attach the soak hoses to the PVC pipes with female connectors. Now all you have to do is set the valves to water the desired plants and set the timer.