Turn Any Wall Lamp Into a Battery Powered LED Lamp
If you have a dark corner or gloomy hallway, chances are you’ve thought about adding a wall lamp. But hiring an electrician to run the wire to your fixture can be expensive, especially if it’s for just one light source. The advent of battery-powered LED lights has made the need to wire light in a closet or over a bookcase a thing of the past. Installing a bright light almost anywhere has never been easier.
What you need to install an LED wall lamp
Before you start this project, you will need lighting fixtures , a good quality LED bulb , some wire, and wire cutters and pliers. To attach the fixture, you will also need any fasteners, as well as a drill and a screwdriver.
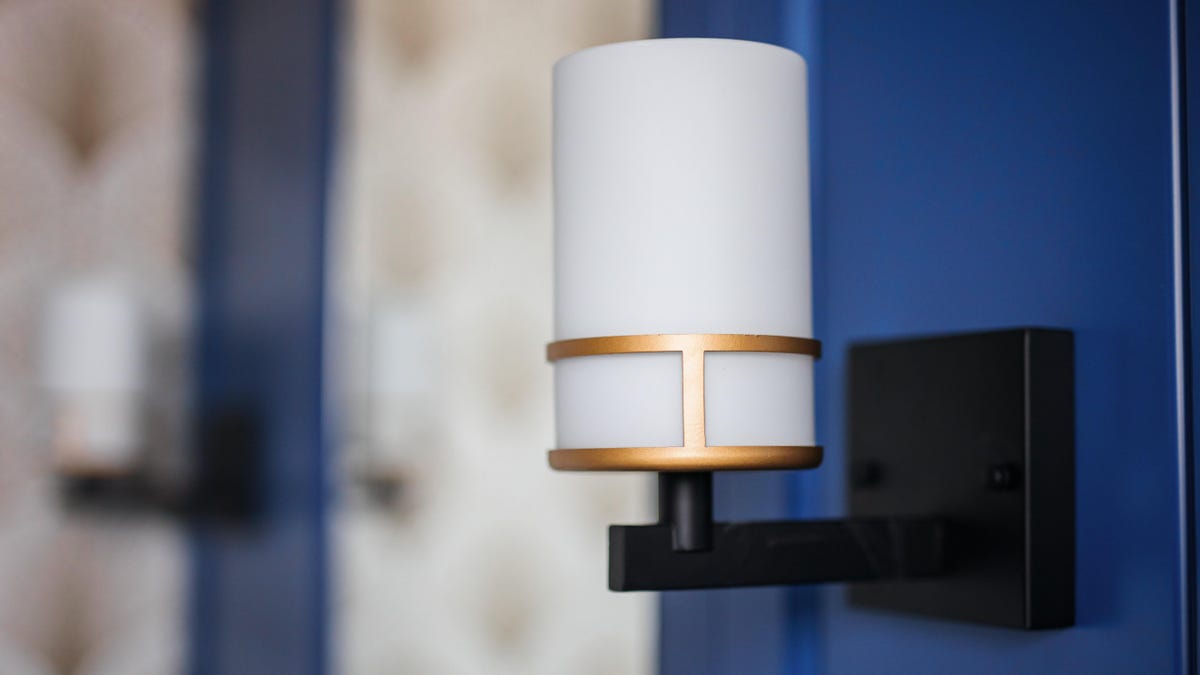
For this project, an illuminator with one light source – one bulb – and a lampshade is the best option for the look. Since the inside of the lamp won’t look the same as a regular light bulb, covering the light source will give you the best result. Also, while most puck lights work with a remote control or switch , there are also motion sensor lights that won’t work well in a normal room. The best option is a puck light with a switch , which can be mounted on the wall like a regular light, but without wires.
How to install LED downlight
First, turn the sconce over so you can see the underside where the bulb would normally go. Since you are not going to connect the device to the mains, you will not need a lamp holder. Instead of a regular light bulb, you will use a puck or other similar LED fixture . On the underside of your light fixture is the base to which the light bulb socket is attached. Using a piece of wire, wrap it tightly around the base and twist the ends of the wire a few times to make a secure loop that won’t slip off.
Once you’ve made your loop, open up the LED bulb so that the part meant to mount to the ceiling or wall is exposed. There should be holes for screws. Pass the ends of the wires through the mounting bracket and twist them together to secure the bracket inside the fixture.
Once the bracket is secured, insert the batteries into the LED light and snap it back onto the bracket, securing it inside the light. You can then turn it on and off by clicking on it or using the remote control, whichever you prefer. If you choose to use the touch function, just be aware that you will not be able to use the light type with a cover over the bulb, as this will make the switch inaccessible. If you are using a remote control, make sure the remote control receiver is facing outward before attaching it to the wall.
Once all your parts are assembled together, you can install the fixture using the hardware that came with it. If you’re mounting it into drywall, be sure to use drywall anchors or push it straight into the stud so you don’t punch a hole in the wall. To find studs in most modern buildings, you can use a strong magnet or a stud finder .