Instant Mashed Potatoes Make the Most Delicious Casserole Crust
At this point, it may not surprise you that I love a good casserole . An assortment of my favorite ingredients gathered into a kind of savory cake that you can slice – what’s not to love? Monotony, that’s what. It’s important to keep it interesting, and my latest discovery does just that. Transform your casserole with an instant mashed potato crust.
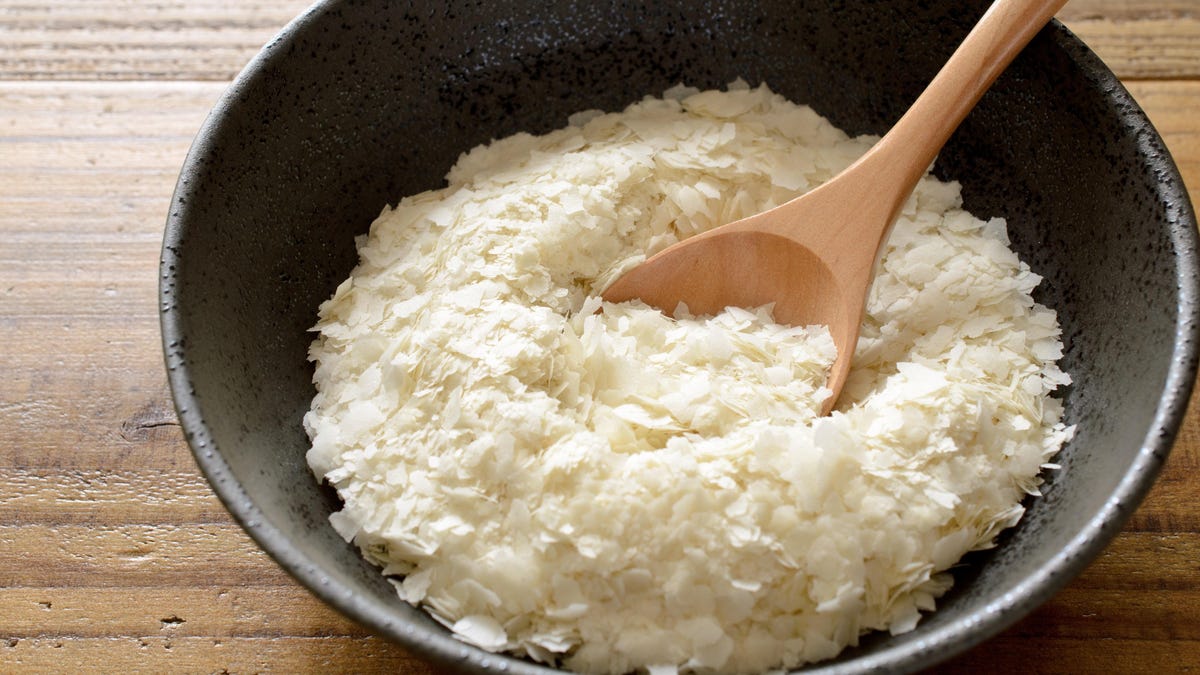
Instant mashed potatoes , sometimes called “potato flakes”, are mashed potatoes that have been dehydrated and turned into something that looks like aquarium fish food, but don’t let that feel too weird, it does taste great. For our purposes, they are especially useful because we can control the moisture content. Can you use homemade puree? Sure, but I would suggest leftover freshly made creamy mashed potatoes. The goal is to use just enough water to help form the potato layer and then lose most of it during baking so that there is a sliced potato layer at the bottom that doesn’t fall apart.
I used a 7″ x 9″ Pyrex pan for my casserole and prepped it with a thick layer of butter. A box of Idaho mashed potatoes has a helpful little serving size chart on the back. In a medium bowl, I added four servings of potato flakes, salt, and oil, and you should do the same. Do not add liquid measurements as indicated on the box. Instead, boil some water and add half a cup.
Using a rubber spatula, start mixing and rubbing the cereal with the other ingredients. If there are still clumps of dry cereal hanging around, add more water. Add 1/4 cup at a time and knead the mixture until the potatoes have the consistency of Play-Doh or clay. I used 1 cup hot water for 1 1/3 cups of potato flakes. Add grated parmesan cheese and stir. I used 1/3 cup grated Parmesan, but if you are using pre-shredded Parmesan, use 1/2 cup. This cheese will help bind the potato mixture as it cools.
Arrange cheese potatoes in a baking dish to form an even layer. I pressed the mixture down the sides about half an inch to create a small wall. Bake the cake in the oven at 350°F for about 25 minutes, or until the edges start to brown and when you touch the potato layer, it is dry. The crust is ready for the casserole filling. Once you fill it, bake the casserole as usual, looking for normal signs of doneness, depending on the ingredients. The potato layer will continue to bake and will take on a nice golden brown bottom.
Let the casserole cool completely before slicing. The parmesan potato crust gives every bite a salty touch of parmesan, and the texture gives the casserole the wow factor. The bottom and edges of the crust roast well in the oven, making it slightly crispy and chewy, followed immediately by a layer of potato fluff. It’s fluffy but substantial without being scruffy. The filling will blend into the soft inner layer of the potatoes, giving you the impression that your casserole has even more layers.
The following recipe is a spinach casserole that is perfect for a week-long lunch or a fantastic veggie dinner. Add any dry spices or fresh herbs you like to the filling mixture. It keeps well in the refrigerator for up to five days.
Spinach Cheese Casserole with Mashed Potato Crust
Cake Ingredients:
- 1 ⅓ cups instant potato flakes
- 2 tablespoons butter, melted
- ½ teaspoon salt
- 1 glass of hot water
- ⅓ cup grated Parmesan
Filling Ingredients:
- 2 cups frozen chopped spinach
- 1 cup curd
- 2 cups egg whites
- ½ teaspoon salt
Preheat oven to 350°F. Butter a 7″ x 9″ baking dish.
Mix the first four ingredients together in a medium bowl until the mixture is clay-like in consistency. Mix with parmesan cheese. Pour the mixture into the bottom of a baking dish and lift the sides slightly. Bake at 350°F for 25-30 minutes or until the edges start to brown. While you wait, prepare the filling.
Mix all filling ingredients together in a bowl. (If your spinach is brick-shaped, thaw it first and break it into pieces.) When the potato crust is ready, pour the filling over the crust, spreading it evenly if necessary.
Bake at 350°F for about 35 minutes. The edges should bulge and harden, and the center should no longer shake when shaken. Cool completely before cutting.