You Can Add Privacy to Your Windows With Decorative Film
Upgrading your windows for privacy or reflecting light to keep your home cool can get expensive. Changing the shape of windows or the type of glass can cost hundreds per window, and window treatments can cost almost as much. In addition to self-tinting windows , which you can do to improve energy efficiency and privacy, window film is an economical option if you’re looking to up the budget.
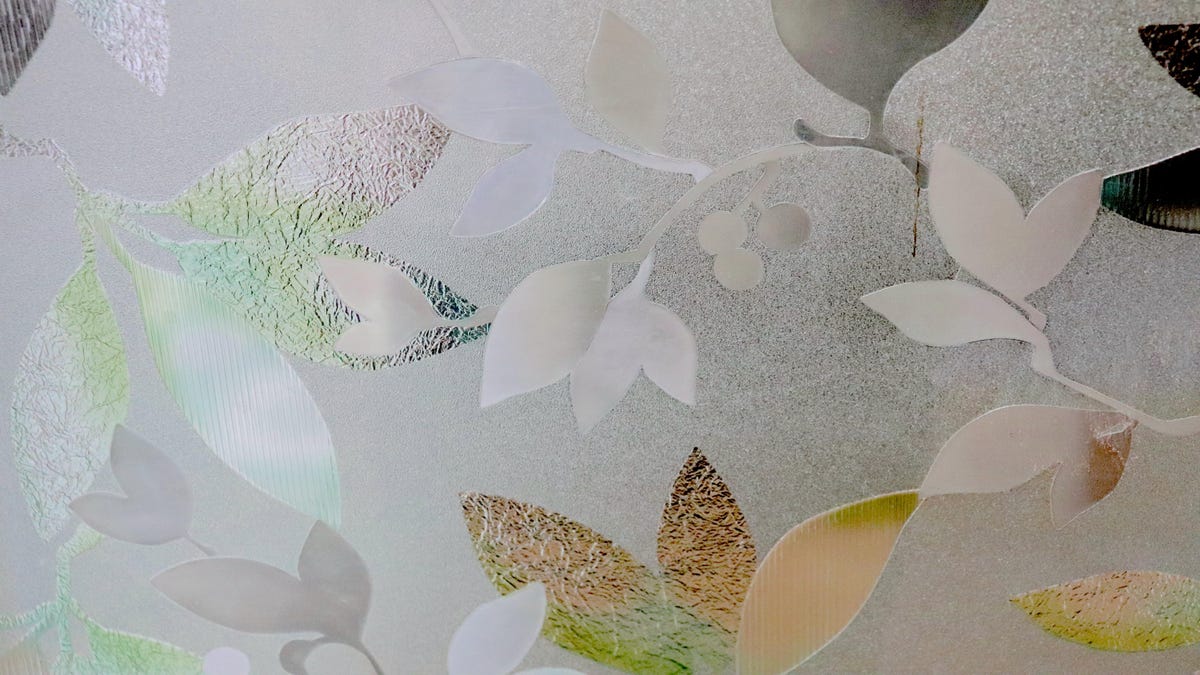
There are several different types of window film that you can use for privacy or reflect light. The most common is a film that sticks to the surface of your window with a decal-like adhesive . You can also find static type film as well as the more casual release type temporary type film . For high-traffic areas, especially if there is a chance of dampness or drafts, sticker-type film is best. For a tenant-friendly option or for items like glass cabinet doors, the latest types of film work great.
All you need for this project is a pencil, tape measure, masking tape, window film of your choice, a razor knife, and a ruler or scissors. Apart from these tools, you also need to make sure the window surface is clean and a vinyl smoothing tool will help prevent bubbles.
How to install window film
To measure your film, leave the backing and tape it to the window. If you are trying to cover the entire surface, you can mark the shape of the glass on the film. If you only want to cover part of the surface, you can use masking tape to mark where the edge of your film will go. Once you’ve marked the film to size, place the film on a flat, hard surface that you don’t mind cutting slightly with a razor knife, and use a ruler to make a clean cut. If you are confident in your cutting skills or need to make a shape other than a straight line, you can use scissors for this part.
After you cut your piece, if you are using a product with backing and not sticky static, you will need to level the film before peeling and sticking it. The easiest way to do this is to start at the top center of the window and fold back a little so that the film sticks out from the center to the top edge of the glass. This will allow gravity to work in your favor and help keep the film straight as you go. Then slowly peel off the backing from the top center down and out to the sides, using a vinyl tool to scrape off the bubbles towards the edges of the film. Press the edges firmly as soon as the bubbles come out to make sure the film is firmly stuck.
For static cling film, the process is even easier because it doesn’t have a backing. Hold the film by one corner at the top, aligning it with the edges of the glass. Allow the static electricity to stretch the film on the surface of the glass you wish to coat, then use your fingers to smooth out any wrinkles or bubbles. If you have a deep crease, you can peel off the film and straighten it as you go, since no glue is used.