Eleven Basic Knots Everyone Should Know How to Tie
When faced with the need to tie something, most people resort to simply tying as many unfinished knots as possible, in the vague hope that the sheer difficulty of friction will confound the natural forces of entropy. This approach can work if you’re willing to sacrifice your dignity and the effectiveness of said knots, but it’s much better to learn how to tie some of the most useful of the approximately 4,000 knots known to mankind .
Here are 11 knots every adult should know.
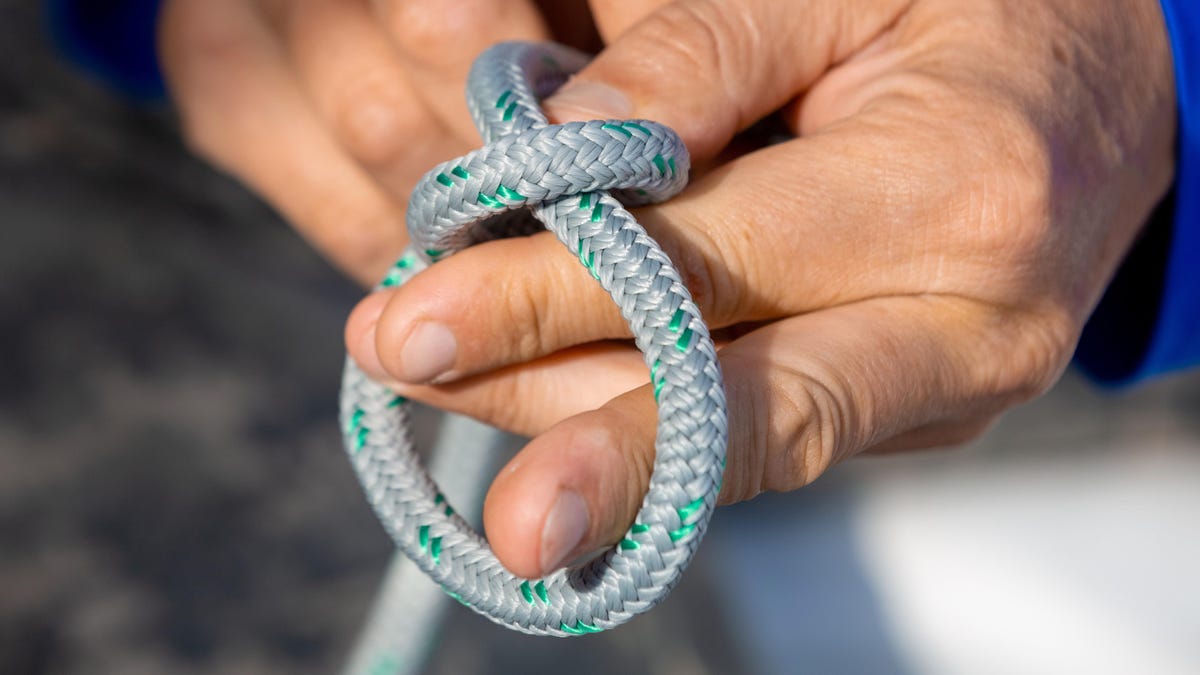
Bowline
The bowline knot creates a fixed loop at the end of a piece of rope, making it ideal for attaching something to any anchor. It can also be used to secure a rope around an object (or person). This is a very simple knot: make a loop, pull one end of the rope through the loop, wrap it around the other end of the rope, and pull it back through the loop. Tighten and you have a fixed loop that won’t slip off.
Tight line
A hitch is a knot that connects a length of rope to another rope or attaches it to an object. (Many knots are combinations of hitches.) A tensioned hitch creates an adjustable knot that can be lengthened or shortened as needed. One is commonly used for attaching a tent to stakes, for example, because you can attach a loop and then tighten it as needed. First, stretch the rope around the object you are attaching to. Pass the end of the rope along the entire length of the rope, forming a loop. Pass the end through the loop, then repeat, forming two loops around the main body of the rope. Then thread the end of the rope over the loop you created and wrap it around the main length again. Pull the end through the new, smaller loop you just created and tighten; now you can move the node up and down as needed.
square knot
The square knot is one of the first knots that most people learn because it is simple and has a fundamental application: it connects two lengths of rope together. If you have two short pieces of rope that are roughly the same size and texture, you can use a square knot to make one piece of longer rope, which is incredibly useful. It’s not the most durable knot, so you can’t use it for applications that require something reliable, but in a pinch it can be a lifesaver.
First, cross the pieces of rope (right over left). Then tie them around each other. Cross the ends again (from left to right) and pull them tight, leaving a classic square knot. Tighten and you’re ready to go.
Sheet bend
A square knot connects two identical ropes, but if you have two short ropes of different diameters or made from different materials, it is better to use a sheet bend to connect them (it also works with similar ropes, so you can skip the square knot). if you like, although bending the sheet is a little trickier). Start with a thicker or more slippery rope (such as nylon cord) and bend it into a fishhook shape. Cross the top of the loop with another piece of rope, then wrap it around the back of the first rope. Pass it under the other side of the fishhook, then over, under you, then over the other side of the fishhook. Get busy and mind your own business.
Two halves
Used to tie a rope to any cylindrical object (such as a tree or a metal ring). This is a useful knot because it is easy to make and quite strong. It’s essentially loop after loop: wrap the line around your anchor, pull the end through the loop you’ve made, then wrap the end back up and pull – that suction cup isn’t going anywhere. This is very useful for attaching things to the ground or any other object like a tree.
trucker hitch
The trucker’s hitch is a marvel of knot magic because of the mechanical advantage it gives you – it essentially amplifies the force you apply to pulling the rope, usually by a factor of 2 or even 3x for 1x. This means that this pulley-like knot will hold something much tighter than you could with other machines, and yet the trucker’s hitch comes off very easily, unlike the mass of tangled knots that most people tie in desperation.
The trucker hitch is a bit trickier, but worth learning if you ever haul stuff home from Home Depot, my friends: run the rope through the anchor and then create a loop at the top of the load. Twist this loop three times, fold the loop down and pull through the free end. Pull the free end through the loop, tighten as much as possible, and then secure it by tying two half loops so that a stopper is formed.
Barrel hitch
The barrel hitch is a great knot to know because it forms a kind of quick and easy bucket and can be used to lift things. So, for example, if you’re working on a roof and need to lift a bucket that doesn’t have a handle, you can tie a barrel hitch. First lay the rope on the ground and place the container on it. Tie a simple knot at the top, then loosen the knot and wrap around the edge of the container. Tie the ends of the rope in a square knot and you should be able to pick up what you’re lifting pretty easily.
Shipshank
Sheepskin has one important and often overlooked purpose: it makes your rope shorter without cutting it. Start by folding the rope in an “S” shape backwards, like two loops going in different directions. Make a loop at the top loose end, thread the folded end through it and tighten slightly. Repeat this on the bottom end. Tighten (make sure the top loops you make don’t stretch) and you have a secure knot that just made your rope a few inches shorter.
carnation hitch
The carnation is a very simple knot – you can quickly learn how to tie it with one hand, so every climber in the world knows how to tie this knot. But it’s most useful for tying things together – if you were on a desert island, you could use a nail hitch to build a raft out of a pile of sticks. In your dry safe house, you’ll probably use it to tie things or tie rope to something it goes through, like a fence post. All you have to do is wrap the rope around the anchor twice and then pull on the end. through the gap between the loops.
Square lashes
If you need to fasten two sticks or poles together in a cruciform configuration, a square whip is the way to go. First, use a hitch with a stud (okay, any hitch will do) to attach the rope to the upright. Twist the short end of the rope around the long end and twist it until you have no rope left. Taking the twisted ends, wrap the rope horizontally, under the vertical, on the other side of the horizontal, and under the vertical. Repeat a few times, layering outward, then start wrapping the rope around the wraps. Finish it off with a few cooldowns to keep everything going strong.
Prusik hitch
The Prusik knot was invented by climber Karl Prusik back in 1931, and it’s kind of an ingenious knot. It attaches a rope perpendicular to another rope and can easily slide up and down the length of the first rope, but becomes tighter and stronger when weight is applied. It is also useful for creating a loop or handle on a length of rope when there is no free end to work with. Tying the Prusik knot begins with the fact that a short piece of rope is tied into a loop and tied. Then wrap the loop around the second rope and pull the knotted end through the other side, then go around the other rope again and pull the knotted end through the new loop you created. Pull tight and you have an adjustable joint that moves easily but won’t budge when pulled.