Make This Banana and Oatmeal Breakfast Cake
Oats need help. I’m constantly looking for ways to make oatmeal for breakfast more interesting. Despite how nutritious and satisfying it can be, making the same oatmeal every day is a tedious recipe, and I don’t like to eat like that. Along with toasted oatmeal , risotto-style oatmeal , and grated apple nightly oatmeal , you should add cake to your morning oatmeal.
Baked oats enjoy their time in the TikTok spotlight for good reason – it’s like eating an indulgent, fluffy breakfast pie, but without the butter, refined flour, and sugar found in a typical dessert cake. Baked oatmeal ingredients are basically the same as a regular bowl of hot oatmeal, so your cake has the same nutritional profile. Think of it like quick oatmeal bread. Baked oats require just a few ingredients and use a simple mixing method, and you can make it fun with the same toppings you sprinkle on oatmeal. As a bonus, this breakfast cake is naturally gluten-free. (People with severe gluten intolerance should check the packaging of oatmeal to make sure it’s not processed with other flours that may contain gluten.)
The method is simple, and apart from additional flavorings, you only need four ingredients: oats, eggs, sweetener, and baking powder. Many recipes I’ve come across include a ripe banana, which acts as a flavoring, sweetener, and binder, and I recommend including it if you don’t completely hate bananas. If so, use the banana-free recipe (the egg serves quite well as a binder).
What I love most about this recipe is that you make it in a blender. Less cleaning, more power. What a way to start the day. Oats are gluten-free, so there’s no need to worry about over-mixing, and you can beat the batter until smooth or stop early to leave small chunks.
Start by adding all the ingredients to the blender bowl. I added the oats first and regretted it because the eggs couldn’t get to the blade without my help, so I suggest starting with the eggs to help the machine catch all the ingredients easily. Pulse until everything is thoroughly mixed and the oats are ground to your liking. I leave it a bit chunky because I like the texture. If you want to mix chocolate chips, coconut chips, fruits or nuts, you can mix them with a spoon after mixing. Pour the batter into the prepared mold. Depending on the size of the batch, you can use a cake pan, cookie cutter, bread pan, or cupcake pan to make individual cupcakes. Bake in preheated 350°F oven for 15 to 20 minutes.
Roasted oats will become plump and light, but don’t expect too much browning. Because most baked oatmeal recipes lack the ingredients that brown easily—butter and sugar—the top of the pie will look pale even when fully cooked. Gently press the top of the cake at the end of the baking time to make sure it returns to its original position. Take it out of the oven.
This recipe includes ingredients such as peanut butter, vanilla, and cinnamon, but you can leave them out if you want something simpler. In addition, you can add a few other ingredients for extra flavor and texture. Add a quarter cup of mini chocolate chips, chopped nuts or blueberries. If you can toss it into a bowl of hot oatmeal, chances are good that you can mix it into this dough or sprinkle it on top.
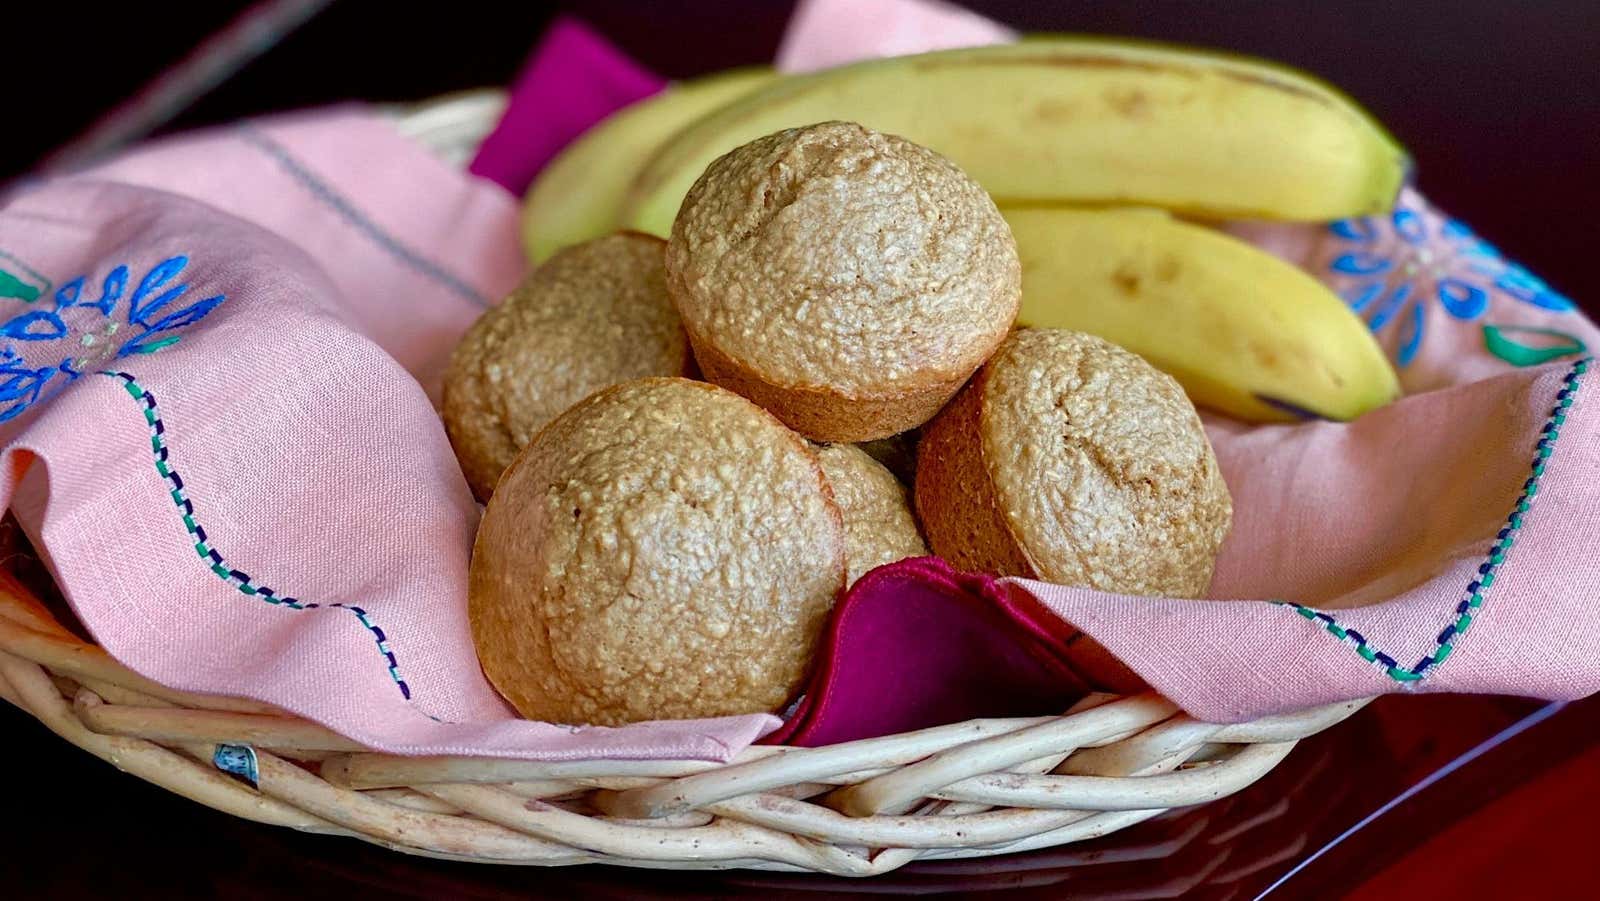
Baked Oats with Peanut Butter and Banana
Ingredients:
- 2 eggs
- 1 cup oatmeal
- 1 medium banana
- 2 tablespoons peanut butter
- 2 tablespoons honey
- 1 teaspoon baking powder
- 1 teaspoon vanilla
- ½ teaspoon cinnamon
- ⅛ teaspoon salt
Preheat oven to 350°F. This recipe is enough for 6 cupcakes or a 6″ round cake. Cover the cupcake mold with paper liners or grease with a thin layer of butter or vegetable oil; If using a cake pan, moisten it with vegetable oil and line it with parchment paper.
Add all ingredients to blender container. Pulsate until well blended and you have achieved the desired smoothness for oats. If the peanut butter sticks to the walls, scrape it off with a rubber spatula.
Pour the batter into the prepared pan and bake in a preheated 350°F oven for 15-20 minutes, or until the center springs back to its original position when lightly pressed.