Security Keys Are Now the Best Way to Secure Your Apple ID
Whether you have an iPhone, iPad, or Mac, your Apple ID is one of your most important digital accounts. If it is compromised, attackers can access your iCloud information, see your location, or directly steal your devices. Keeping your Apple ID secure is obviously paramount. While code-based two-factor authentication (2FA) has been the primary way to secure your Apple account for years, with the latest iOS 16.3 update, you can now use physical security keys to block your Apple ID from potential access. attackers. This is the best way to protect your account.
What are security keys?
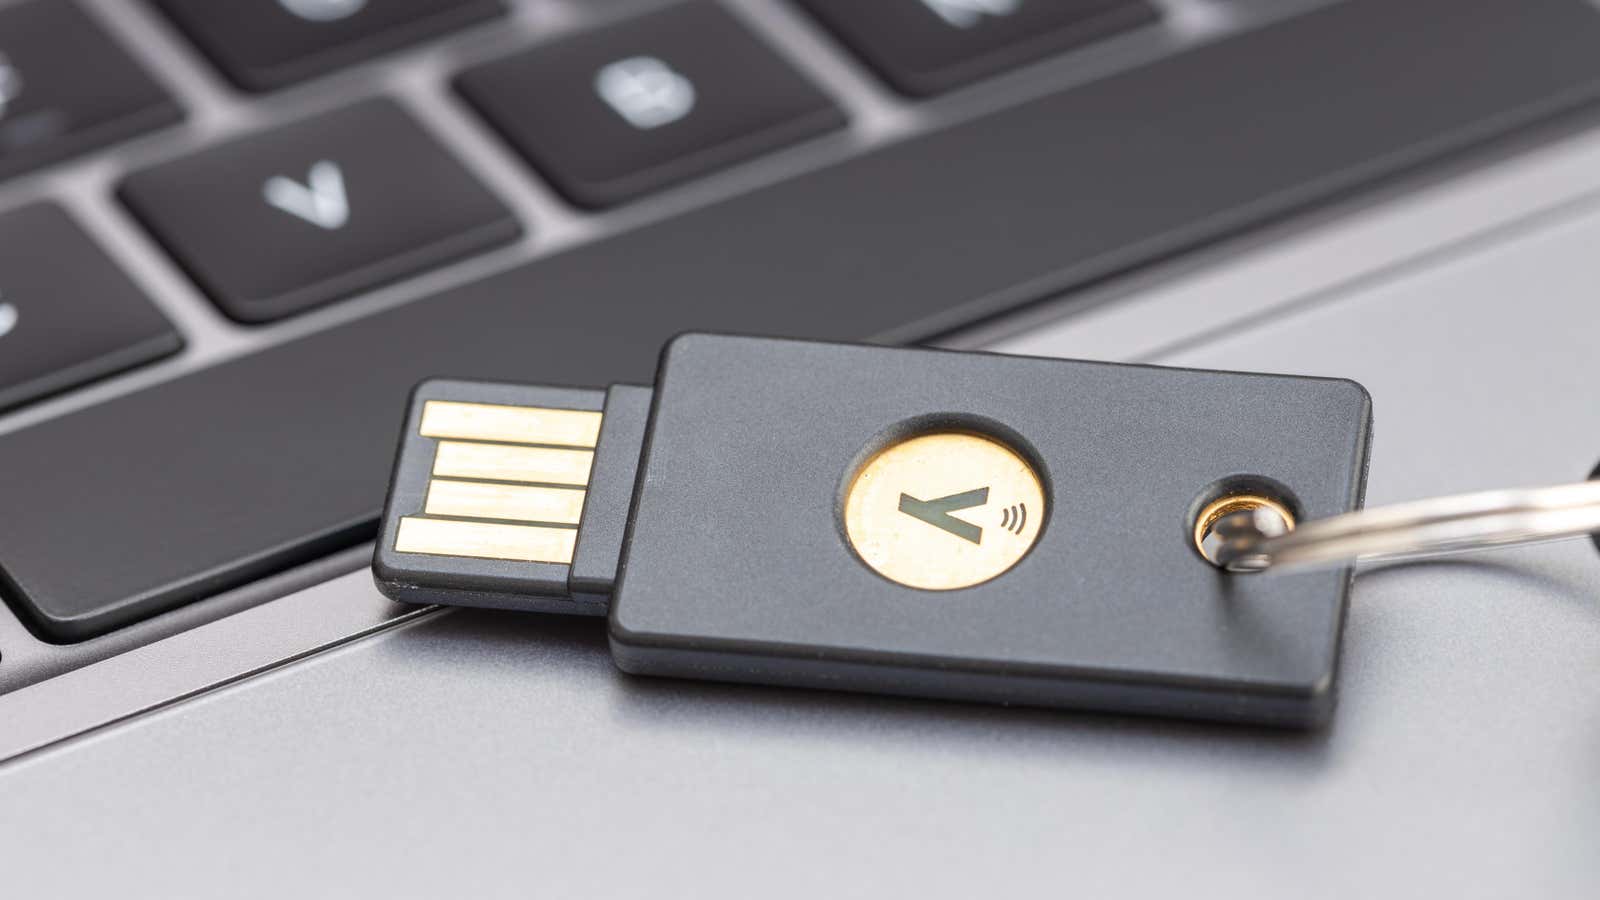
Security keys have existed long before Apple decided to embed them in the Apple ID. In short, it is a small device that resembles a USB flash drive that can be used to authenticate when logging into an account or device. Once set up, you can use the security key as an alternative form of two-factor authentication (2FA). Instead of relying on an SMS code or an authenticator app to verify your identity, you instead connect your security key to your device to authenticate.
The advantages here are obvious: if someone wants to hack into your account, they need access to your physical security key to do so. By ensuring that your key remains safe and sound with you, the chances of being hacked will be drastically reduced.
Of course, theft still happens, which is why experts recommend combining security keys with a second form of authentication, such as a password or PIN. This way, if someone steals your key, they still won’t be able to access your account without the passcode.
How security keys work with Apple ID
Until now, Apple ID two-factor authentication sent you a six-digit code to a trusted device when you tried to sign in to your Apple ID. Instead of using this code, you can now connect a security key to your iPhone, iPad or Mac to authenticate yourself – after entering the correct passcode. Apple added support for security keys in iOS 16.3 for iPhone , iPadOS 16.3 for iPad, and macOS Ventura 13.2 for Mac.
Apple is Apple, there are some peculiarities in this process. To get started, you’ll need to maintain two FIDO-certified security keys at all times if you want to use this feature, because Apple doesn’t want you to be locked out of your account if you lose one. There are also some restrictions on the devices and services you can use these keys with. You won’t be able to use it to sign in to iCloud for Windows; devices that do not support iOS and iPadOS 16.3 or later or macOS Ventura 13.2 or later; child accounts and managed Apple IDs; and an Apple Watch paired with a family member’s iPhone.
As you might guess, you need to leave two-factor authentication enabled, but you also need access to a “modern web browser”. To sign in to your Apple Watch, Apple TV, or HomePod after setting up this feature, you’ll also need a compatible iPhone.
While any FIDO-certified security key should work , Apple highlights three that it thinks are best for its devices:
- YubiKey 5C NFC (Works with most Macs and iPhones)
- YubiKey 5Ci (works with most Macs and iPhones)
- FEITAN ePass K9 NFC USB-A (works with older Macs and most iPhones)
Be aware of the security key connector type. NFC keys, for example, will work wirelessly with all iPhones. USB-C dongles work great with newer Macs and iPads, but iPhones and older iPads will require a Lightning dongle to connect directly; otherwise, you’ll need an adapter to get them to work. This is probably why Apple recommends the YubiKey 5C NFC in the first place, as its NFC connection will work with your iPhone, and its USB-C port will connect to many Macs and iPads.
How to set up security keys with your Apple ID
Before you set up security keys, remember: after you add two security keys to your Apple ID, you will always need at least one of these keys if you want to sign in to your Apple ID, reset your Apple ID password, unlock your Apple ID or manage your keys.
If you want to set up security keys on your iPhone or iPad, make sure your device is updated to at least iOS 16.3 or iPadOS 16.3. Then go to Settings > Password & Security and click Add Security Keys. Your device will guide you through the setup to add the keys. Finally, choose which devices connected to your account will remain active and which ones you want to remove from your Apple ID.
On a Mac, make sure you’re using macOS Ventura 13.2 or later, then go to System Preferences > [your name] > Password & Security . Click Add next to Security Keys, then follow Apple’s instructions to add your keys. Check the devices connected to your Apple ID again.
How to remove security keys from your Apple ID
If you find that you no longer want to use the security keys, it’s easy to remove them. On an iPhone or iPad, go back to Settings > Password & Security , then tap Security Keys. On a Mac, go back to System Preferences > [your name] > Password & Security and select Security Keys. On any system, select Remove all security keys. Once you do this, you’ll revert to the old 2FA system, requiring you to enter a six-digit code each time you sign in to your Apple ID on a new device.