The Two Biggest Mistakes Newcomers Make on the Rowing Machine
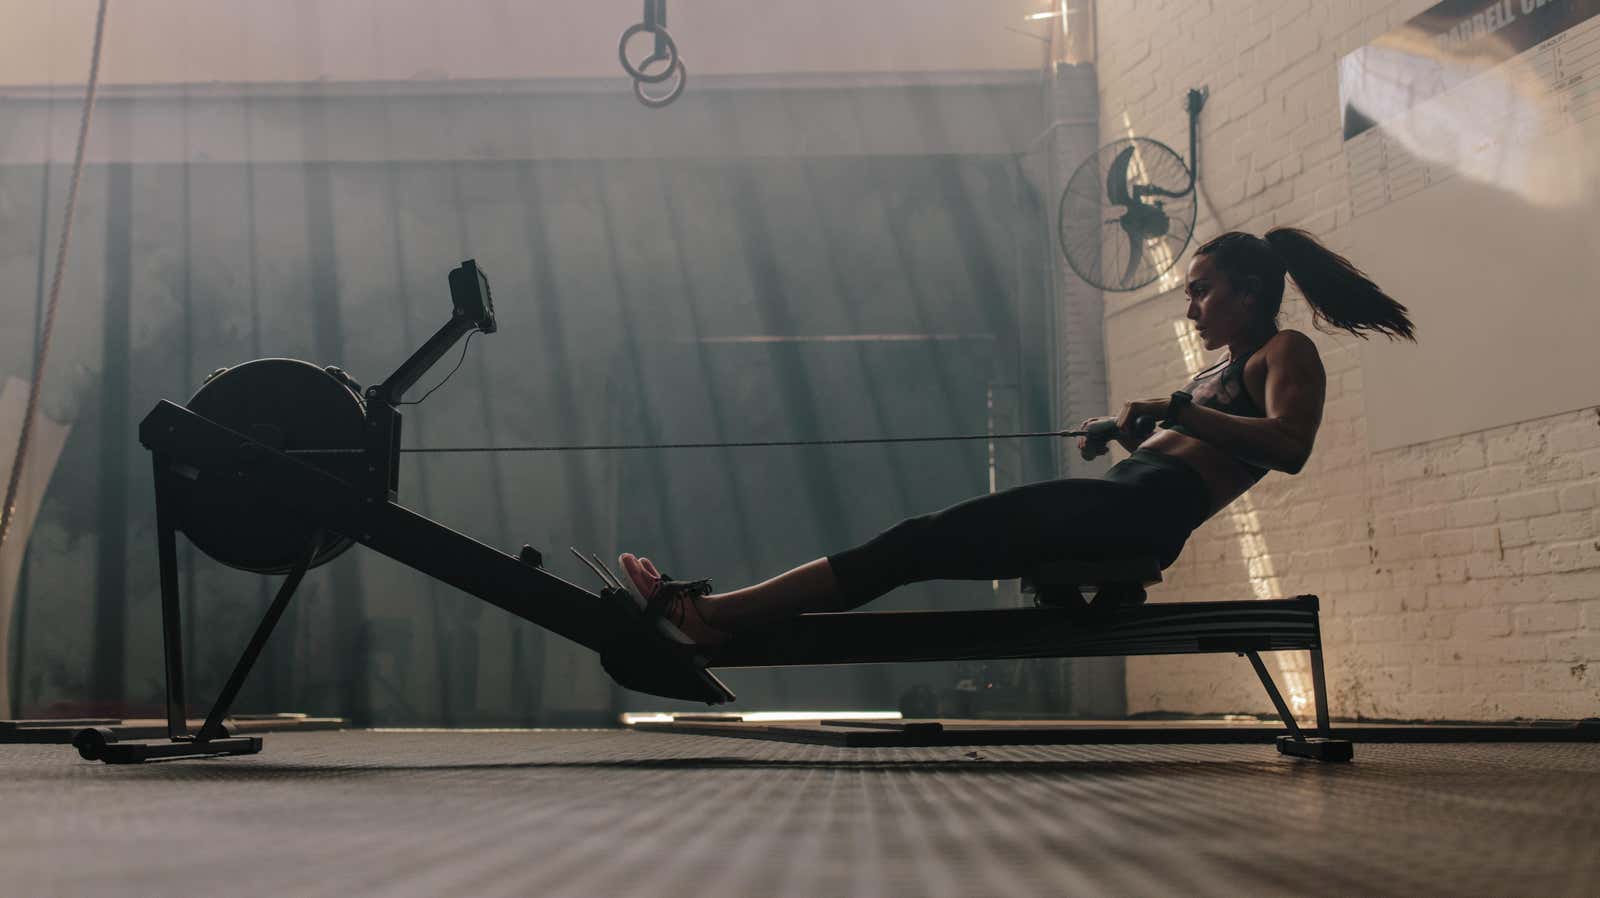
When an experienced person uses the rowing machine, it is almost something beautiful – a continuous rhythm, his whole body continuously moving back and forth as the numbers on the screen go higher and higher. So why, when you sit down, you immediately feel impossible, and your back hurts?
There is a learning curve (also called ergonomics) on the rowing machine, but you can get the hang of it—perhaps faster than you think. It is also common to note the damper setting and assume that it works the same way as the resistance setting on any other cardio machine, but this is not entirely true. But once you get your technique right and learn how to set up the damper, you will soon begin to rhythmically slide yourself.
Push with your feet then pull with your hands
The biggest technique mistake that most of us make is that we grab the handle and immediately connect it with our hands. After all, the point is to row to us, right? Not really. The first thing you need to do, after you have taken the handle in your hands, is to push off with your feet. This is the part of the movement where you need to apply the most power, and it’s convenient that your legs are home to your biggest muscles. You start the stroke by treating this initial phase almost like a squat.
You can then include the upper body in it. Once your legs are almost straight, lean back from your hips; only after that you should pull with your hands. So the sequence is:
- push with feet
- Sit back a little
- Pull with your hands
If you’re used to doing cable pulls or barbell rows in strength training, this pull is like the last step here. You can use your usual lines, but only after completing the first two steps.
After you have done all three parts of the stroke, you will lean back with your legs straight and the handle at your chest. Now what? Just do the opposite:
- Let your arms straighten
- Return your body to an upright position
- Bend your legs and return your buttocks to the starting position.
Just repeat to yourself: “Legs-back-hands, hands-back-legs.” Once you understand this basic rhythm, you can watch videos on the intricacies of the technique, such as those from Concept2 .
Leave flapper at #4
On other cardio machines, you usually have at least two ways to adjust the difficulty (say, incline and speed or resistance and cadence), and you’ll tend to fiddle with them throughout your workout. However, there is one big lever on the rowing machine that controls the damper and it is best to set it to 4 (out of 10) and leave it there.
This is because it is not actually a resistance setting, although many people mistake it for one. It might make more sense to think of it as water resistance if you were in a real rowboat or rowboat. You don’t get a more intense workout by moving your boat into a lake that’s made up of, I don’t know, mercury. You stay on the water and either row faster or push harder.
At higher settings, it is difficult to get the flywheel to spin, and the flywheel also slows down more before the next turn. Concept2 compares rowing at a high damper setting (above 5 or so) to rowing on a clumsy rowboat: you have to push harder and you can’t easily get into a continuous rhythm. You can do this if you need more strength training, just like runners can focus on strength by sprinting up a steep hill. But that’s not the way you expect to do most of your learning.
To prove this, Concept2 asked Olympic rowers what settings they actually use. Serious rowers, instead of looking up the damper number, look up their “drag factor” (which you can find on the rower’s small screen) and adjust the damper as needed to get the desired drag factor. But the settings they described usually match a damper setting of 3 to 5, so 4 is a safe bet.