Upholstery With an Old Sweater
If you have a sweater that you love but don’t wear anymore, there’s another way to give it new life: what’s more, you can give new life to an old piece of furniture. Adding some texture or color to an old piece of furniture is easy and economical with this unique DIY tool. You can create a truly one-of-a-kind item with just a few tools by following these steps.
To start re-upholstering a chair seat, stool, or cushion, you’ll need a sweater that you don’t mind cutting, fabric scissors , a flat-head screwdriver , pliers , a construction stapler , and some upholstery padding (if the previous upholstery is damaged or missing).
How to remove old upholstery from furniture
Start by turning the piece of furniture upside down so you can see the entire lining and staples or upholstery tacks. You’ll usually see black or gray lining that keeps everything on the underside of the seat looking neat. Carefully remove the staples that secure the fabric, as you can reuse it once the new sweater upholstery is installed. If it is damaged, take a new backing and use the old backing as a template to cut it to size. Once you have released the lining, you can put it aside.
Remove old upholstery and staples
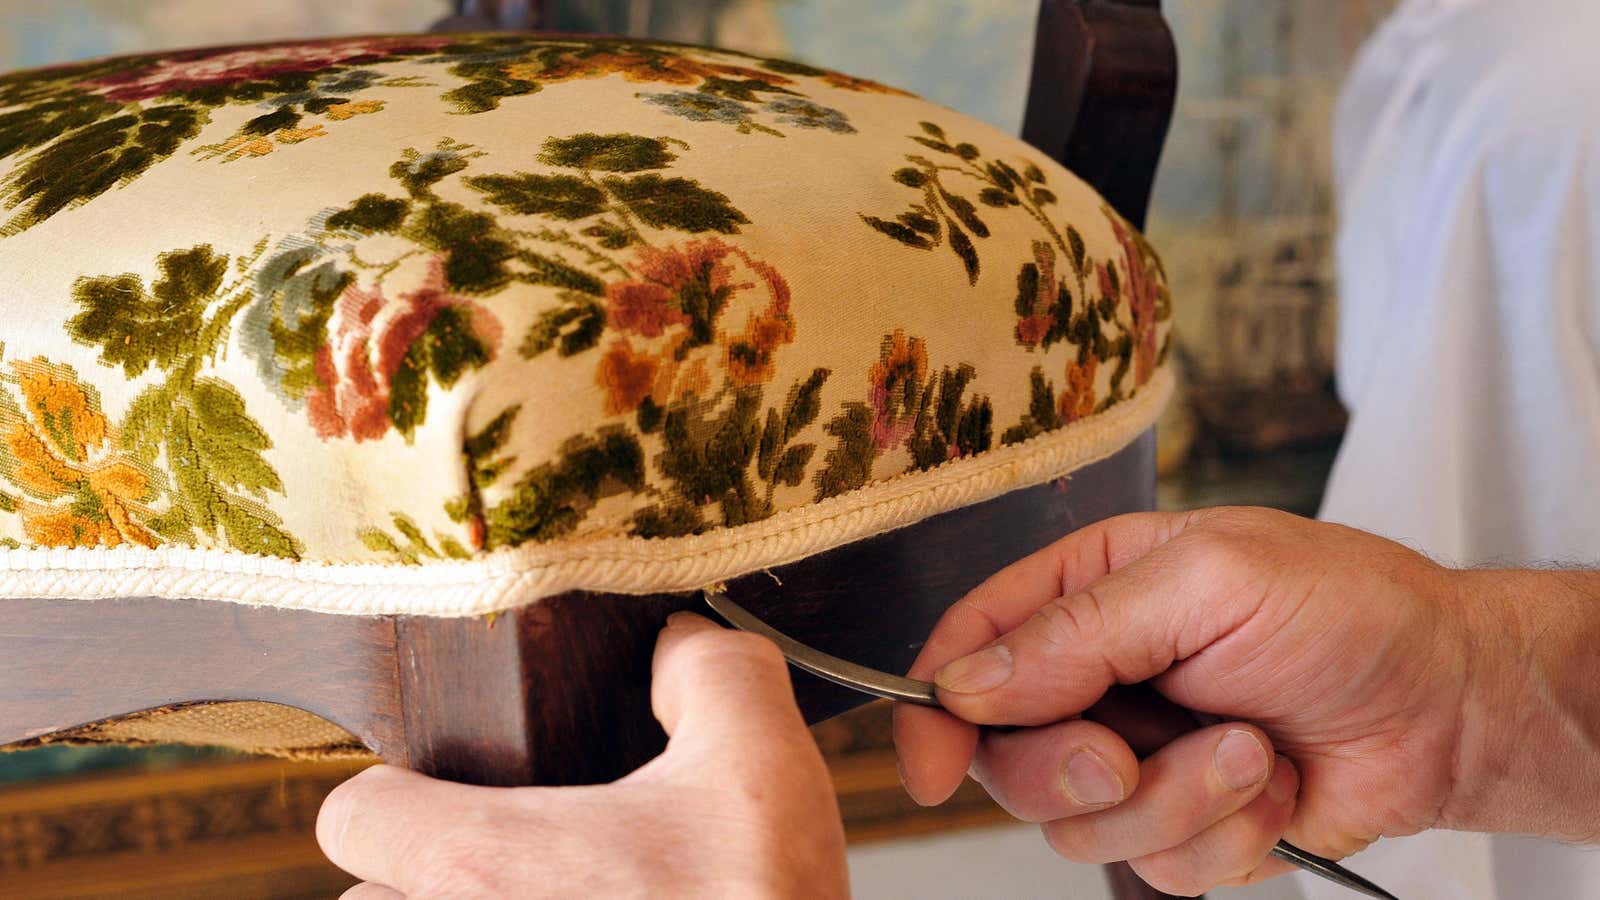
Next, take a look at the edge of the old upholstery. It will most likely be held in place with staples or upholstery nails. Use a screwdriver and pliers to remove the staples. If the old staples are difficult to remove, try slipping the flat head under the fabric and pulling from underneath. Sometimes the distribution of force helps to loosen stuck staples without breaking them or getting stuck. If your staples end up breaking and you can’t get them all the way out, you can use a pair of wire cutters to cut them off and then a nail to hammer them flush so they don’t hurt you. .
Add lining, pillow and batting
After the old fabric is removed, inspect the batting and cushion material inside. If it is intact, you can start re-upholstering your seat by cutting the upholstery backing to the same size and shape as the previous upholstery, using the old upholstery as a template. If the padding needs to be replaced, you can get new foam and batting and cut them to size. Be sure to write down the approximate depth of your pillow for an accurate fit.
Hold the foam in place once it’s cut off, then pull the batting over it, pinning one edge along the bottom of the seat, then stretching it and pinning the opposite side, starting in the middle and working towards the corners. Then staple along the other two sides, holding the material firmly enough to iron out any creases. Repeat this procedure with the upholstery lining, stapling it about half an inch from the edge all the way around.
Attach your saved sweater
Once your item is lined and padded, take the salvaged sweater material and lay it out flat. The sleeves should be removed at the shoulder seams, after which the fabric can be cut and straightened. Spread the sweater fabric in the desired direction to align the pattern and cover the seat. Make sure the right side of the sweater fabric is facing down and place the seat upside down on the fabric. Then pull the back edge up and staple it along the bottom of the seat on one side about half an inch from the edge of the material, pulling it out. Then pull the other side up and staple from the middle to the edges, smoothing out the creases towards the corners. Then fasten the sides and then the corners, fold all the folds inward, fasten and cut along the edge.
Finally, replace the old (or new) lining by tucking in the edges and overlapping the edges of the upholstery to get a clean edge. Then flip the piece back and enjoy.