Your Next Party Needs This Giant Grilled Cheese Sandwich
Grilled cheese leads the category for reliable sandwiches. Simple in method and easily liked by the crowd, their only real drawback is that they are difficult to make for a real crowd. Therefore, I aimed to develop a grilled cheese production method with all the benefits of stovetop cheese and the ability to scale. Also, I find that party food is best when it’s the size of an appetizer – something you can stand with and be done with in a couple of bites. My solution was to create one giant grilled cheese sandwich fully cooked in the oven and cut it into small pieces. The result was cheesy sandwich perfection.
Done right, this method produces a thin, crispy, deep-fried exterior and a melted, flavorful interior, all without having to stand ready to slurp and flip each sandwich one at a time. To make it, you need all the usual cheese ingredients for sandwiches, multiplied by about eight. You will also need two baking sheets that are the same or nearly the same size and an oven-safe skillet or pot. I used soft, sliced wheat bread and removed just a few of the rounded edges so the slices could sit as close to the pan as possible without wasting too much bread. (To quickly form several slices at once, stack them and cut together with a serrated knife.) Save the scraps for breadcrumbs or an impatient snack. Lay the slices of bread on a baking sheet, stacking the halves together until the entire surface is covered. Using a pastry brush or flexible rubber spatula, brush the bread with a layer of softened salted butter. No bread boundaries need to be observed; treat bread as if it were one big piece.
Flip the slices over so that the oiled side is pressed against the metal of the baking dish. Layer of bread with cheese and seasonings as you wish. I used boursen, cheddar and black pepper, but feel free to add your tried and true favorites. Cover the filling with more rectangular slices of bread, staggering them so the edges don’t line up perfectly. (If you had full slices on the right and half slices on the left, the top layer should be full slices on the left and half slices on the right.) the pieces will still stick together on one side. Oil the top as you did the bottom, but leave the oil up.
If later you are going to cut it into smaller, separable pieces, it is important to change the attitude towards it as a single object – you are not making separate sandwiches that happen to be next to each other, you are making one big sandwich. Remember to put the filling on top of the bread so that there are no empty spaces later when you cut it into small pieces. If I had more cheese in my apartment, I would cover it even more thoroughly.
Place a second baking sheet on top so that the metal is in good contact with the buttered bread. Place it in a preheated oven at 400°C and place a heavy, oven-friendly pan or saucepan on top. Bake this for 20 minutes. The metal of the pans in direct contact with the buttered bread will create a crispy, evenly toasted surface on both the top and bottom of your party-sized fried cheese. I avoided using parchment or foil lining because it doesn’t help with browning but doesn’t increase the risk of sticking. After 20 minutes, remove the pan and the top pan. The edges will brown, but the area directly under the pan may be slightly lighter. Turn the grill over for two minutes to take care of it.
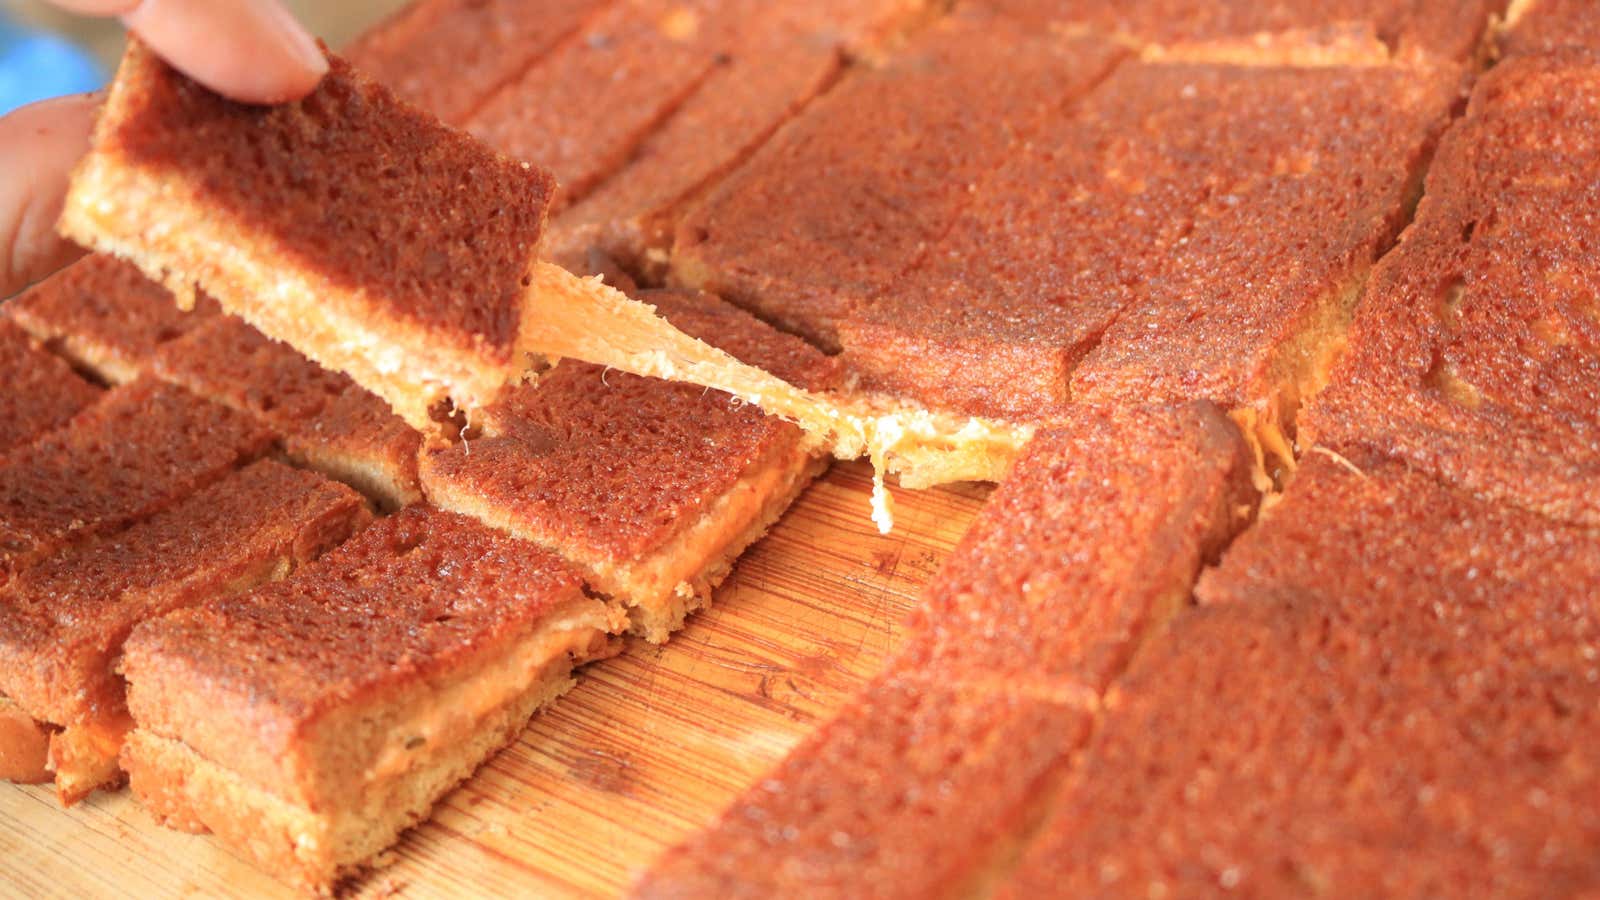
Remove the sandwich from the oven and use a small knife or metal spatula to separate the melted cheese from the edge. Immediately place a large cutting board on top and turn it over to separate the sandwich from the baking sheet. While it’s still hot and crispy, cut the sandwich into your desired size and serve to the waiting eaters. Depending on how big or small you cut them, a 10″ by 15″ tray can make 20-48 pieces.