Quickly Classify a Room With Painted Fake Arches
Arches are a good way to give any room an eye-catching focal point, but installing an arched door or building an arched niche is time-consuming and potentially expensive. Instead, add a painted arch or two to achieve the same seductive allure without breaking the budget. Here are some tips on how to color it and how to successfully incorporate the look into your decor.
Tools and materials
For this project, you will need a pencil, masking tape, cloth, brush and roller, and a tape measure. You will also need a thumbtack, strong string or a piece of wood long enough to reach half the width of the arch, and a drill.
Scale and proportion
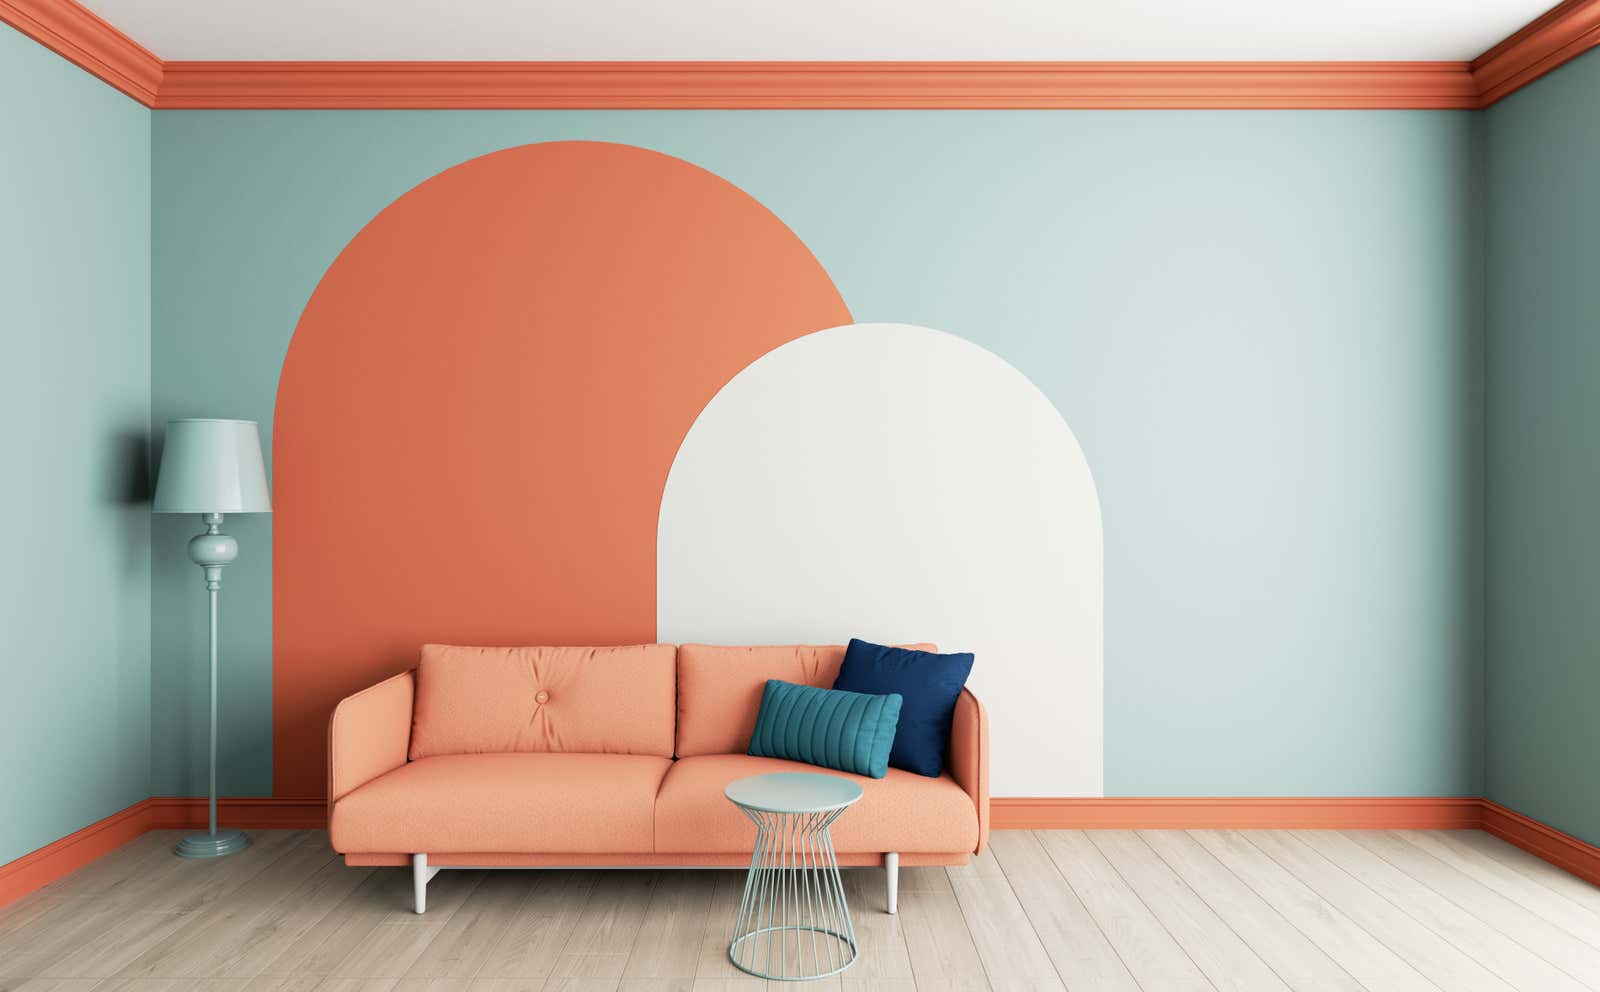
Placing an arch doesn’t require you to follow any hard and fast rules, and using paint to create it also frees you from structural considerations. However, keep two things in mind: scale and proportion. If you plan to make one centered arch on the wall, then in order for it to look proportional, it occupies no more than one third of the width of the wall. If you want it on top, it can take up two-thirds of the space, but be sure to leave enough wall color around the edges so you can see the shape without blending into the background. The same rule applies to height: in order for the arch to stand out from the higher parts of the wall near the ceiling, the top of the arch should not go too close to the junction of the wall and ceiling.
Place your arch
For an arch centered on a wall: Once you have determined the width of the arch, measure from each adjoining wall to make sure you place it correctly. As a guide, you can measure from the corner where the wall to be arched meets adjacent walls, and then make a mark in the center. Then draw the sides of the arch at equal distances from the center mark.
draw your arch
After you place the marks on the sides of the arch, use painter’s tape to mask the sides. Drawing the top of the arch is the hardest part, but there are some tricks that can make it easier. Use a pencil and a piece of string, you can easily draw a curve. Make a mark on the wall centered between the two sides you already marked and at the top. Tie a pencil to a string, then measure half the width of the arch on the string and cut it to that length. Using the button, fasten the thread in the center of the arch and draw a semicircle while keeping the thread taut. You can also accomplish the same feat using wood chips. Drill a hole at one end, then measure half the width of the arch and drill another hole. Use the button to secure the crowbar through one hole in the center of the planned arch. Insert a pencil into the second hole and move the wooden plank in a semi-circle along the wall, using your makeshift compass to draw as you go. You can also draw your semicircle on a piece of cardboard, cut out the curve, and tape it to the wall to use as a guide.
Painting your arch
Once your arch is painted on the wall, lay down the fabric and paint the arch. You can either cut along the line with the brush if you’re good at drawing straight lines, or use painter’s tape to mask the edge.