This Tomato Pie Is a Worthy Memorial to Your Last Summer Tomato.
Only an icy heart is indifferent to the last summer tomato. I had a giant orange Brandywine that I kept on the vine too long and its fate was tomato pie.
I spent the summer making these tartlets in every possible way. Pies, puff pastry, various cheeses. They were perfect for any situation: single or a couple of friends came for dinner, lunch, barbecue, beach picnic or housewarming gift.
Tomato tart has all the hallmarks of the perfect dish: it’s easy to make, has very few ingredients, cooks quickly, and looks incredibly beautiful. Did I mention he’s also vegetarian? With a salad, it’s a complete meal; It’s the perfect first course on its own.
This summer I made 12 pieces.
How to make tomato tart
First, decide what you prefer: pie crust or puff pastry. Puff pastry produces a lighter crust, but pie dough produces a crispier crust that can withstand the pressure of more cheese. I keep frozen pie crusts and puff pastry on hand, so this dish is easy to make on a whim, but if you feel more complacent about making your own crust, you do. I defrost the cake for a few hours, then keep it in the fridge so it’s cold when I roll it out.
You will need a two-piece tartlet mold. The sides detach from the bottom, so when it’s time to serve, you can easily pop the cake out of the pan by placing your hand under the base and holding it up in the air. The sides of the mold will fall around your hand, revealing the cake. You can then easily slide it from the base onto a serving plate.
But before that, start by rolling out the dough. The dough is either round or square, and you’ll find that this helps shape it into shape before you start rolling it out. Regardless of the shape or size of the tart pan, one crust usually covers it. Because I used a rectangular pan, I folded the round dough into thirds to make a rectangle. Roll it out so that it is large enough to fill the entire pan and fall off the sides. I usually turn the dough over and turn it over while rolling it so it doesn’t stick.
Now put the dough into the mold. Drapery is the right word – you need to be sure you’re not stretching the dough at all, so be gentle and generous and don’t worry about creases. They will be covered. It is more important that there is too much dough, as it will shrink in the oven. You can fold the edges back into the tin or use a rolling pin to cut off the top of the tartlet tin to cut off the excess.
You will now be blind baking the crust, which causes the crust to mostly bake and form properly before you add the filling. First, place the tart pan on a baking sheet as it needs support to hold the two parts of the pan together.
Blind baking is simple: Place a sheet of tin foil lightly on top of the tart pastry, then fill it with beans or pie weights. Place the baking sheet in a preheated oven at 400℉ for 15 minutes. After baking, remove the baking sheet from the oven and carefully remove the foil with the beans, then set them aside. You are reusing foil and beans in future blind bakes.
Now use a fork to gently poke a few holes in the bottom of the tartlet dough and place it back in the oven for 10 minutes. The holes will help prevent the dough from puffing up, but even if it does, when you pull it out just pop the bubbles and they will deflate.
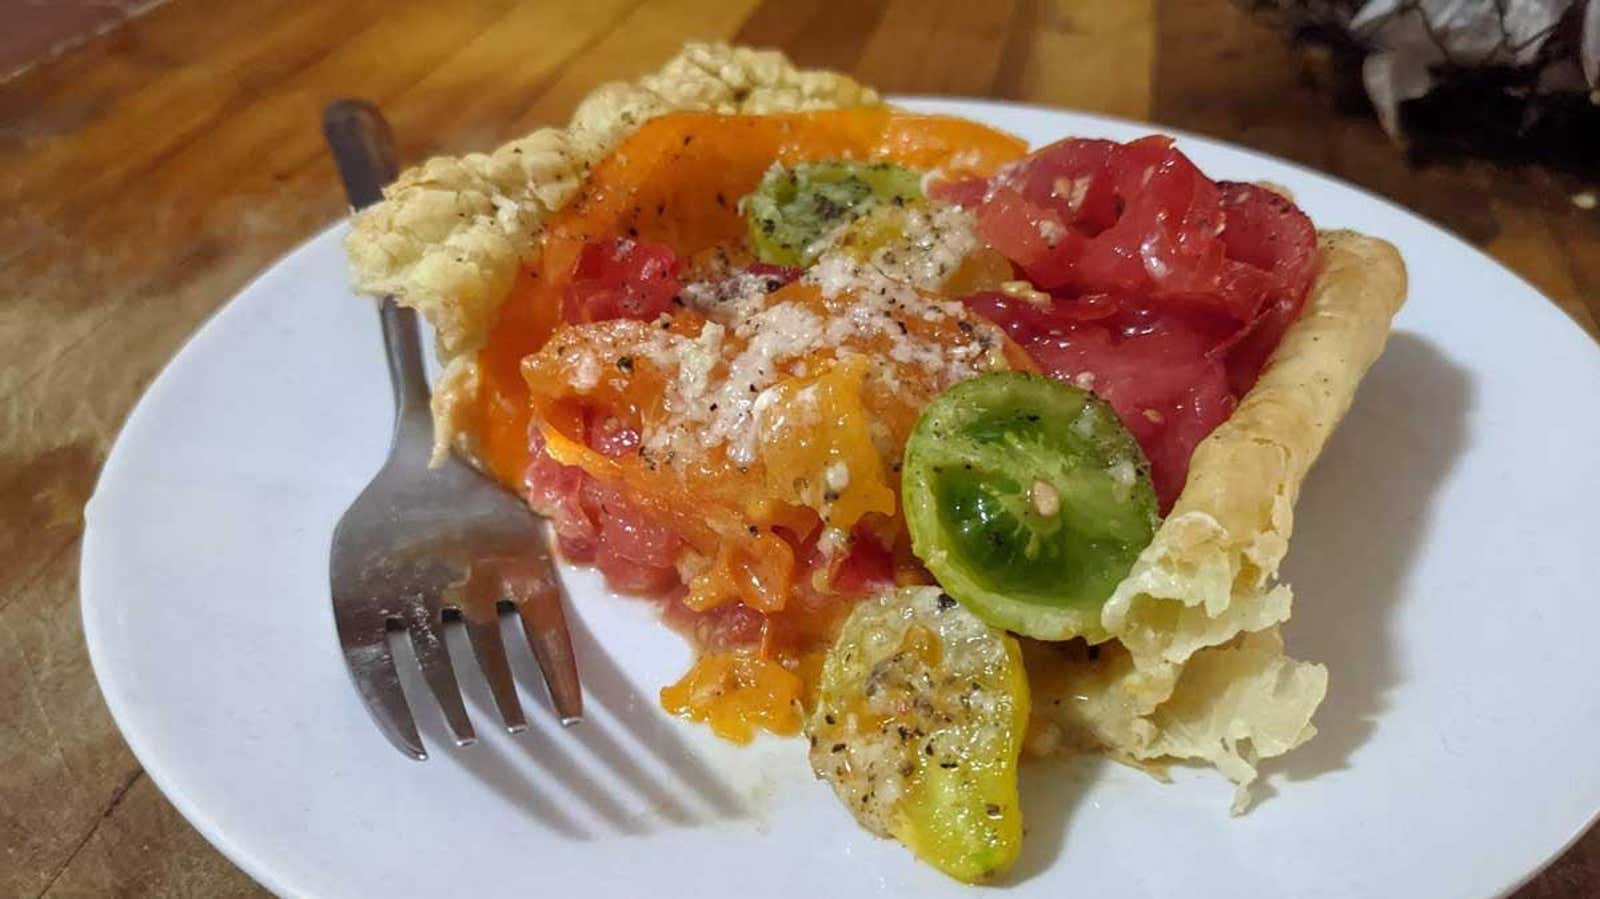
And now: cheese. The beauty of this pie is that you can choose any cheese for tomatoes. All summer I made tartlets with emmental and gruyère or with a thick layer of soft goat cheese and ricotta. A layer of brie would be magical. Gouda and tomatoes are never a mistake and I wish I never made them with kaseri.
In any case, you will need a healthy layer of cheese at the bottom of the pie. A cup of shredded cheese or 8 ounces of goat cheese and ricotta will do. Spread it evenly over the tart.
Now it’s time for the tomato. I have found that pies usually require two large sliced tomatoes or three or four medium sized tomatoes, but you can use 2-3 cups of halved cherry tomatoes instead. The more varied the colors, the better. I thinly slice large tomatoes horizontally, ¼ inch or thinner. While you can season them with olive oil or balsamic and some recipes call for it, I don’t think they do. Arrange the slices in layers in a tart dish; the easiest way is to start at one end and work your way to the other, changing colors as you go. You don’t need to fill the entire depth of the pie – you need one inch tomatoes.
Although it will be delicious without what you have already cooked, you can top it with basil leaves or olive halves, fried garlic cloves, capers or anchovies. You can add a layer under the caramelized onion or tapenade or tomato jam tomatoes. This tart is really flexible.
Sprinkle the Parmesan over the top of the pie and return to the preheated oven at 400℉ for 10 minutes to melt the cheese and bring it all together. The cake can be served at room temperature or warm—I swear it tastes better the second day—and it warms up nicely.
So before we head home for the winter of mealy, low-quality tomatoes, grab the last slicer from the market or from your garden and bake a cake to mark the end of summer.