How to Make a DIY Air Purifier for Your Home
As the winter season approaches, many people are going to gather indoors more often, meaning that virus-containing droplets will move through the air in tighter spaces. Good ventilation, including a portable air purifier, is something you can add to your COVID mitigation plan to reduce the risk of indoor virus transmission, according to the CDC , EPA , and OSHA . You can buy an air purifier for $150 to $300, or you can build your own for as little as $65 to $100.
Materials needed to make a DIY air purifier for the home
The Corsi-Rosenthal box, invented by Richard Corsi and Jim Rosenthal, is an efficient air purification system that can help remove virus-laden droplets from the air by sucking air into its HEPA filters. For your homemade purifier to work, it’s important to pay close attention to the directions because an air leak or a filter facing the wrong way will reduce the efficiency of the system.
Materials you’ll need for this project: duct tape , four MERV-13 air filters , a 20″ box fan , the box that the fan came in, and a utility knife .
How to make a portable air purifier with your own hands.
To build the box, tape the filters together, joining the inside edges of the filters to each other so that the filters lay flat with the arrow pointing towards you. After the filters are sewn around the edges, place them and connect the edges of the last two with tape. At this point, all arrows on the filters should point inwards. Go around the outside of the box and seal the seams on the outside with duct tape. Make sure the seams are well taped and strong.
Next, add a floor to your box by placing the box that the fan came in on the bottom of the square you just made, and fasten the seams there just as you did with the four sides. The box should fit snugly against the edges of the air filters, but if there are gaps, be sure to seal them with tape. This will give you the first five sides of your box.
Now take the fan and place it on top so that the air flow is coming out of the box. If you’re not sure which direction your fan should go, turn it on to see which direction it’s blowing. You will probably have some gaps at this point, as the fan may have a slight kink in the corner. You can use small pieces of cardboard and cut them with a utility knife to fit the gap. Then glue them with tape and secure the edges well. Then use tape to seal everything around the fan as well as the sides and bottom.
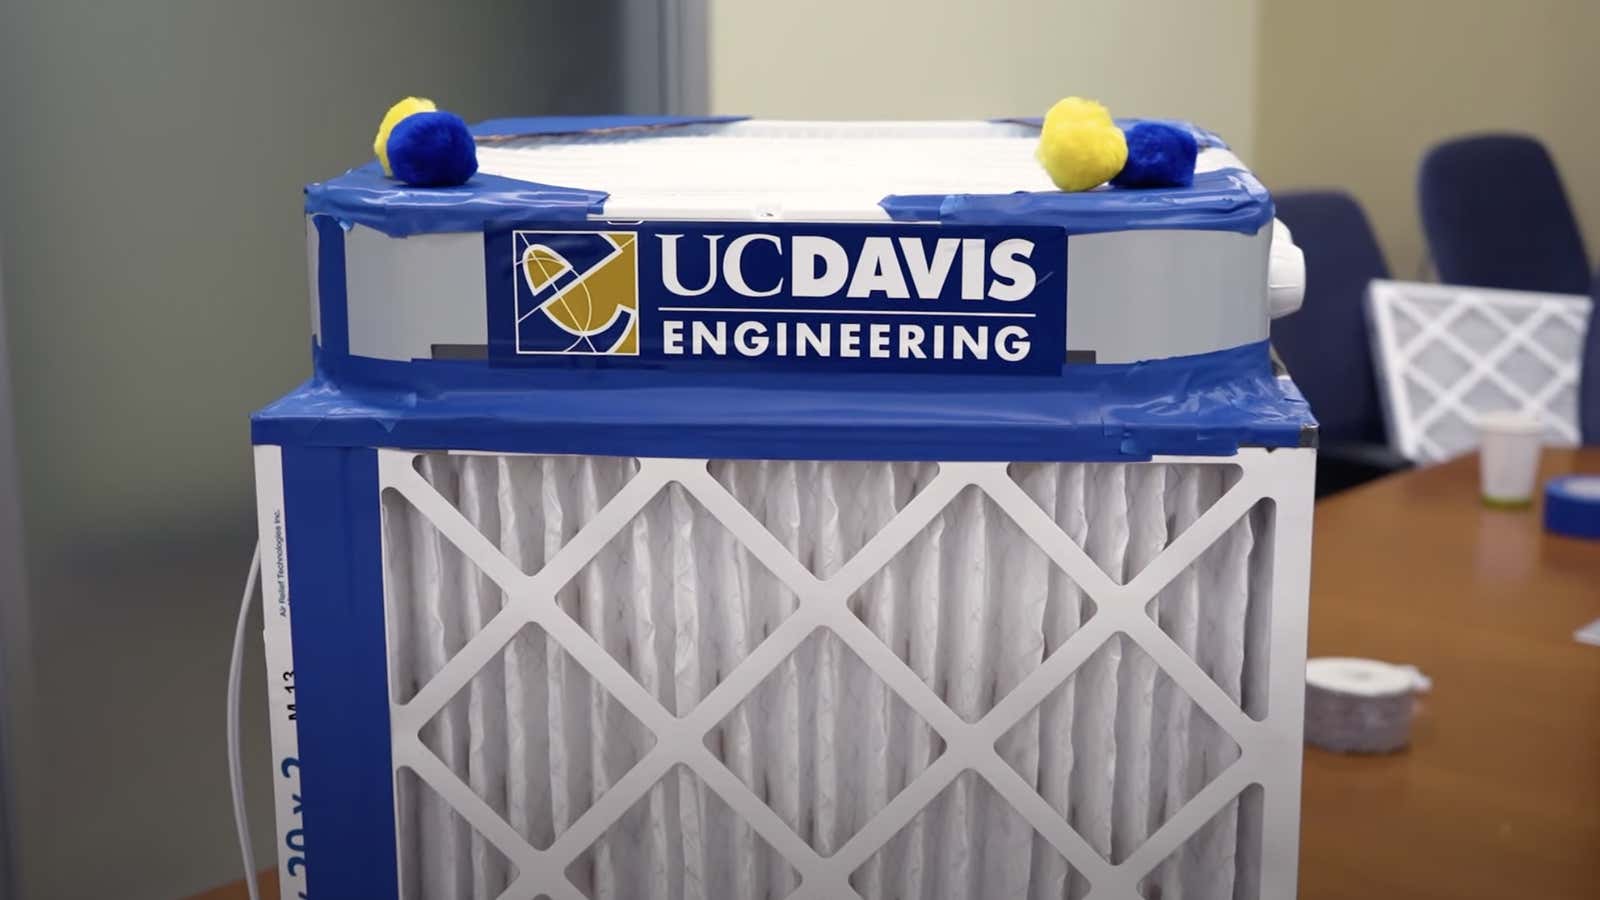
Final result
As a result, you should get a cube, the top of which is your fan blowing air out of the box, the bottom is a cardboard box, and the sides are MERV-13 filters with arrows pointing inward. suck in air by passing it through the box filters and blowing out cleaner air. For more detailed instructions, you can watch these video instructions from Richard Corsi , one of the inventors of the box.