How to Remove Unwanted Texture From Walls
One of the basic principles of interior design – if you ever plan to sell your home – is to avoid choosing a more permanent variety too personal. However, as anyone who has ever hunted for a house or apartment can attest, many people think that textured walls are a universally appealing design choice. Fact: it’s not . To be fair, textured walls are often used as a cost-saving measure , because they save the cost of installing drywall and hide damage and defects that would otherwise have to be repaired, but that doesn’t make them any less controversial.
If you find that you have a textured wall that you would like to be, well, not textured, don’t despair: there are ways to remove that texture. It just takes a little time and effort.
How to remove texture from unpainted walls
If your textured wall has been painted, you will need to apply a more complex solution (see below). This is because the paint acts as a sealant, protecting the texture from the enemy (which could be water and you). These approaches apply to textured ceilings as well. If the wall in question is not painted, you can use the Soak and Clean procedure to remove that texture from the wall. Like this:
- Protect your floors and furniture with rags because they can get dirty.
- Spray the wall evenly with water. You can use a pump sprayer, but a regular plastic sprayer will work just as well in a small space.
- Let the texture soak in for about 15 minutes.
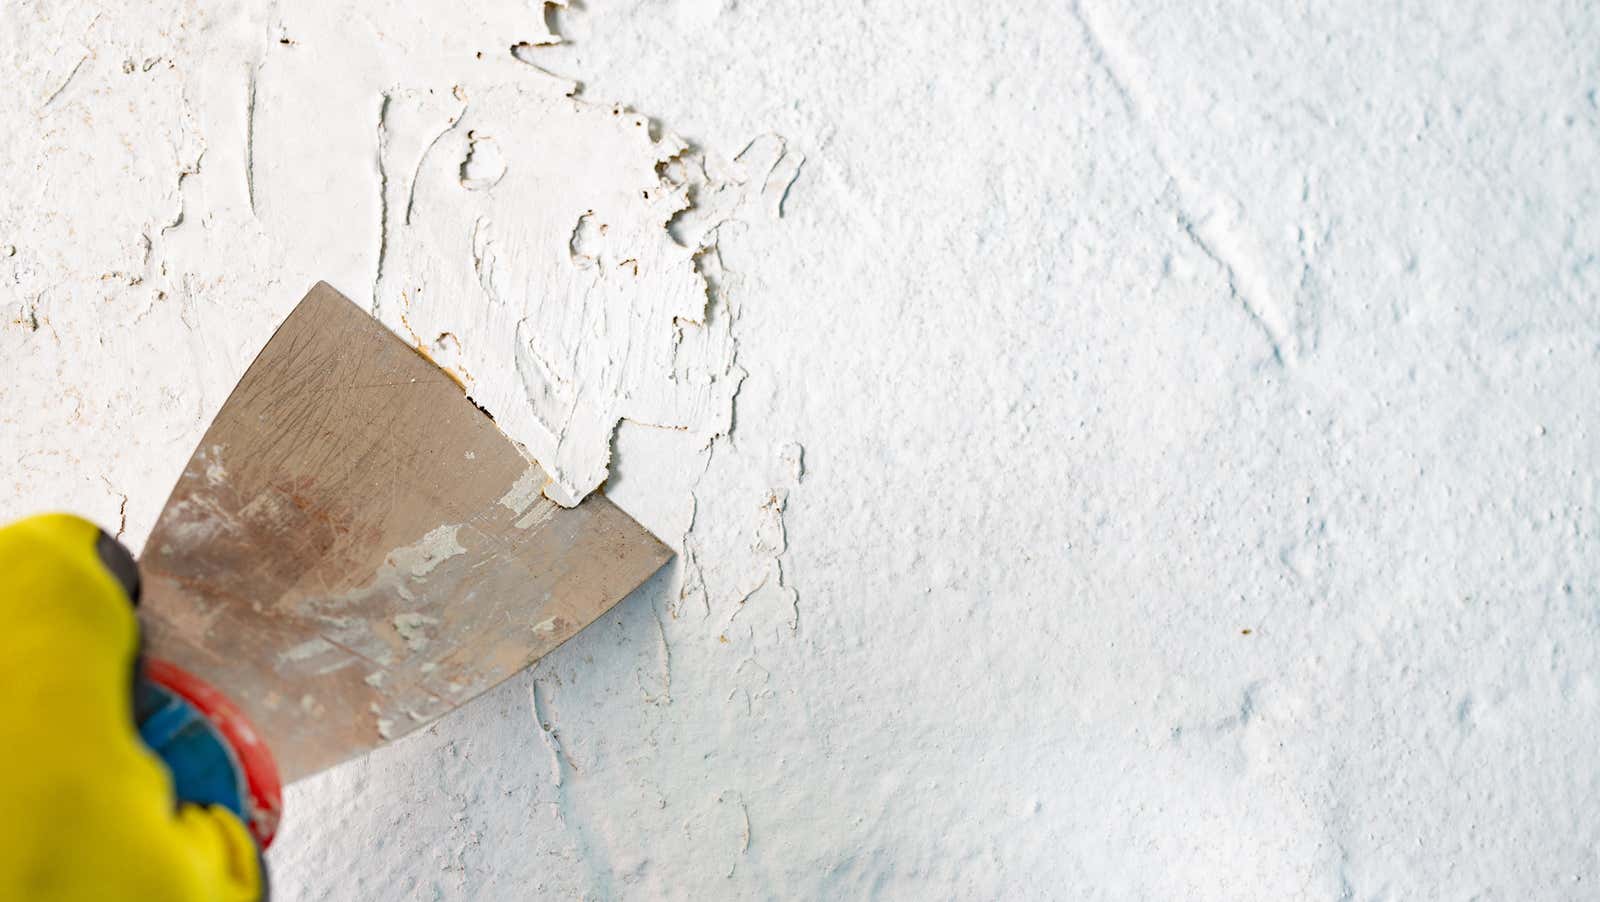
- Using a scraper or a large drywall knife, start scraping from the top and work your way down. The unpainted texture should peel off easily, making a huge mess. Be careful not to scratch the drywall – keep the blade at an angle and work slowly.
- Re-apply water if you hit an area with a stubborn texture or if the wall starts to dry out too much.
- Once the bulk of the texture has been removed, allow the wall to dry for at least 24 hours.
- Sand the wall with a sanding screen or fine sandpaper. Don’t go crazy – you just want the walls to be smooth and even.
- Patch any potholes or dents with drywall mortar, sand, and primer.
How to remove texture from painted walls
If your textured wall has been painted, you have a bigger challenge ahead of you. In fact, for painted textured walls, you might consider a nuclear option, just rip them out and install new drywall. If that’s not an option, you’ll have to apply a degreaser, a thin layer of drywall clay, over the existing wall. It’s not as easy as it sounds – yes, anyone can smear the compound all over the wall, but it takes a lot of skill to make it look good and have an even, smooth surface. It will be much better if you hire professionals for this. But if you’re a needlework enthusiast and want to do it yourself, here’s how:
- Remove skirting boards and trim.
- If the paint you are using has a glossy finish, lightly sand it to remove the gloss. Otherwise, your composition will not hold well.
- Scrape off the texture that separates relatively easily. You can use the soak and clean process to get more if you can.
- Mix composition. You can use powdered drywall mix or ready mix – the latter is much easier, the former is more affordable. In any case, mix the mixture with water – you want the consistency of batter – dilute the mixture so that it can be rolled with a paint roller. This will require a mixing attachment on an electric drill to get it right and may require some experimentation.
- Pour some diluted composition into a tray and start “painting” the walls with it. This will create a huge mess and require more effort than you might imagine. Walk your way through pain and suffering. Work in small sections if you don’t have a team working on leveling the walls behind you; otherwise, the mixture will dry out into a lumpy mass before you move on to the next step.
- Smooth out the layer you just applied from bottom to top. You can use a standard drywall knife for this if you have some experience, but a “magic trowel” (aka adjustable trowel ) will make it much easier. Slightly dampen the blade of a trowel or knife, then run it over the drywall, smoothing and mixing. Even with the “magic trowel” it drives the process crazy and takes some time to fix. Have a container for excess compound that you scrape off the walls. Your goal is to be as smooth as possible without defects, so take your time.
- Let the coat dry for 1-2 days. If your wall still has some texture, apply a second coat, smooth it out and let dry again. Do not sand between coats.
- When you are satisfied with the smoothness of the wall, lightly sand it with a sanding sponge. Don’t overdo it – the top layer is delicate and will crumble under too much pressure. Be gentle.
- Once you have the smooth walls of your dreams, prime and paint them.
Yes, it’s a lot of work, no matter which procedure you have to use. Is it worth it? It depends on the. It’s a lot cheaper and less disruptive than installing new drywall, but your chances of getting wobbly walls that don’t look great are… well, pretty high actually. You have to put a lot of time and effort into this project to make it look right – be patient and take your time.