Your Wooden Furniture Needs a Walnut
Fans of vintage or antique wood furniture know that these old pieces come with some drawbacks. For example, old solid wood furniture was built to last for centuries, unlike modern chipboard counterparts. But because of this, it can be very heavy (i.e. difficult to move) and quite expensive if it is in pristine condition.
This is another part of the trade-off: furniture built to last a lifetime (or even multiple generations) can remain durable, but with regular use it is likely to develop scratches, dents and other marks over time. . The upside of this is that it means you can get some amazing vintage wood furniture, including scratches and dents, for low (or at least reasonable) prices.
If you are worried about scratches and other defects and traces of use, there is always the opportunity to polish the product. But if you basically agree with them – or settle for something that makes the scratches significantly better but not completely perfect and requires infinitely less work – you might want to get some walnuts. Here’s what you need to know.
How to repair scratches on wooden furniture with walnuts
Before we get started, let’s start by saying that the walnut trick won’t give you perfect results or make scratches completely disappear. In addition, we understand that this is not a professional or permanent solution. However, this is a cheap and effortless way to improve the look of your wood furniture, endorsed by Bob Vila .
Here’s what to do:
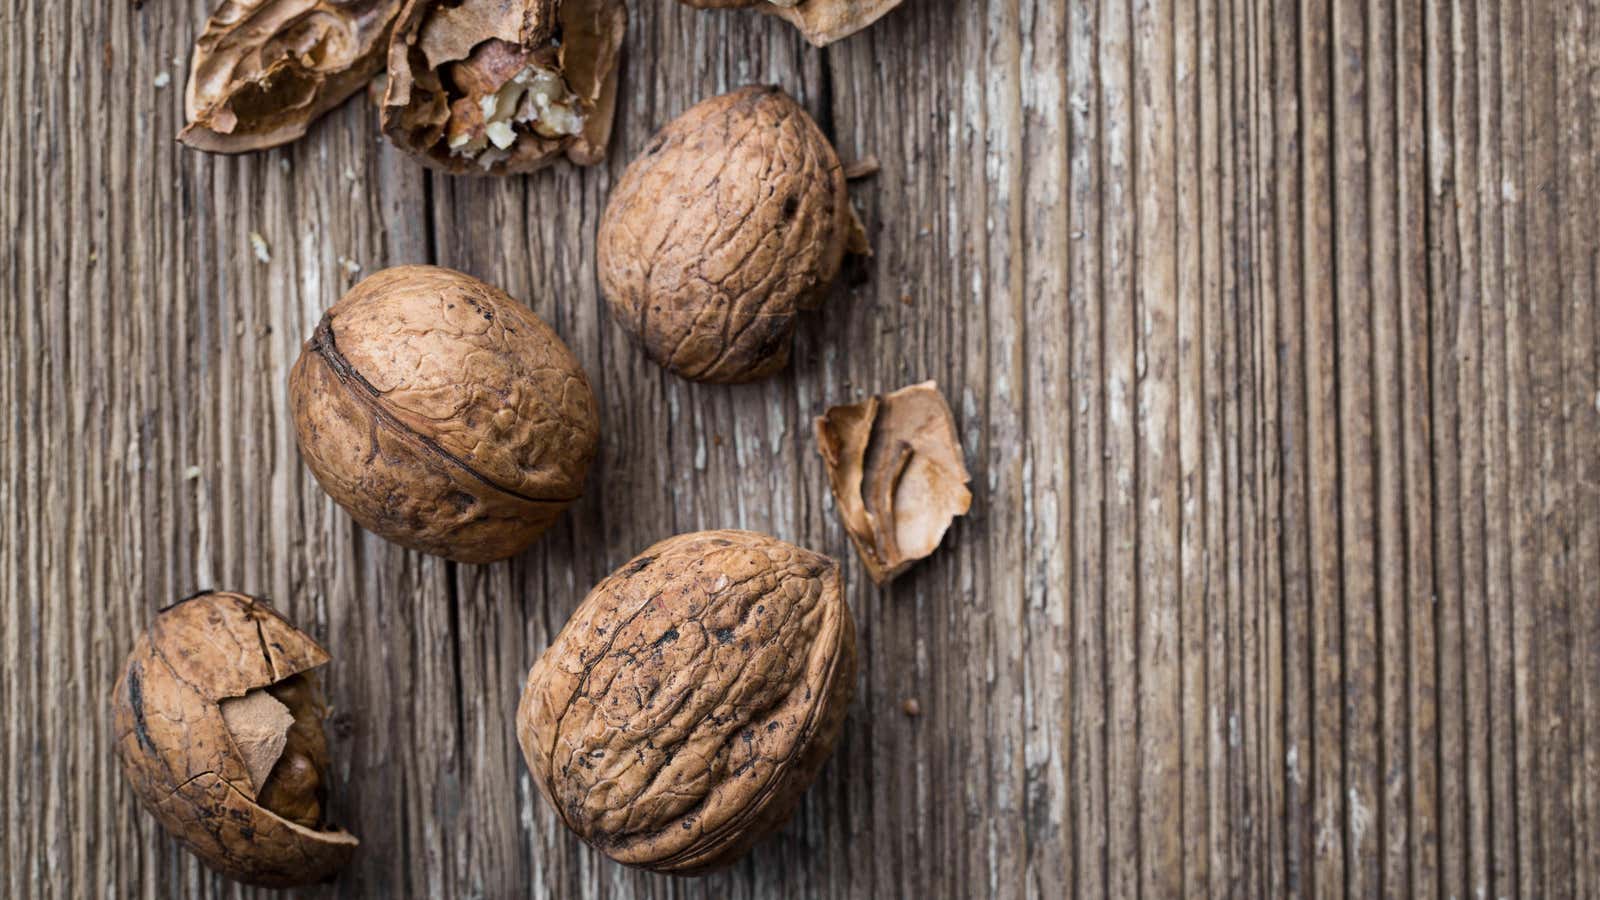
- Crack a walnut. (Or even easier, buy some that are already shelled.)
- Rub the walnut into the scratch in the same direction as the wood fibers until it looks/feels like it has been filled in.
- Run your finger over the walnut-filled scratch to heat the wood and release the walnut oils.
- Let it sit for about five minutes.
- Buff the scratch with a clean, soft cloth.
Does the walnut trick really work?
After seeing so many dramatic before and after photos of these walnut transformations, I wanted to see if this trick actually works like this in real life. So I tried this on a side table and a table (both recently bought on sale) and here are the results:
Top of the table before:
Top of final table after:
Table side in front:
Table side after:
Admittedly, the walnut trick worked much better than I expected and produced decent cosmetic results. With that in mind, here are a few observations and tips based solely on my own experience:
- Before you begin to grate, remove the brown skin from the surface of the walnut pulp . Not only does it get in the way when you’re trying to fill in scratches, but it can also get stuck inside scratches and dents and make them more noticeable than when you started.
- This trick is much more effective for shallow scratches at surface level than for deeper ones. This is clearly seen in the photographs of the table. The scratches on the side of the table were, for the most part, level with the surface, so the walnut mattered more.
- Don’t worry about matching the color of the walnut to the color of the wood . According to an article by Bob Veal , “the oils from the walnut will form a layer over the scratch, filling it in and darkening it” and that was my experience when I tried it.
- Be sure to take the time to rub the walnut in with your finger before leaving it on and then polish it. The only color matching issue I had was when I skipped this step.