How to Fix a Chip in the Bathroom

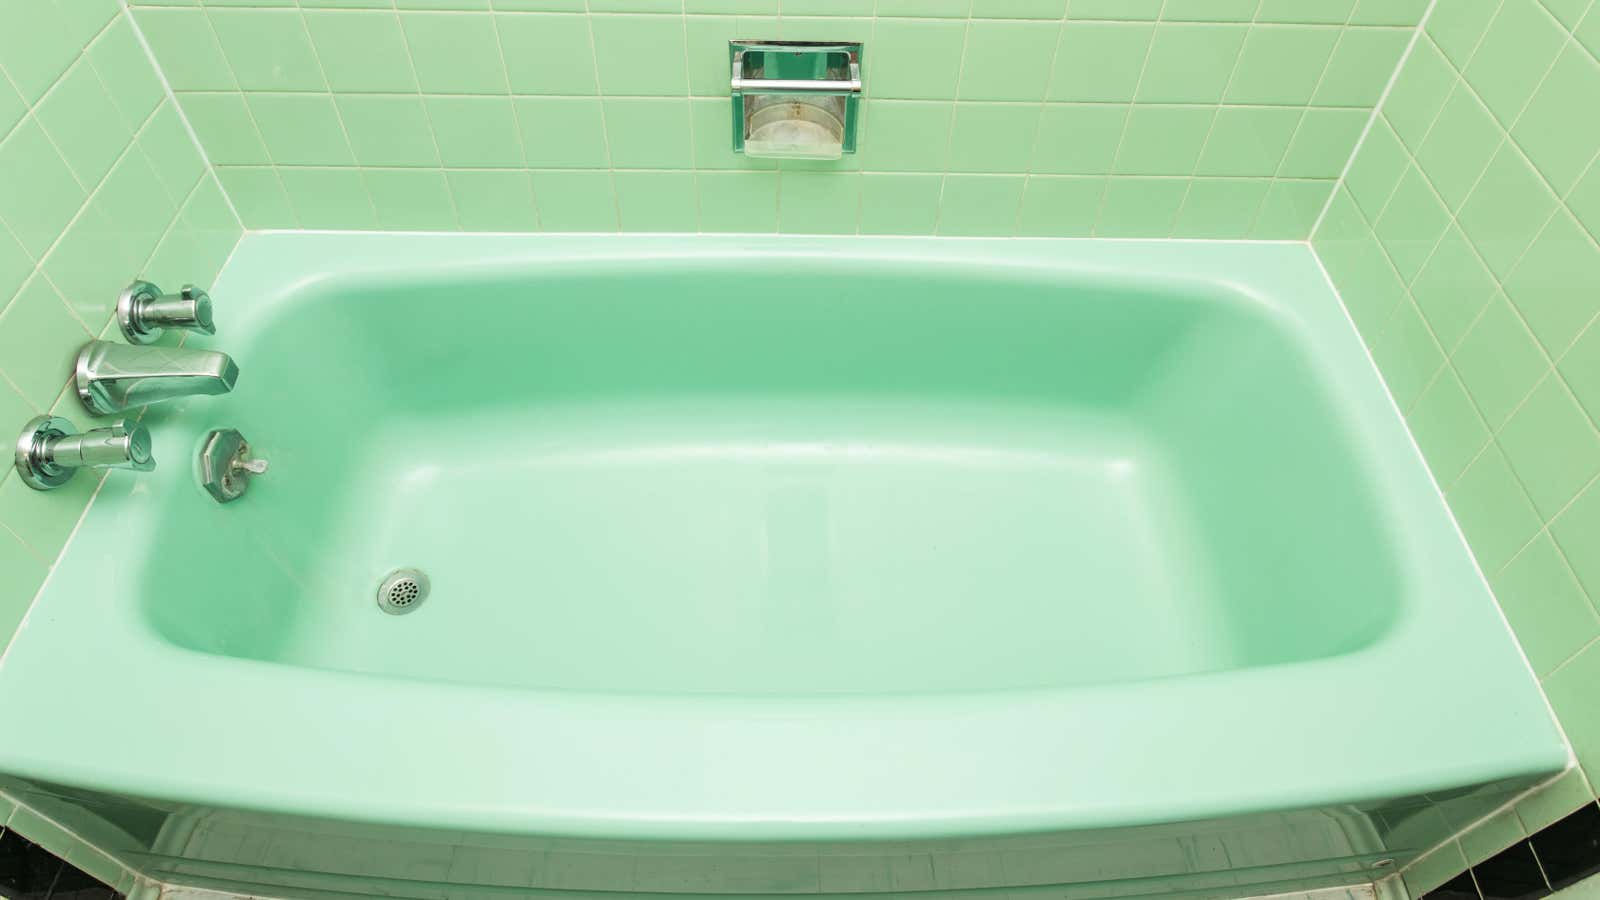
Whether you have a centenary freestanding model with legs, a colorful mid-century insert, or something a little more modern, your tub is likely to take up a significant portion of your bathroom. Even if you don’t take baths regularly (and if you do, why not? ), you still spend a lot of time in its surroundings.
But over time, your tub may crack in one or more places. Not only does this make it feel rough to the touch, but if left for a long time, the chip can get bigger and more severe. Fortunately, you can fix a chip in the bathroom yourself. Here’s what you need to know.
How to fix a chip in the bathroom
While you can fix a chip in your bathtub, you also need to remember that it probably won’t match the rest of the bathtub perfectly in color, luster, or both. But it will look better and, most importantly, make the bath safer and more convenient to use. Here’s how to do it:
Find the right repair kit
When repairing a chipped tub yourself, it is best to use a two part epoxy kit with catalyst and hardener. If you know what your bathtub is made of (eg porcelain, fiberglass, plastic, etc.), you can purchase a special kit for that material. Or you can get one that works for a variety of materials. Also, find a set that is closest in color to your bathtub.
Clear the area
In order for the epoxy to stick to your tub, you need to clean the area of dead skin, soap scum, and any other grime that has accumulated. Start by scrubbing the stain with a cleaner like dish soap or detergent, degreaser, or something with a little grit like Bar Keepers Friend. After that, wipe the area with alcohol or acetone to get rid of any residue. Finally, dry it with a lint-free cloth .
Mix epoxy
Follow the instructions on the repair kit and mix the epoxies. If you don’t have a disposable tray and mixing tool, be sure to use something you won’t ruin (such as a piece of cardboard, a plastic disposable plate, etc.). The kit will most likely contain enough of each compound to make several repairs , so don’t use it all at once.
Apply epoxy
First, use painter’s tape to mark off the area you’re going to be repairing. Then apply a thin layer to the chip with a plastic knife or brush. Spreading it one way, rather than both, ensures that the epoxy coats the chip evenly.
Let this layer dry.
It usually takes three to five hours for a layer of epoxy to dry, but if possible, leave it on for 24 hours so you know it’s cured. Once dry, the epoxy should be as hard as the tub itself.
Sand the stain
Now that the chip is filled and the epoxy is dry, it’s time to smooth it down. Spray the area with water first and then use ultra-fine sandpaper to narrow the edges of the repair so it blends in with the rest of the tub. Keep the bath and sandpaper wet while working. When you’re done, determine if the chip needs another layer of epoxy. If so, repeat the steps above.