Beginner’s Guide to Designing and Installing Outdoor Lighting
Outdoor lighting can add ambiance and style to your yard or patio, while also increasing safety and reducing inviting appeal. Installing outdoor lighting may seem complicated, but it’s quite simple and can be done without a license as long as the voltage stays low. Here’s what you’ll need to install outdoor lighting in your own backyard, and things to keep in mind as you make your placement and design decisions.
What You’ll Need to Add Outdoor Lighting to Your Yard
To begin, you will need an outdoor ground fault circuit breaker (GFCI) receptacle , which is designed to prevent electrical shock or water damage. If you don’t already have a GFCI outlet, you’ll need to have one installed by a licensed professional to be safe and meet building standards.
Once you have your outlet ready, assemble your fixtures. (We suggest LED lights because you can use more of them with less power – just make sure you respect the performance limits for your components.) Other tools and supplies you’ll need include:
- Low voltage outdoor transformer
- Gel filled wire nuts for outdoor use
- Wire stripper/cutters
- Lights of your choice
- Some outdoor low voltage wire (also known as landscape wire)
Depending on where you plan to install the fixtures, you will also need the appropriate wire termination tools. In most cases, a small shovel or trowel will suffice, as the cables do not need to be buried more than a few inches. You can also buy kits that have all the necessary components.
Choose your fixtures and outline your positioning
Once you have all the materials, you can start planning where you want to put the light. To light your path, you need to choose a type of fixture that can be aimed at the ground, so choose something that is adjustable or designed to point to the ground . If you want to illuminate certain areas, such as plants, water features, or landscape, a spotlight is the best option.
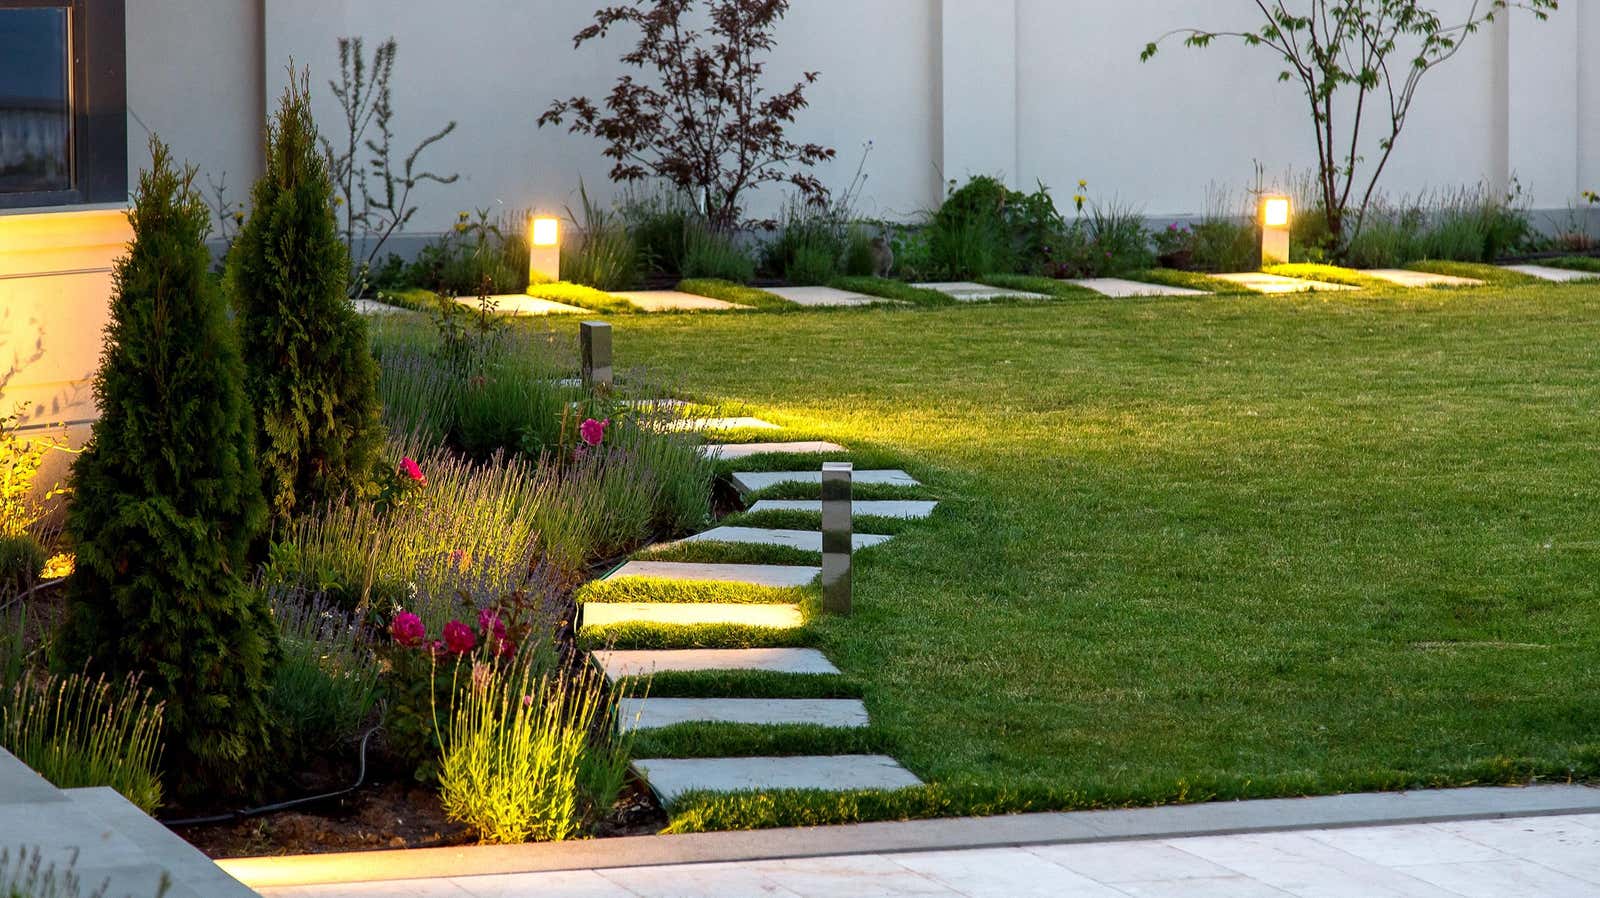
The design of your lightscape is a matter of taste, but there are a few key tips to keep in mind when making your placement decision. To make outdoor lighting look intentional, separate the zones from each other so that the focus points do not overlap. For paths, focus the light on where you step and away from other parts of the yard to make the path safer and look more intentional.
If you do end up with overlapping light pools, try using different angles to add interest and depth to your lightscape. Another benefit of using directional lighting is that it is usually shaded, causing less light pollution that can affect bats, insects, and birds.
Plug in your lights
Once you have decided on the placement, connecting the light is quite simple. If your flashlights came with quick connectors, replacing them with a gel-filled wire nut can help the connections last longer, especially if they are buried underground. Cut off the quick connector on the connector and strip the end of the wire about an inch. Then use wire nuts to connect to the landscape cable. The easiest way to measure a low voltage wire is to run it along the path that will run from the low voltage transformer to the light source. They can be added in series, one after the other, as long as you do not exceed the recommended number of lamps per circuit according to the manufacturer’s specifications.
Once you’ve laid out all of the wire and cut it to length, you can strip the ends of the wire and use a nut on each wire to connect the light. You can then dig trenches for your wire several inches deep—deep enough to protect the wire—and bury your wires. Then plug the transformer into the GFCI outlet and your lights are ready to use. The order is important here: connect the lights first before you connect them. Connecting them first may result in electric shock.
Add some color
Adding some color to your outdoor lighting display is easier than ever. You can get color changing LED lights and many of them can be programmed or controlled with a remote control. Keep in mind that mixing colors of light has a different result than, say, mixing colors of paint, because it’s a subtractive rather than an additive color mixing process. White light is all colors of the spectrum, and some of them are subtracted to get different colors. For example, mixing red and green light produces amber, while mixing red and blue produces magenta. Keep this in mind when designing the color of your lights so that you end up with the hues you want.