The Easiest Ways to Install a Corner Shelf in the Shower
You’re remodeling your bathroom, only to realize too late that you didn’t have enough storage space in the shower. Or you inherited an existing shower that has exactly one modest-sized niche that will never be big enough to hold all your essential bottles. You might think you’re destined to live with one of those clunky metal caddies, but you really need more shelving. And there are two fairly simple approaches that don’t require a lot of experience or that much work. Here’s how to add a corner shelf to an existing shower stall.
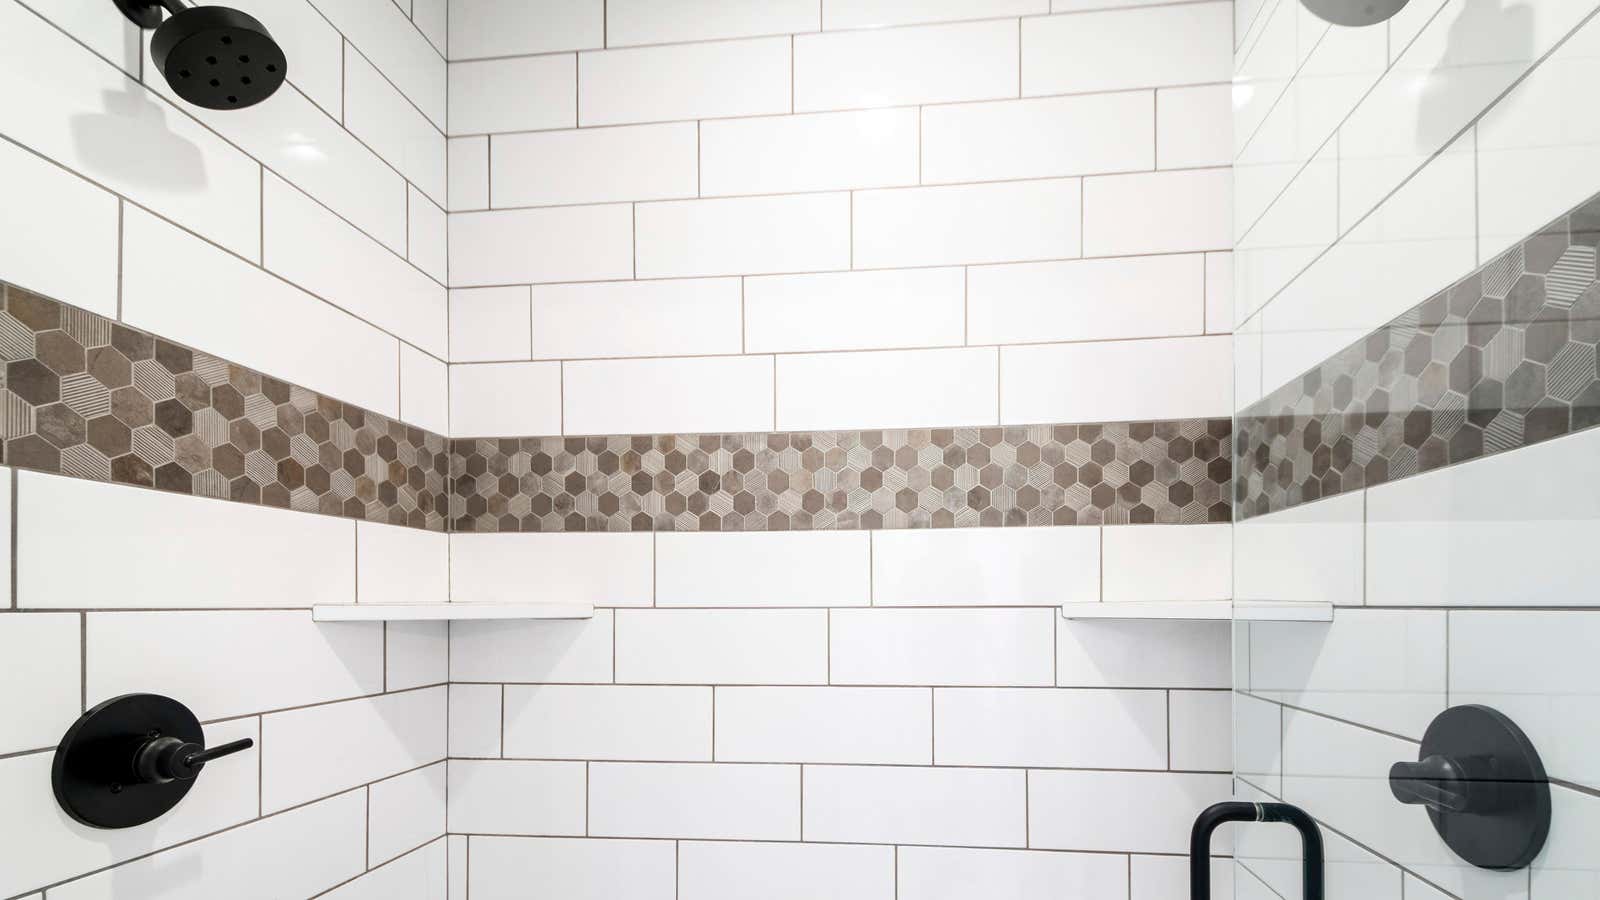
Schluter SHELF-E
If you’ve ever done a bathroom remodel, you’ve probably come across Schluter, a company that makes a range of waterproofing systems and shower accessories. They also offer high quality stainless steel shower shelves. While some of these shelves are designed to be installed during renovations (usually with supports hidden behind the tiles), their SHELF-E series of corner shelves are designed with lugs that fit into the grout lines. This means that they are easy to upgrade. into an existing shower room. Here’s what you’ll need:
- As many shelves as you need or need (they come in a variety of styles and shapes)
- Grout saw ( manual or multifunctional )
- 100% silicone sealant (clear or colored depending on your shower design and preference)
- Sealant gun
The project is pretty simple:
- Bring the shelf up to the grout line and mark where the tabs will be.
- Use a grout saw to cut out the grout into which the tabs will be inserted. Since these are small cuts, they are easy enough to make with a hand-held grout saw.
- Stick the tile with tape and fill the cut gaps with silicone sealant.
- Put the shelf back in place. The tongues will hold it securely.
- Fill gaps with sealant – both top and bottom. If the shelf sags a little, add support.
- Smooth out the sealant and remove the tape.
That’s it – once the silicone has set, you’re done and your shelves are ready to use.
working with glue
If you are not comfortable cutting the grout lines for Schluter shelves, you can glue the corner shower shelf in about half an hour without compromising the integrity of the grout or tile. One word of caution: don’t buy a “self-adhesive” shelf that just sticks to the wall out of the box. While this is probably good for a short term solution, it will probably fall off the wall eventually. Here’s what you’ll need to get it working right:
- Flat backed ceramic corner shelf in a style and color to match your shower. It is important to get a “flat back” shelf so that you can easily attach it to the wall.
- Some kind of double-sided waterproof mounting tape
- Soap remover
- 100% silicone sealant and sealant gun
Installation is quite simple:
- First, clean the wall where you are going to place the shelf with a suds remover. Do a good job here. If your tiles have foam or any other buildup, you will break your bond and your shelf will fall, causing bruises, tears, and humiliation.
- Place a strip of mounting tape on both sides of the rear shelf, about an inch shorter at each end. Leave the backing on the outside for now.
- Trial installation of the shelf. You want to make sure it sits flush with the wall. If it’s not exactly square, you can add additional layers of tape as needed to make it cushiony. Use the level and mark the place where the shelf will stand.
- Add thick lines of sealant around the edges of the back of the shelf. Then remove the tape backing and, using the marks you made earlier, press the shelf against the wall. The tape will seize and the sealant will squeeze out. If necessary, add a support to keep the shelf level until it is in place. Clean and smooth the sealant, then wait for it to set.
Once your sealant has set, you’re done and only an act of extreme cruelty will remove that shelf.