How to Fix Cracks in Your Driveway Without Paying a Professional
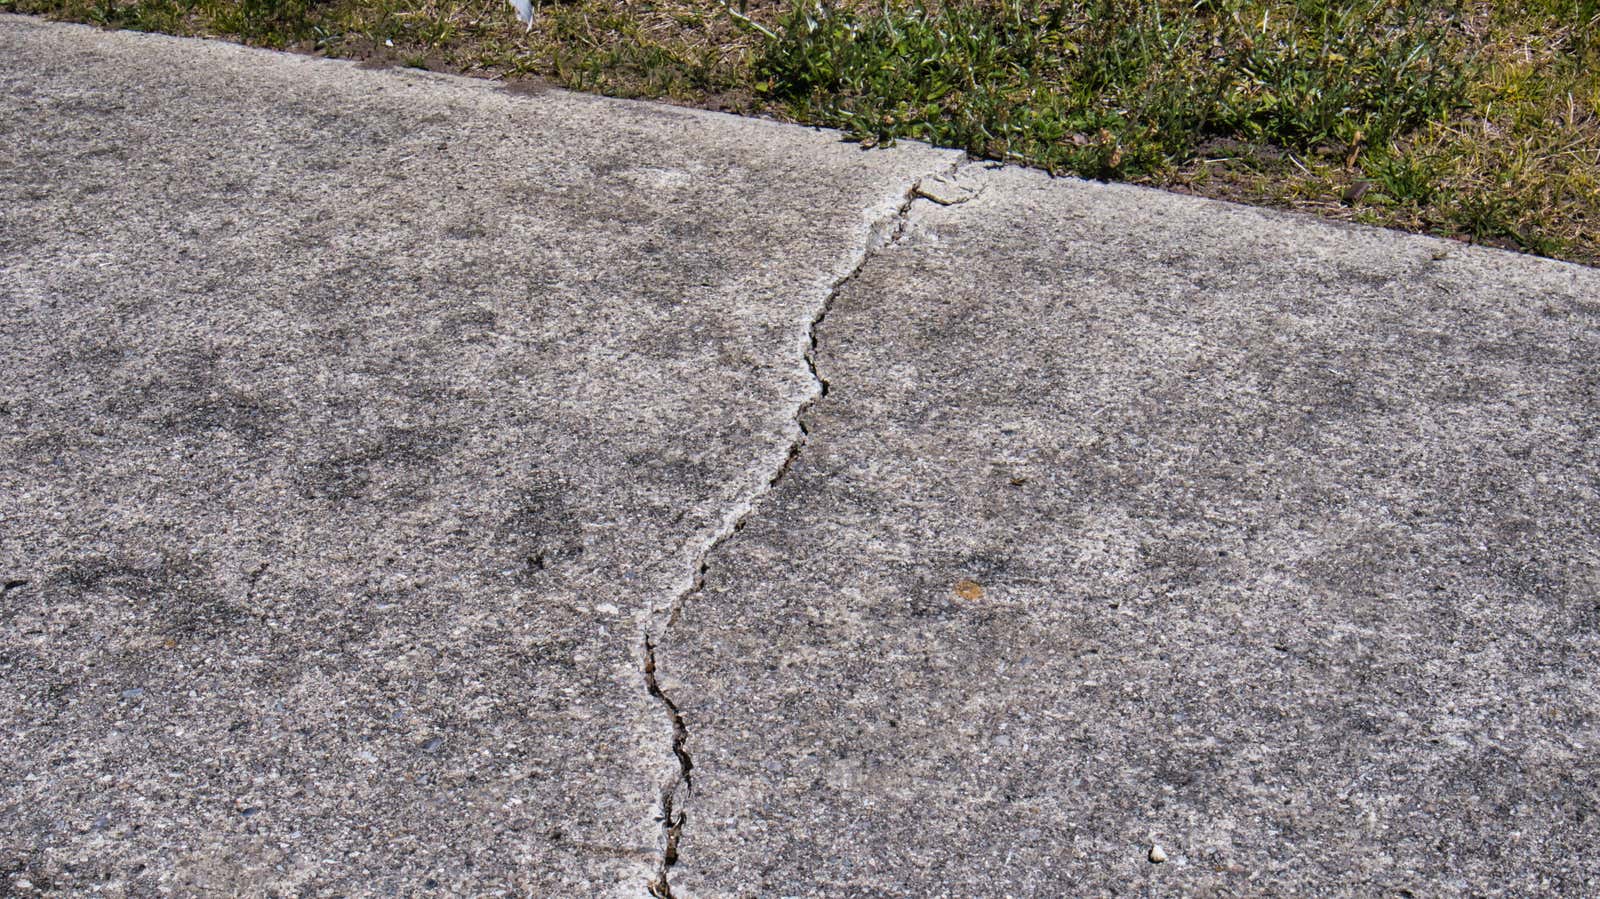
After the winter months of rain, snow, ice and frost, your driveway may not look its best, especially now that spring has arrived and weeds are further highlighting all of its newly formed cracks. Repairing driveway cracks is important to prevent them from getting bigger, eventually requiring repair or major repairs. The good news is that you can take care of these small cracks yourself before they become a major problem in the future by following these steps.
You can repair cracks smaller than 2 inches by yourself with a few tools and materials. Large cracks will likely require professional repair. Keep in mind that cure times will vary depending on the products you are using, so you should plan ahead to park your vehicles elsewhere and keep children and pets out of the area for as long as necessary. This type of repair is easier to perform when the weather is above 32 degrees and dry, but there are products that can be used in adverse weather conditions.
What you need to seal gaps on the road
First you need to choose a putty composition. For concrete driveways, you can use concrete mix . For asphalt haul roads, you can use a so-called “cold patch” – either unheated patch material that needs to be mixed with water, or premixed crack filler that goes straight into the cracks. Hot spot materials require professional equipment, so unless you plan on renting an oil jacketed or direct fire boiler, a cold site is your best bet.
You will also need:
- Sealant to keep your band-aid from washing out
- Sand for big cracks
- Trowel or small shovel
- Hose with durable spray nozzle (or pressure washer)
- tamper
- Cones, flags, warning tape, or goats (to mark a patched area)
Peel the cracks
Once you’ve got your tools together, the next thing you need to do is remove any weeds and dirt from the cracks so the repairs last longer. Pull out weeds by hand and use a hose or pressure washer to remove any debris. To make sure all weeds are dead, you can apply garden vinegar or burn or boil the weeds in hot water to make sure they can’t grow back.
Some people like to use commercial weed killers, but using products like vinegar or heat means you don’t leave anything toxic around and flush those chemicals down the storm drain, so it’s generally more animal-friendly and children.
Fill and smooth
The next step is to start patching up the cracks. Pour some sand into any cracks more than half an inch deep. On concrete driveways, apply a small amount of putty to each crack with a trowel and smooth it out. Be careful when mixing as the product can dry out quickly. Try not to apply more than you can smooth out in the time it takes to set or you’ll end up with a lumpy driveway.
For small cracks, a pre-mixed filler is an excellent solution. Just be sure to follow all the precautions on the label when applying because it can be harmful if inhaled or in contact with the skin. Use a trowel or small shovel to smooth it out.
For large cracks, mix a cold patch with water and use a spatula at a 45 degree angle to press it into the crack and then rotate it 90 degrees to smooth the surface. Let the patches cure – it will usually take a few minutes to an hour for a cold patch, but be sure to follow the instructions.
Seal your patch
After your patches have healed, you can apply a seal over the patches. Choose a sealer that is the same color as the driveway; you can choose to seal just a spot or seal the entire surface, depending on which part of the driveway you are repairing. If you’re just spot-sealing, you can apply caulk to the areas you’ve patched. To seal an entire driveway, you will need an asphalt mop to spread the product and an edge brush.
When you’re done, cover the affected area with cones, goats, and duct tape to keep anyone from walking on your newly built driveway while it’s still drying. Once the sealant is completely dry, your driveway is ready to use.