How to Install a Shadow Sail in Your Backyard (and Why You Need It)
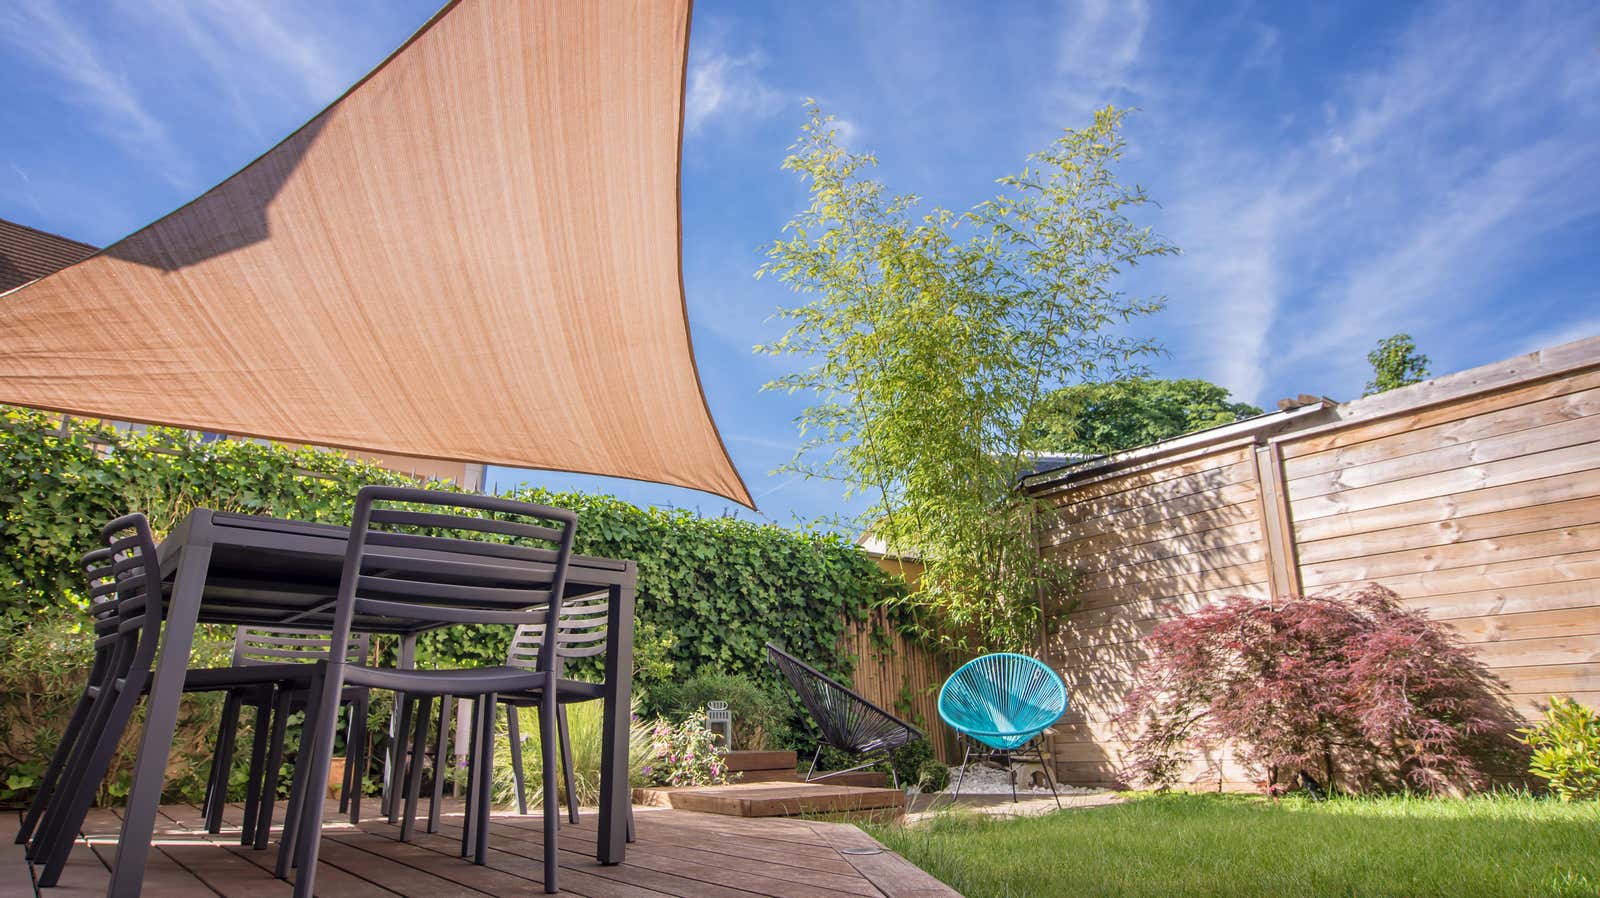
If you’re interested in spending more time in your yard this summer but need to increase shaded areas to make them cooler and more comfortable, a shade sail might be the way to go. Unlike a roof, a shade sail is designed to circulate air through it while providing a cooler spot. Shade sails are also detachable, making them suitable for areas with high winds or storms. They will not pose a risk to nearby structures such as your home.
Choose a shade sail and plan your configuration
A shade sail can have three or four corners and have lugs in each, allowing the sail to be pulled in an open area. They come in a variety of colors, but light colors are best so they don’t absorb too much heat from the sun.
Placement planning should take into account local building codes and regulations. Also consider the direction of the sun, when you are most likely to use it, and of course the aesthetics. You don’t need to mount them at ground level, so you can adjust the height of the pole to suit your preference.
What You Will Need to Install a Shade Sail
This project involves digging deep holes for posts and using posts to attach a shade sail. You should always make sure you don’t have underground utilities before you dig, so if you live in the United States dial 811. They will help you find and avoid any potential hazards. Once this is done, you will need the following things:
- Some messages
- Some medium gravel
- Specific
- Some clips
- shovel
Also, if your shade sail does not come with mounting hardware, you will also need two quick-release links for each corner, one turnbuckle for each corner, one eye bolt, and one latch bolt or hold- down bolt for each corner. pole, drill and wrench. It is also helpful to have a strong rope or parachute cord to hold the sail under tension while you attach the equipment.
How to set up a shade sail
Prepare the posts by drilling a hole in the top of each and screwing an eye bolt into the hole, making sure the post is secure and cannot rotate or slide. Attach one quick link through each eye bolt and use the quick link to attach the turnbuckle. Attach a lag bolt or hold-down bolt to the bottom of each upright. Put aside your posts and take a shovel.
To properly anchor a shade sail, you need to dig a hole at least ⅓ of the length of the pole. This means that if you want your sail to be nine feet high, the post hole must be three feet deep. Keep in mind when planning your struts that the tops need to be a bit further apart than the area of the sail to accommodate your tensioning equipment. It is also recommended to tilt the stanchions five degrees from the center of the shaded area of the sail. This will help counteract the force acting on your posts, but it will also increase the spacing between posts, so be sure to add this to your layout calculations. Once you’ve measured, it’s time to dig the hole. For a four-inch wooden post, you’ll need a hole that’s at least eight inches in diameter.
Digging holes is the hardest part, so the rest is pretty easy. Level the bottom of each hole with a few inches of gravel. Mix the concrete according to the instructions on the package and place the posts in the holes at a five degree angle from the ground, off the center of the sail. Make sure you have a 2×4 piece of timber or similar and a clamp to hold each post in place while the concrete dries. Pour the concrete around the posts and let it dry completely before moving on to the next steps. Check the packaging for the manufacturer’s specifications, but most concretes set within 24-48 hours.
To hang the sail, use one quick tie at each corner to attach the sail to the turnbuckle on each stanchion. You can use your own rope or paracord to hold the sail in place while you work on the equipment by tying one end of the rope to the sail and threading the other end through the eye on the eyebolt. You can then pull on the end that goes through the eyebolt, using it as a pulley, and relieving tension from the turnbuckle and quick releases. Once your equipment is attached, you can untie the rope and let the equipment take over. Tighten the turnbuckles until your sail is wrinkle-free and you’re done.