You Can Paint Laminate Countertops (Instead of Replacing Them)
When planning your kitchen renovation time and money, set aside some of both specifically for countertops. Meters are notoriously expensive to replace, but they stick out like a sore thumb if they’re outdated and left as is. If you have outdated, scratched, stained, or dull countertops that need a little freshening up (but don’t want to be in a rush to completely replace them), try painting them.
The tools and materials you will need to paint laminate countertops.
For this project you will need the following items:
- Sandpaper and sanding block
- Paint tray and some liners
- masking tape
- mineral spirits
- Small bolster and sleeves
- Latex primer
- Dye
- Transparent top layer
- rag
You can also use a mechanical palm grinder, but this is not required for this project. Countertop painting kits are also available at many hardware stores and will include the necessary items to refinish your laminate countertops. Be aware, however, that many of these are one-step or two-step epoxies and will have different directions than the ones below. Follow the instructions that come with your kit for best results.
Prepare the table surface
To prepare the surface, make sure the posts are clean and dry, then sand them with 180 to 220 grit sandpaper. Sanding the surface will give the finish something to stick to. Use a fine grit, such as 250 or higher, to sand away any scratches on the surface so that the countertop finish goes on smoothly. Finally, use mineral spirits and a rag to clean off the sanding dust, then let it dry.
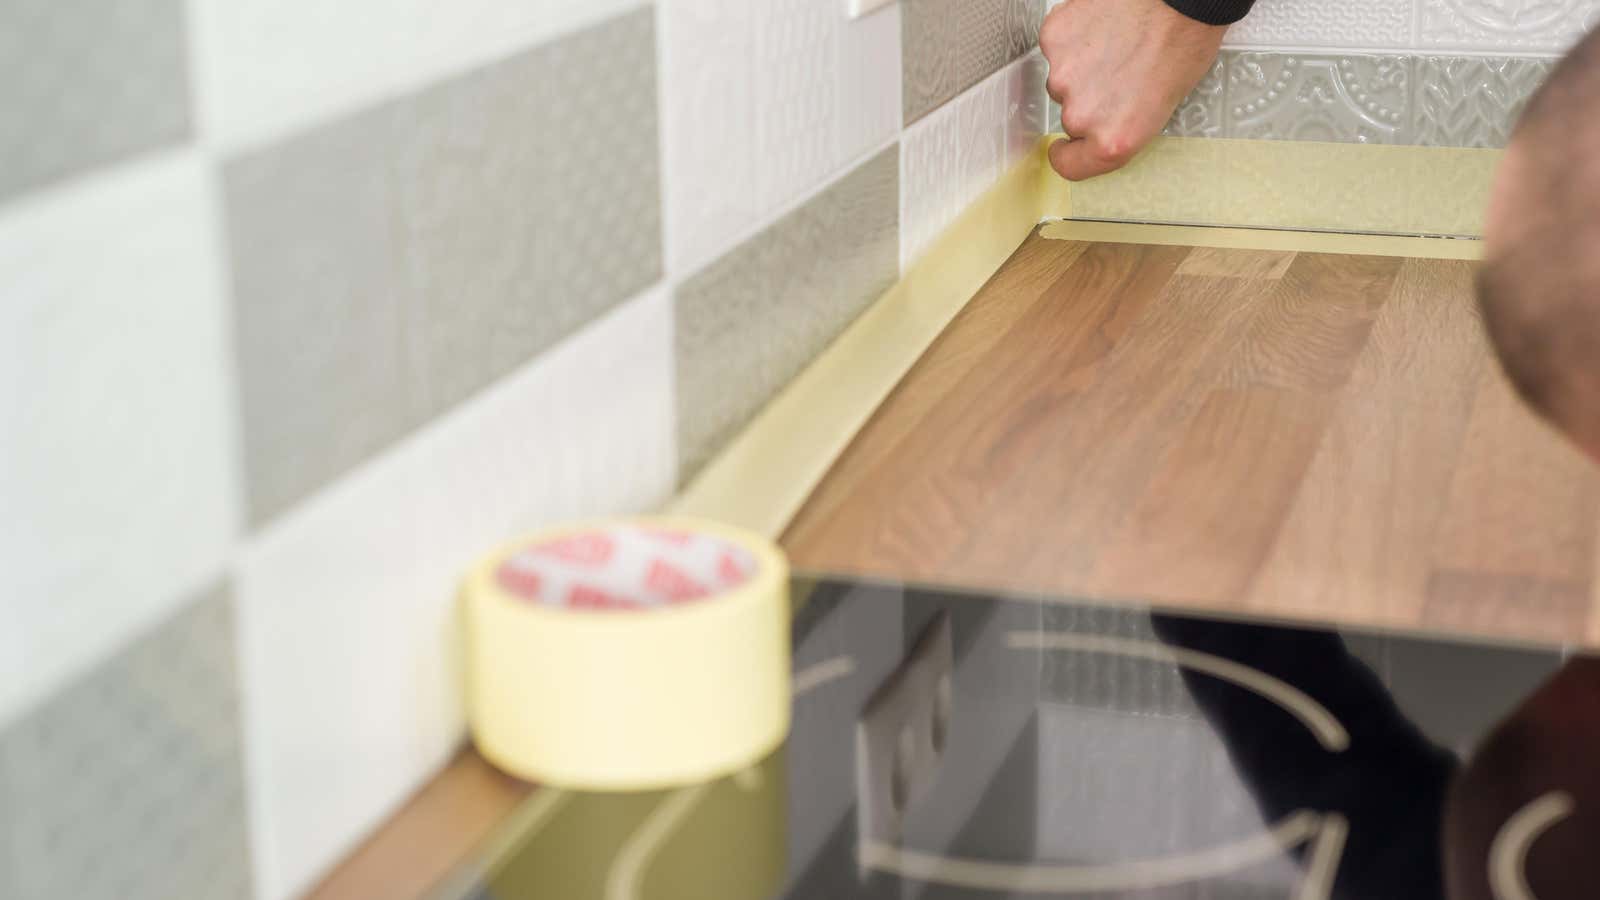
You can also tape the areas you don’t want to paint. Appliances, fixtures, sinks, and cabinets should be covered to prevent accidental staining. It’s also a good idea to lay a rag on the floor. A piece of cardboard or a trash bag is also fine in a pinch. Make sure the tape is applied smoothly and firmly pressed against the edges so that the paint cannot seep underneath.
Prime, paint and seal countertops
Next, apply two coats of primer. To avoid streaks and areas that are thicker than others, apply roller strokes so you always paint on a wet edge. Let the primer dry between coats – you can use a fan to speed up the process. After applying the second coat, allow the primer to dry for at least an hour before proceeding to the paint.
Using a new roller sleeve, apply paint over the primer coats, making sure the wet edge overlaps. Use a paint brush to cut through corners and narrow surfaces. To avoid drips, use a roller that is damp but does not drip ink as it exits the ink tray. Once you’ve applied one coat and it’s dry to the touch, you can apply a second coat to even out the color.
The last step is to apply a clear coat and set your color. Using a fresh roller, apply the varnish as evenly as possible. Because the clear coat can be difficult to see, using an angled light source can be helpful to make sure you don’t miss any smudges or drops. Once your clear coat is dry, you’re done.