What Is a Pocket Hole Jig (and Why Do You Need One)?
If you’re new to woodworking, the task of hiding hardware when joining two pieces of wood can be daunting. If you don’t know how to make dovetail joints and you don’t have a mortise blade – or you don’t even know what one is – it will be difficult to make strong wood joints that also look good. Meet the pocket hole jig, a tool designed to drill screws at an angle. This is an easier and cheaper solution for projects where the “back” side is not visible as much as the wall side of the frame or the underside of the bench. What’s more, even beginners can use it.
The pocket hole jig works by holding the bit at a slight angle to the surface you are drilling into, preventing the bit from slipping or moving. This allows you to drill holes to drive a screw from one piece of wood into an adjacent piece without seeing it on the opposite surface, and without the head of the screw sticking out on the side you are driving it. You can use them to hide screws on the back and underside of furniture, and as a quick way to make a corner stronger than one that is nailed or stapled.
(The disadvantage of pocket holes is that they are not as strong as other types of joints that require overlapping board cuts, such as lap joint or tenon joint.)
What You Need to Use the Pocket Hole Tool
The tools you will need to work with the pocket hole jig:
- Boer
- A very long drill (with a stopper of the correct size for the screws you will be using)
- Some clips
- Your jig
- Optional: dowels, miter saw, tape measure and wood glue.
You can also purchase an adapter kit for conventional drills if you already have a working drill. Some fixtures come with a stopper, so this is not always required. There are different types of jigs. Some of them have built-in clips and some can be fixed in place in your project. If you want to fill the holes after driving the screws, you will also need dowels. You can get pocket hole dowels pre-cut, but you can also insert a regular dowel and use a flush saw to cut them to size.
Depending on what you’re building, you’ll also need a tape measure and some wood glue to secure the joint.
How to use the pocket hole jig
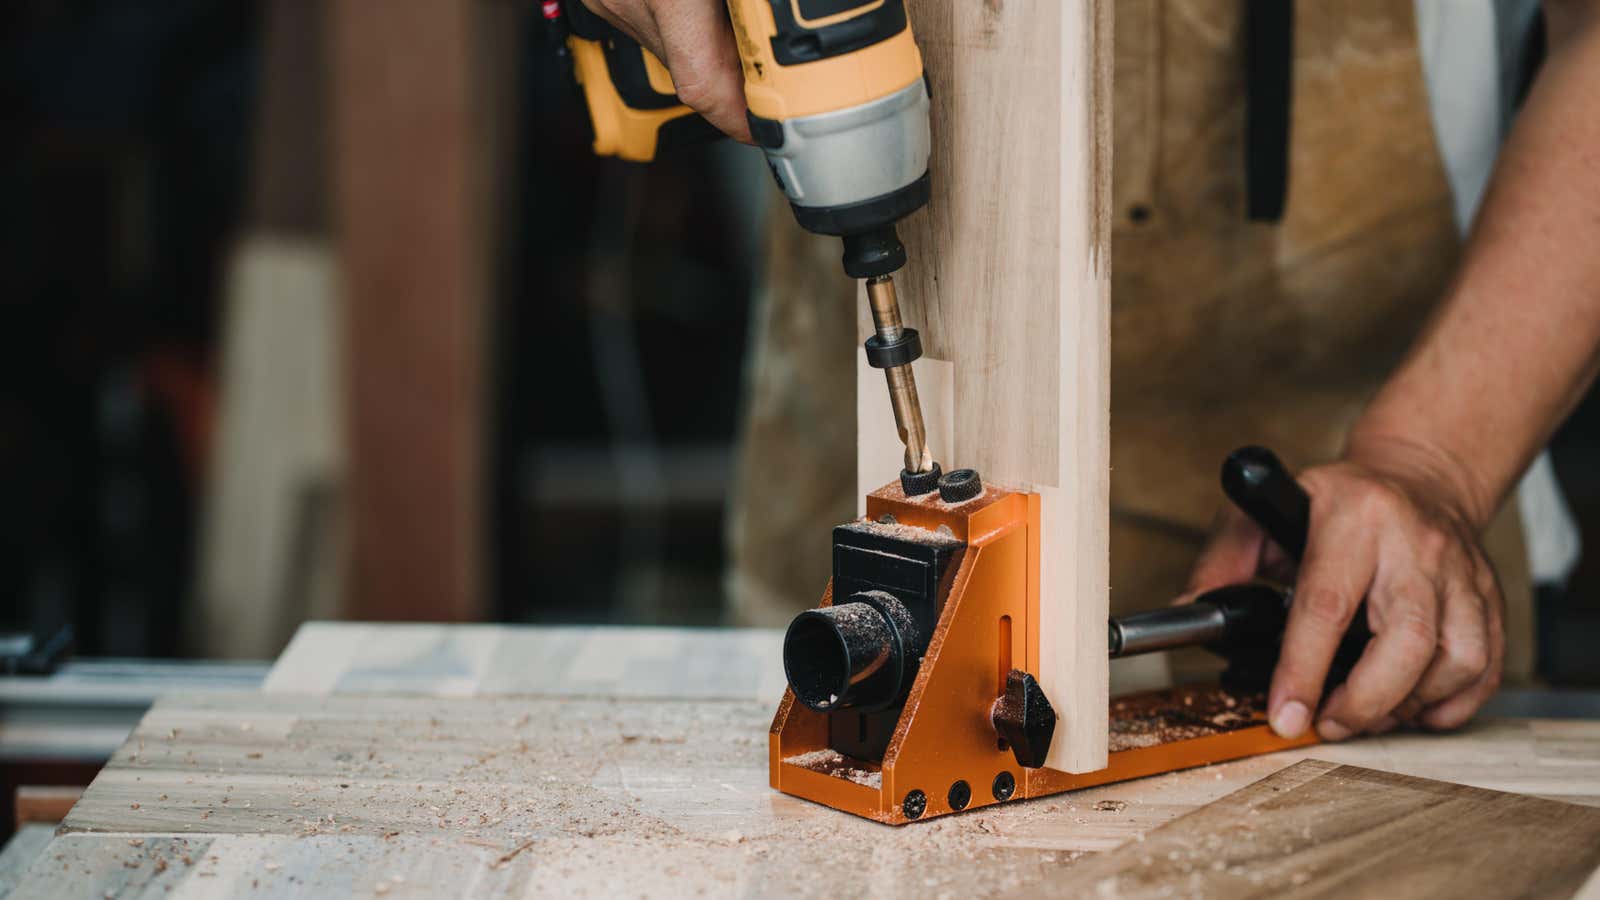
To use the fixture, select the spot where you want to join the two pieces and mark where the screws will go into the board. Then place the jig on the board, setting the depth of the jig so that your screw is long enough to grab both pieces of wood without breaking the opposite surface. If you are unsure of the depth, do a test on a piece of wood.
Once you have measured where the screws will go, line up the holes in the fixture with the marks, secure the fixture in place, and drill the hole. Then you can align the connection, fasten the parts together and tighten the screws. It is important to use clamps to keep the joint straight and flush, because driving the screw at an angle will cause the wood to move. You can prevent this by pressing two boards against a flat surface. Using a corner clamp is the best way to get a square, secure connection.