How to Make an External Monitor As Clear As a High-Res Mac Display
Ever since Apple introduced the Retina display for Macs back in 2012, most of their lineup has come with one of those laser-sharp, pleasingly crisp screens. Whether you have a small 12″ laptop display or a large 27″ desktop, your Mac will most likely look great . So it can be frustrating when you plug it into an external monitor only to see blurry text. What’s going on here?
Resolution and pixels make text crisp on Mac
The main reason why text and graphics look so crisp on your Mac’s display is because of resolution and pixels. Apple makes very high resolution displays; The M1 iMac, for example, has a resolution of 4480 x 2520, which gives a resolution of approximately 4K with a ppi (pixels per inch) of 218. The M1 MacBook Air has a display with a resolution of 2560 x 1600 with a ppi of 227, which puts it somewhere in the range of 2.5 thousand
The image your Mac sends to the display is scaled (more on that later) to fit all those extra pixels; which results in crisper text and images, and there’s little chance you’ll be able to see those individual pixels.
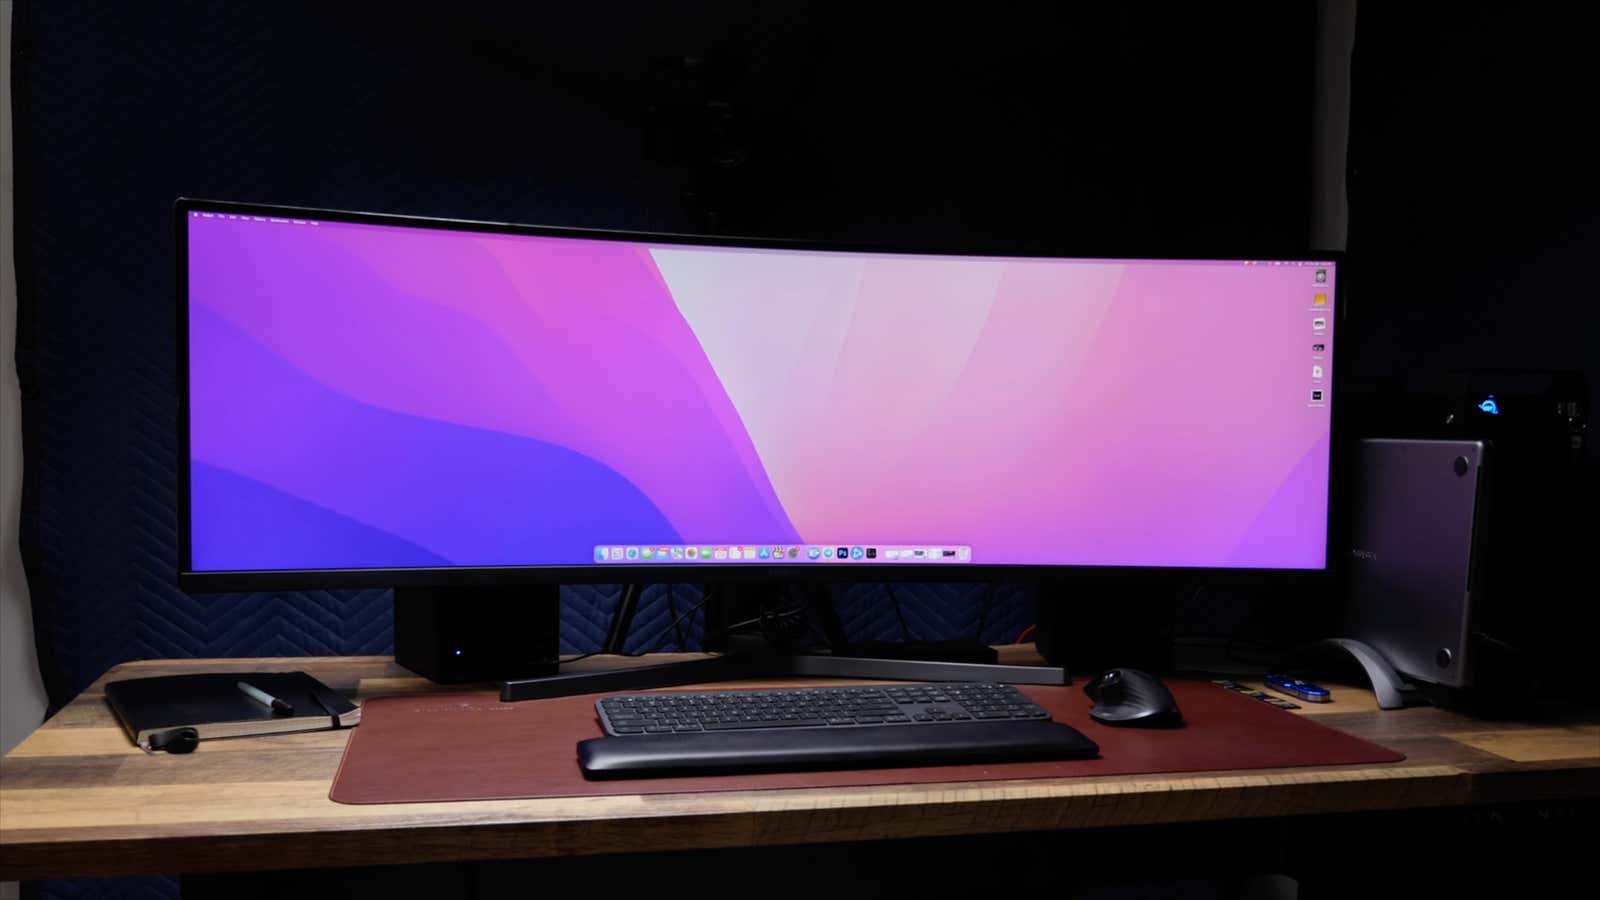
It all looks great… on your Mac, but things can go haywire when connected to an external display. This is likely due either to the fact that the display you’re connected to doesn’t have the number of pixels needed to display text clearly (e.g. a standard 1080p display) or a non-standard resolution or screen size other than Apple’s, such as 1440p or ultrawide display.
1080p displays don’t display crisp text
If you’re connecting to a 1080p display, I’m sorry to say there isn’t much you can do here. While these displays work just fine and may look great for some purposes, they simply aren’t capable of displaying text clearly like a display with a higher pixel density. If crisp text is really important to you, you’d better upgrade to a sharper display. As you’ll see, a standard 4K display will be the easiest solution when it comes to macOS, and it should display crisp text as soon as it’s plugged in.
However, an updated external monitor may not solve all your problems. A traditional 4K display shouldn’t have a problem at all, but 1440p displays and ultra-wide monitors can still cause problems. Maybe you have one of these and are wondering why your text still looks fuzzy. A Windows laptop looks great when connected to one of these displays; why not your macbook?
Scaling issues can make text fuzzy on external displays.
The big issue here is scaling. When you send a video signal to a display (including your computer’s built-in display), you can resize that signal to better fit the display. Let’s say you have an M1 iMac. Choosing a native scaled resolution of 4480 x 2520 (which matches the display’s resolution perfectly) will make it almost unusable. Everything is too small. Scaling this resolution up to about 2240 x 1260 doubles the size of everything on the screen while still maintaining pixel-perfect fit.
On a 1440p display, you can usually select the 1080p scaling option to keep the pixels looking crisp. Not the case with Mac. For some reason, Apple is making its Retina signal output seemingly impossible for 1440p and ultra-wide displays. macOS, unlike Windows, doesn’t have the scaling options you need to get the job done.
How to Sharpen Mac Text on 1440p or Ultrawide Display
If this seems like your issue, try a few fixes. First, see if turning off font smoothing helps. While you could previously disable this option in System Preferences, Apple removed it with Big Sur. However, you can still disable it from the terminal.
To start, open a terminal, then copy and paste the defaults -currentHost write -g AppleFontSmoothing -int 0 before hitting “Enter”. This command disables font smoothing, which can help make your text appear clearer on a 1440p or ultra-wide display. The controller here is the number at the end of this command; “0” disables the feature, while using 1, 2, or 3 permanently increases the intensity of the feature. You can reset this feature to default with the command defaults -currentHost delete -g AppleFontSmoothing .
If that doesn’t work, some have had success using BetterDummy . This tool allows you to create a “fake” macOS window, which then becomes the main window on your external display. By using this tool, you have access to more scaling options than macOS provides by default, which can help match your particular display.