The Easiest Way to Update Your Shower Floor
Renovation stirs up a lot of conflicting emotions, from excitement about opportunity to fear of time, trouble and clutter—and few places are as troubling as the bathroom. But if you’re thinking about remodeling your shower, it might be easier than you think; you can probably do it without all the hassle you imagine, breaking right on top of what’s already there .
Laying tiles on an existing tiled floor has several advantages: you avoid demolition, so you minimize the mess and the period of time your shower is down. You save money and time by not disturbing your current waterproofing system or calculating slope or drainage. Tiling your shower floor turns a major renovation into a weekend project—here’s how to do it.
Exercise due diligence
First, you need to make sure your existing shower floor is in good condition. If it has cracks, peeling tiles, or any signs of a leak, it won’t work. Existing tiles need to be strong because your new tiles will be just as strong as the ones they are overlaid on. Let your soul dry and give it a thorough inspection. If you see any minor cracks, you can fill them in with silicone, and if you want to be especially careful, you can apply a few layers of waterproofing to the pan later in the process.
If your shower floor looks good, wash it thoroughly with a degreasing soap; once you have thoroughly cleaned the floor, let it dry.
Prepare the surface
The key to laying tile on tile is surface preparation. The thin set used for tiling needs something to grab onto, and most of the tile is too smooth, so you’ll have to take some steps to keep your new tile from popping out right away:
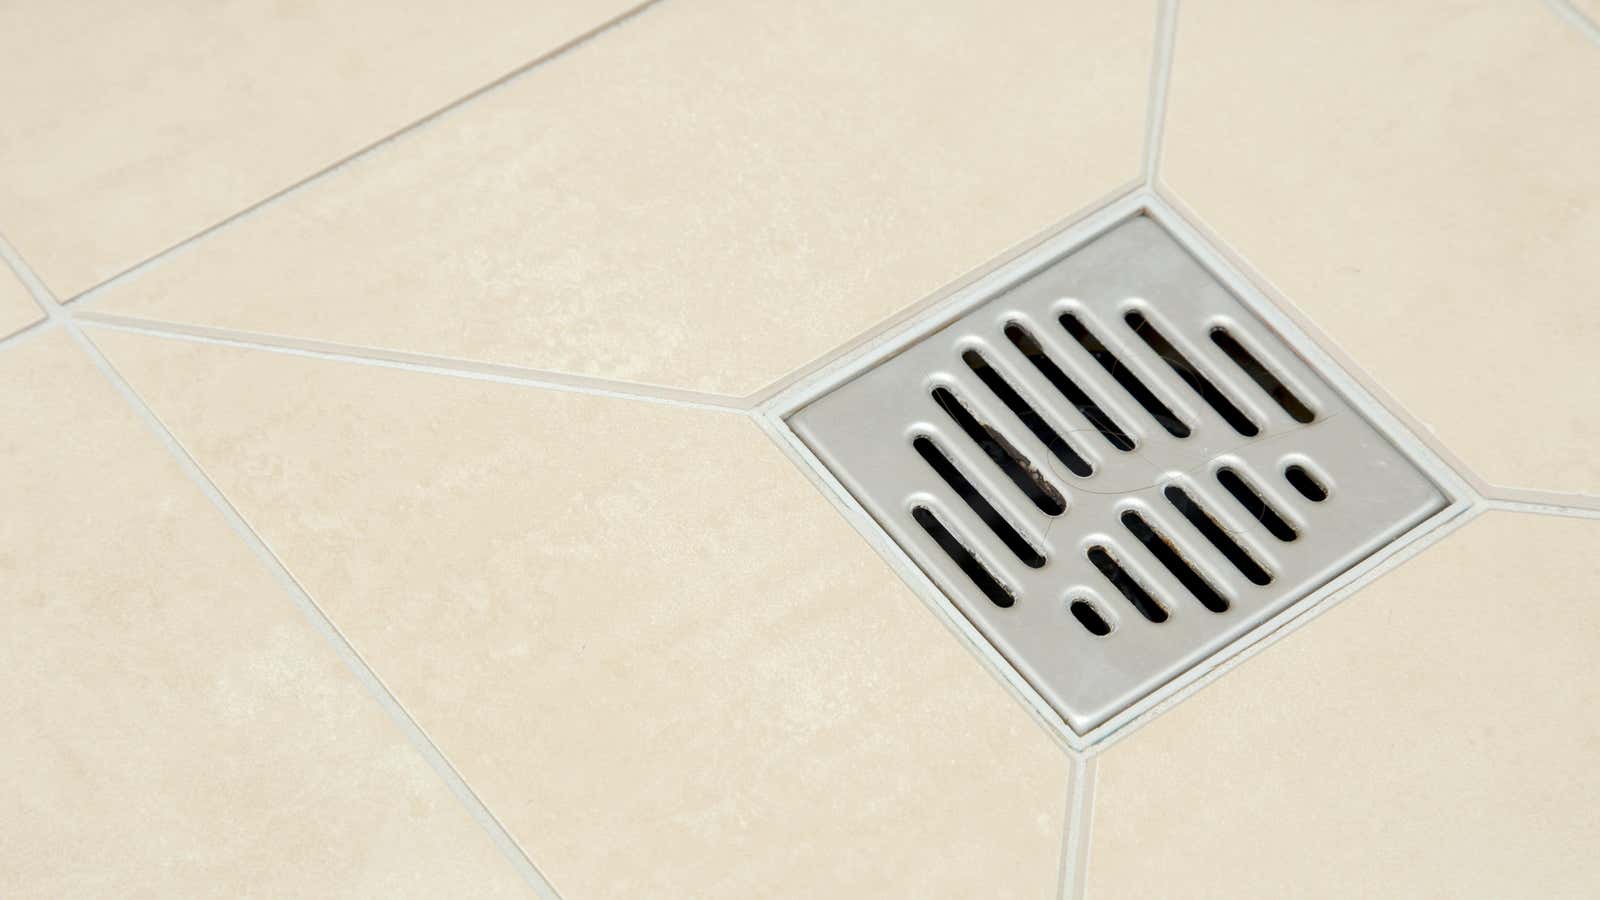
- Remove the drain cap. Remove the trim over the shower drain and plug the drain itself with a rag (or cover it with duct tape) to keep debris out.
- Trim the existing tile. Using 80 grit sandpaper, sand the existing tiles to remove the shine. Don’t make the tiles too medieval – you’re not trying to obliterate them. You just want to scratch them so that your thin set has a “gripping” surface. Then vacuum thoroughly and clean.
- Basic. This is key – use an “adhesive primer” (like Mapei’s Eco Prim Grip ) on the shower floor. This primer is simply applied with a roller and brush; apply a good thick coating to the floor, being careful not to spill it all over the shower walls unless you plan to change the tiles.
- Waterproof (optional). If you previously inspected the shower floor and proceeded, you should be sure that your existing shower floor is not leaking. However, if you want to be extra careful, you can take this opportunity to apply two or three coats of RedGard or other liquid waterproofing. But if your old floor was leaking, it won’t fix the problem and may even make it worse. If your existing shower floor is leaking, you need to do more extensive repairs.
- Install drain extension. Adding a layer of tiles to your floor will add height, meaning your drain may now be too low. Buy a drain extension (or two if needed) and dry lay some of your new tile around the drain to estimate how high you need the new drain (you want the drain to be about level with your new floor). .
Install new tiles
Your primer has dried and your drainage has been expanded. Install the new tile dry to fix the location – it’s always best to determine the location of the tile before your thin set is on the surface and you’re on the clock. Figure out what cuts you will need to make and where you will have other tile problems such as chips or gaps.
Once this is done, pry out the thin set. From here it’s just like laying tiles anywhere else – consult your tile documentation for trowel size and choose a high quality thin set. You want something with a reputation for being “sticky” like Laticrete 254 Platinum – this type of thin layer can be a problem because it’s very tacky and dries quickly, but it will bond very well with both sets of tiles. Once your tile has set, pour grout as usual, replace the drain cap and voila ! New floor in the shower.