The Correct Way to Install a Simple Floating Shelf
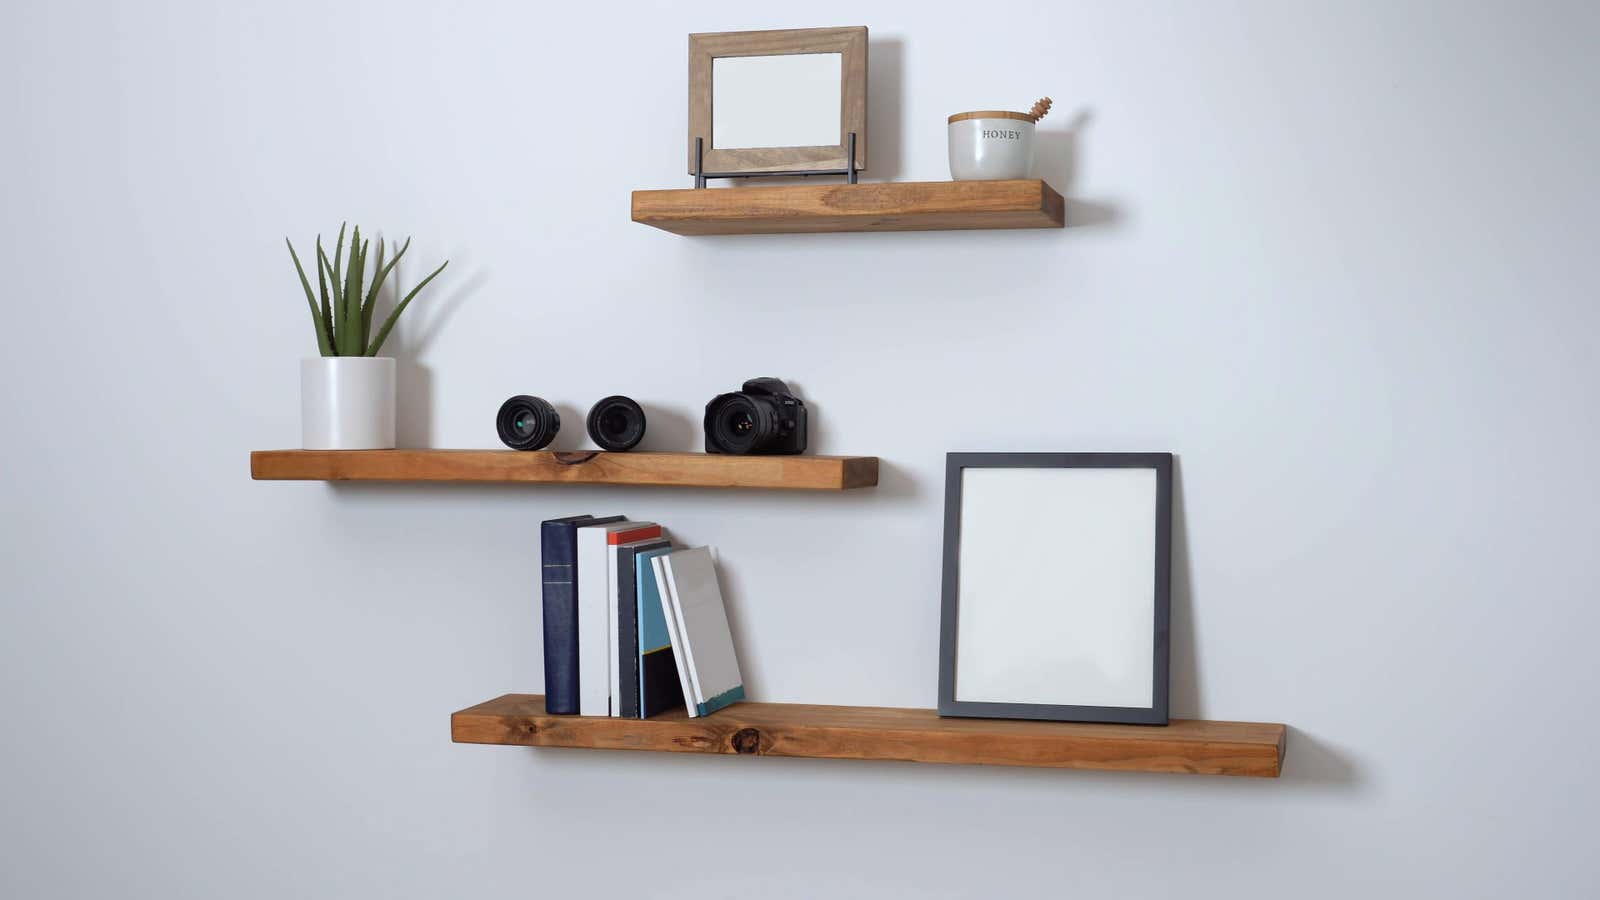
If you have a niche, corner, or other uncomfortable empty space in a room that requires a little extra storage or decorative trim, a simple floating shelf may be your best solution. Floating shelves are cost effective to make – and fairly easy to install – and can complete a space that needs a little something.
Tools you need to make your floating shelf
You will need to prepare some tools and materials for the job. For tools, take a saw, screws, drill with pre-drill bit and a Phillips head, a level, a hammer, a few nails (or a pneumatic nailer), and a tape measure. The carnation finder is also useful.
For shelf material, select a board no more than an inch thick at any desired shelf depth. In addition, you will need trim for the edge of the shelf, one inch by two or three inches, and a narrower piece of wood that will be used as a rail to attach to the shelf (no more than one inch per inch). ¾ inch).
How to measure the details of your shelf
First, measure the space you want to hang the shelf in. For a three-sided space like a closet or alcove, you will need to attach a nail strip to the wall uprights at the height you want the shelf to be. Measure your height and mark with a pencil on all three sides of the wall.
Then measure a nail strip about two and a half inches shorter than the sides and width of the shelf, cutting off one for each end of the shelf and one for the back edge. For the corner shelf, you will need one nail strip on each side of the shelf. Measure the width of the space and cut the shelf to size. For the corner shelf, you need to cut the shelf board to make a 45/45/90 degree triangle. To make sure your shelf is level, place it on top of the nail strips and use a level on the top surface.
Install your trim
You are now ready to measure and cut the crop. Measure the edge of the shelf and trim the trim to match. If you are making a corner shelf, you will need to trim the end of the plank at a 45 degree angle to align with the edge of the shelf. Make sure your trim is smooth around the edges to keep it looking clean and finished once installed. Finally, nail the shelf to the nail strips and nail the trim to the edge of the shelf. Your shelves can now be painted or stained.
Use a parenthesis
If you are installing the shelf directly from the wall with no lateral support, you can use hardware to make the task easier. There are many types of brackets, but a reliable and simple option is the single-pin metal bracket that comes with the screws and anchors needed to secure it. Attach the brackets to the wall where the stud is, making sure they are straight, then measure and cut the nail strip to fit between the brackets and attach to the wall so that the top edge of the strip is straight. with the upper part of the staples.
Then place the shelf over the brackets and nail it to the nail strip. To measure the trim, first trim the side pieces to the depth of the shelf and nail in. Then measure the total width of the front of the shelf (with the side trim included) and cut the front of the upholstery to match. Nail the front strip to the edge of the shelf and you have a floating shelf.