Please Dispose of This Boob Lamp in Your Apartment.
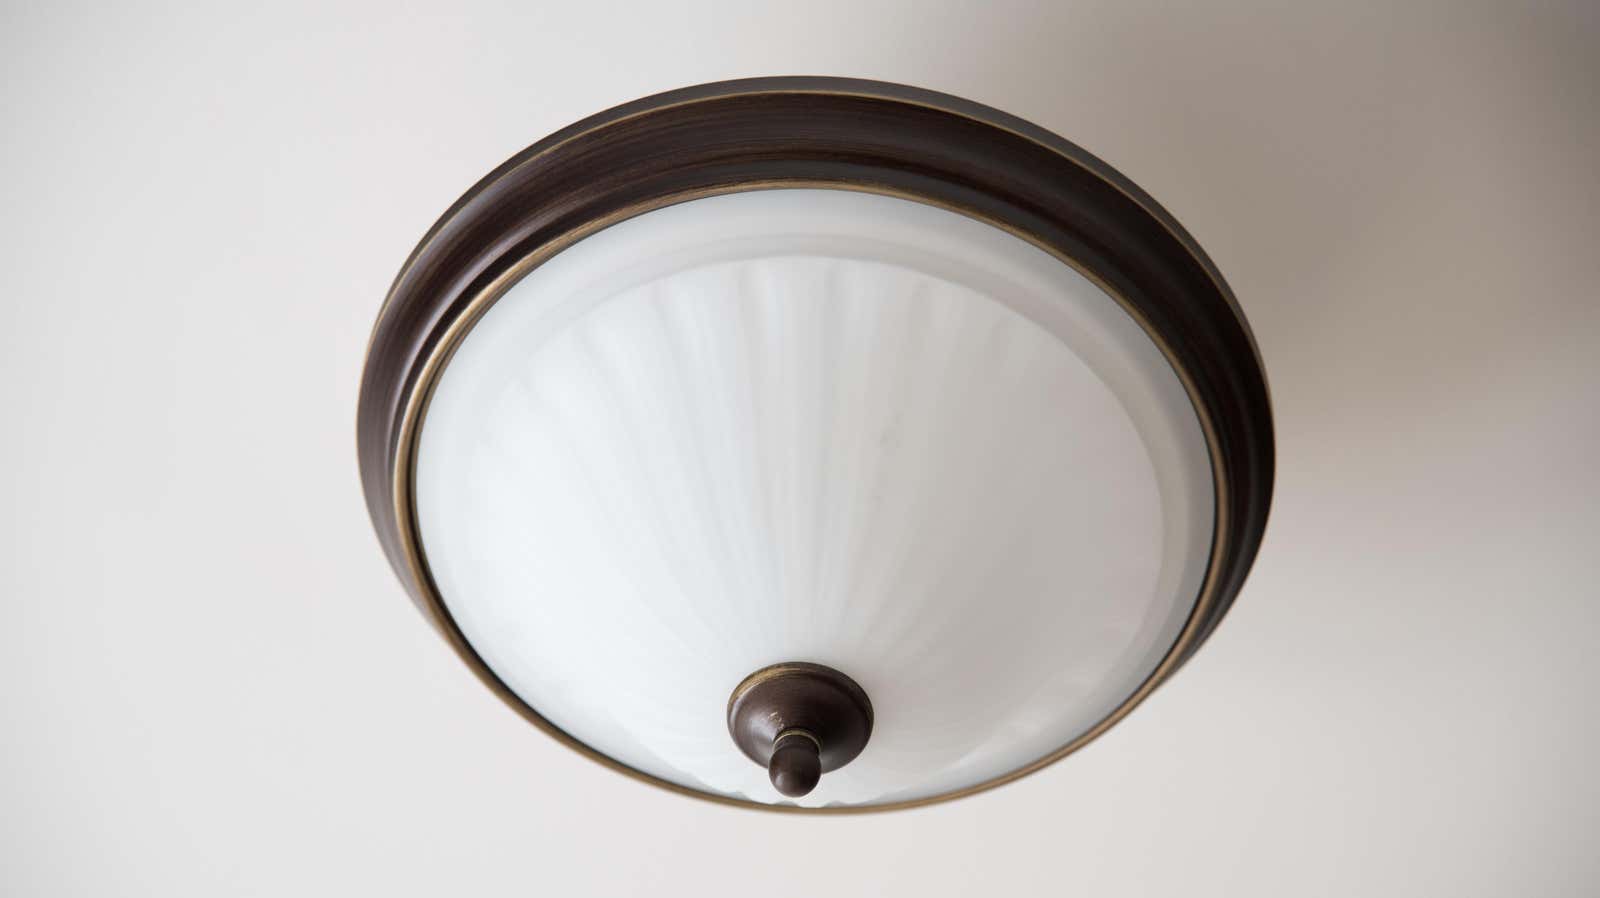
At some point, they became ubiquitous on the ceilings of soft office buildings, hotel chains and, most importantly, in rented apartments. If you have not noticed them before, you will notice them now. If you know about them, chances are you are not a fan. We’re of course talking about flush-mounted dome luminaires, better known as boob light.
While there are good reasons for their utilitarian design, having a pommel is part of the nipple attachment – it’s the reason you look at the light and say, “Yes, it’s definitely a breast, but not necessarily something that I need to hang off. ceiling.
Fortunately, turning them off is easy. In a recent article for Architectural Digest, Hannah Roberts describes how to replace a light bulb with something else. Here’s what you need to know.
Free the nipple
So you’ve found a replacement fixture that suits your style better, and you’re ready to move on. Turn off the power switch first. Then rotate the top until you can remove it along with the glass dome shade, says Roberts . If there is no overlay on the luminaire, carefully twist the shade itself until it comes off.
Take off the ring
Then find the screws that hold the ring portion of the light fixture to the ceiling and remove them with a drill or screwdriver. From there, Roberts says the device will hang from exposed electrical wires.
Deal with wiring
Here’s Roberts to walk you through some of the wiring:
You should see three wires coming from your fixture: hot (black), neutral (white), and ground (copper). Pay attention to how the wires are attached to each other, as you will need to match this during installation. Disconnect each one from their ceiling counterparts, making sure to hold the fixture so it doesn’t fall on you in the process. Once all three wires are disconnected, the rest of your lamp should easily detach from the ceiling.
If you are renting, remember to leave your light bulb in case you need to reinstall it before leaving.
With a new
It’s time to light up your life with new light. Start by screwing on the new ceiling bracket (here are more detailed instructions for that). Then we start wiring again.
Here is Roberts to explain the steps :
If each of the wires on your new fixture has about half an inch of bare metal at the end, connect them to the ceiling wires: hot wires first, then neutrals, then ground. Otherwise, use electric pliers to carefully strip off half an inch of the insulation on the end before installing.
Once the wiring is complete, complete the installation of your new fixture according to the instructions. Then turn on the lights, turn on the power again, and bask in the light of your new painless lamp.