How to Download Unpublished Android Apps on Windows 11
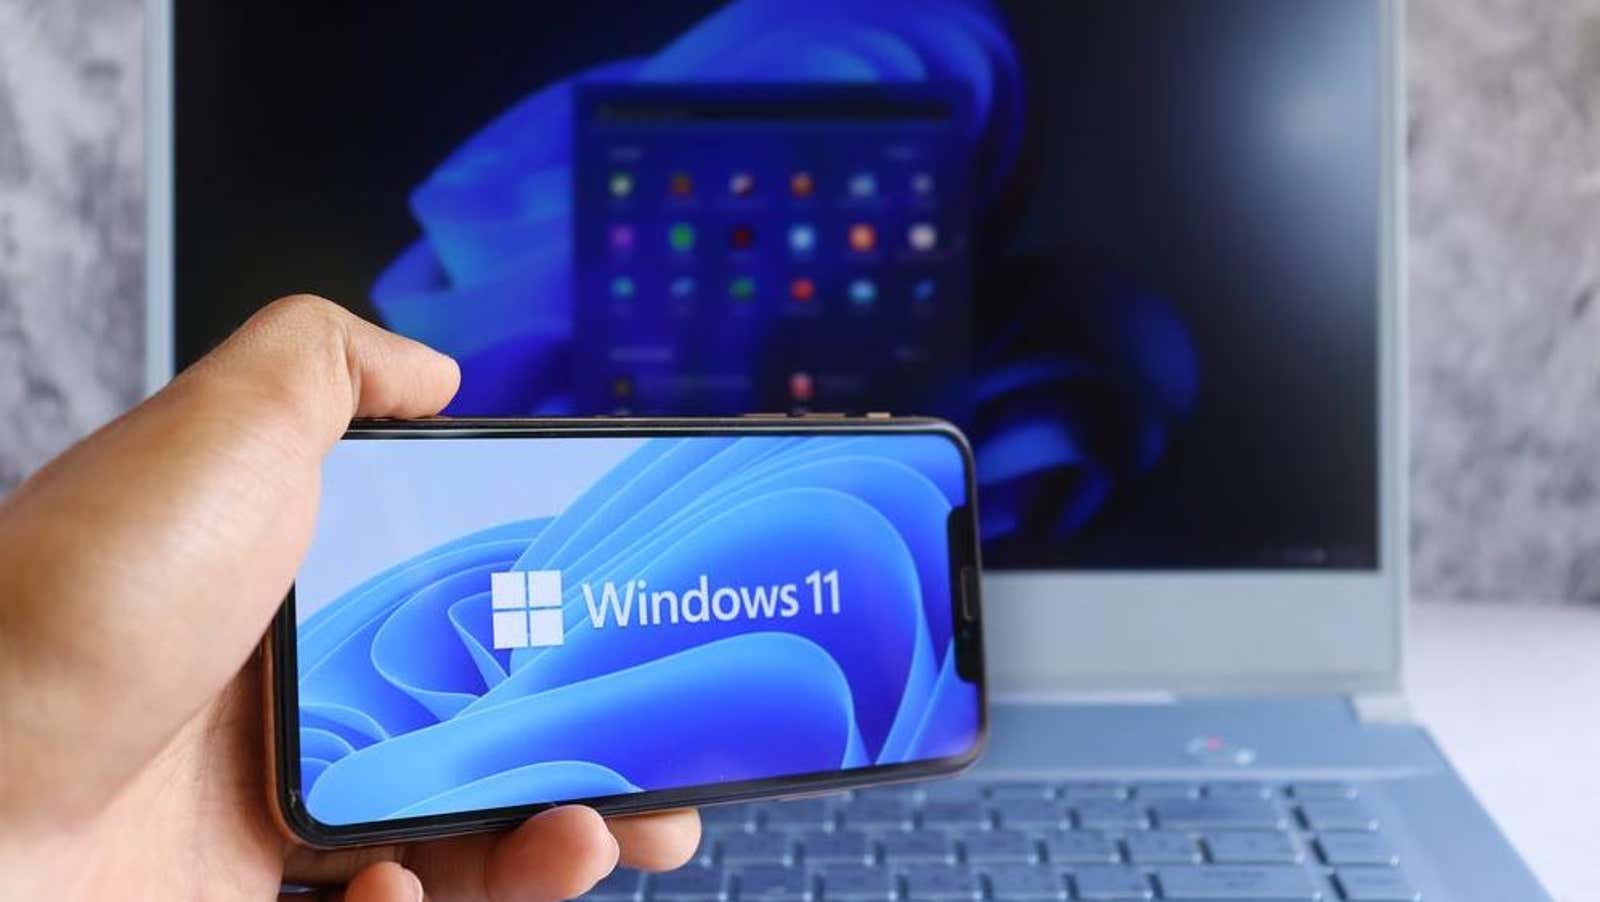
Windows 11 can run Android apps as if they were native PC software, but at the time of this writing, only a few are officially supported. However, there is a way to download unsupported apps in Windows 11, similar to how you can install third-party apps on your Android phone.
To do this, you will need a few things. First, you need to be a member of the Windows 11 Insider Program and have the Windows Subsystem for Android app installed. More information about joining the beta can be found in the announcement on the Microsoft blog .
Second, you need to have Android Debug Bridge (ADB) installed on your computer. We have a guide on how to install ADB on Windows 10 and the process is ported to Windows 11.
Third, you will need APK files for the apps you want to install. You can find them on trusted sources like APK Mirror, APKPure, F-Droid, Github, or the XDA developer forums. Just make sure you download legitimate (i.e. not pirated) files from websites you know are safe. Download APKs may contain malware or be hosted on insecure domains, and downloading pirated software is illegal as you know.
Finally, you may also need to download the unpublished APK of MicroG in order to use apps that check the validation of Google Play services. MicroG is open source software that essentially copies Google services, so you can use the apps on other unsupported devices. This is an optional step and you will need to install MicroG by following the instructions below, but is required if you want to run any Google apps or apps that depend on Play Store validation.
With these prerequisites removed, let’s download these apps unpublished. This may sound daunting at first, but it will work out pretty quickly if you know the process.
- To get started, open Windows Subsystem for Android from the Windows 11 Start menu under All Apps .
- In the Windows Subsystems for Android settings window, find and enable Developer Mode.
- Open the Files window at the top of the settings menu to open Android on your PC.
- Back in the settings menu, scroll down and click Update next to the IP Address option (it’s right below the developer mode switch). When the IP address appears, click Copy.
- Then open Windows Terminal as administrator. Go to Start> All Apps . Hover your mouse over Windows Terminal, then choose Advanced> Run as administrator.
- In the Windows Terminal window, enter the
adb connect (IP address)command using the IP address from steps 4 and 5. It should look likeadb connect 1234.5.6.7 - Press Enter to run the command. If everything works, you should see “connected to [IP address]”. We can now download the APK files saved on your computer to run on the Windows Subsystem for Android.
- Back in the Windows Terminal window, enter the
adb installcommand and then specify the folder path and file name in quotation marks. For example, the complete command might look like this:adb install “C:\com.whatsapp_2.21.21.15-212115005_minAPI16(x86_64)(nodpi)_apkmirror.com” - If everything is in order, you will see “Streaming Install in Progress” in Windows Terminal after the installation has started and “Successful” after the installation is complete.
And it’s all. The application is now installed on your computer. Like other Android apps, you can launch downloaded unpublished apps from the Windows 11 Start menu. They will be listed under All Apps. Double click to launch the application and it will open in its own application window.
If for some reason the app doesn’t work, try installing MicroG as recommended above. Or you can try running the app through the Android emulator on Windows .
[ XDA Developers ]