How to Insulate a Ceiling Hatch in an Attic
Lofts already possess this mysterious quality, when objects that at one point were important to us (or previous owners of the house) fill boxes that we forget about and then end up rediscovering for ourselves. And the fact that many attics can be accessed through a hatch built into the ceiling only adds to the intrigue. (Or maybe you just have old holiday decorations in there, or you left it blank and there is no mystery about that.)
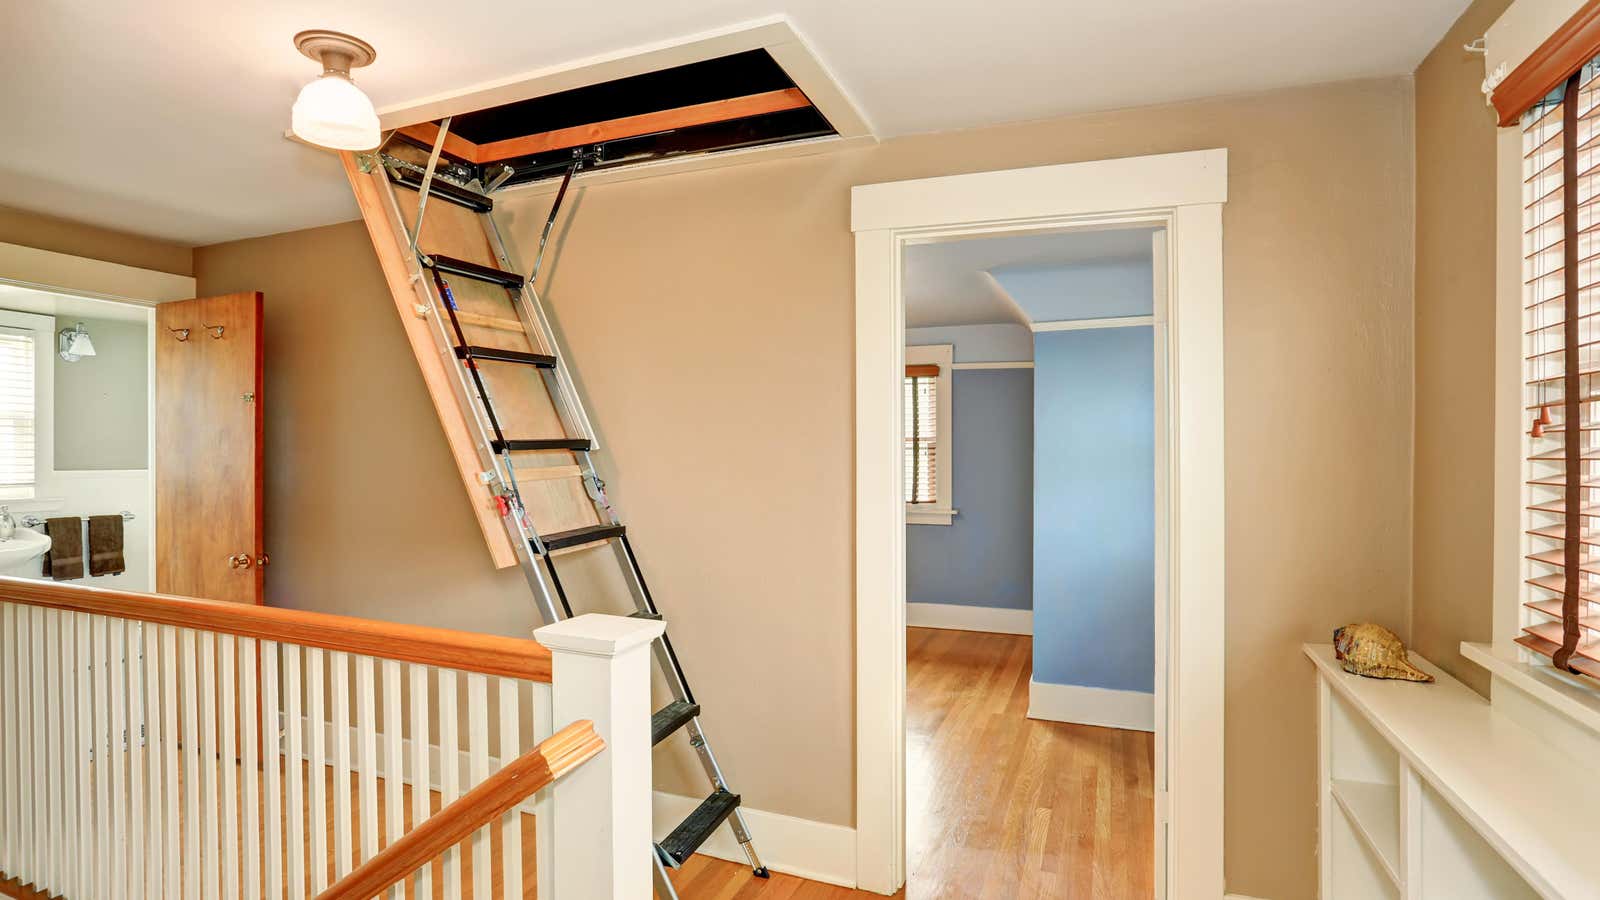
Whatever is at the top of the stairs and behind the hatch, if the door is not insulated, it can affect the temperature in the rest of the house. In an article for ThisOld House.com, Charles Bickford describes the process of insulating an attic hatch. Here’s what you need to know.
How to insulate an attic hatch
While there is a good chance your attic is insulated, Bickford says a door is unlikely. If this is the case in your home, he recommends two main methods:
Fiberglass insulation
This is the easiest way to insulate an attic door, according to Bickford. First, he advises trimming the felts so that they protrude slightly past the back of the loft door, adding that two pieces may be required to get the job done. Then, with the fiberglass side down (opposite the door), attach the bracket to the door. Only one layer of fiberglass is needed here, Bickford says, as compression reduces efficiency.
Rigid insulation
Making a rigid insulation box that fits over a doorway is a more efficient and long-term solution than fiberglass, Bickford said, but it’s also a little more difficult.
In addition to one 4 ‘x 8’ sheet of rigid insulation, you will also need:
- Roulette
- Knife or saw to cut the insulation
- Packaging or electrical tape
- Sealant gun
- Construction adhesive
Since the process is a little more complicated, check out Bickford’s article for more detailed instructions.