How to Create Your Own Stylish Hexagonal Shelf
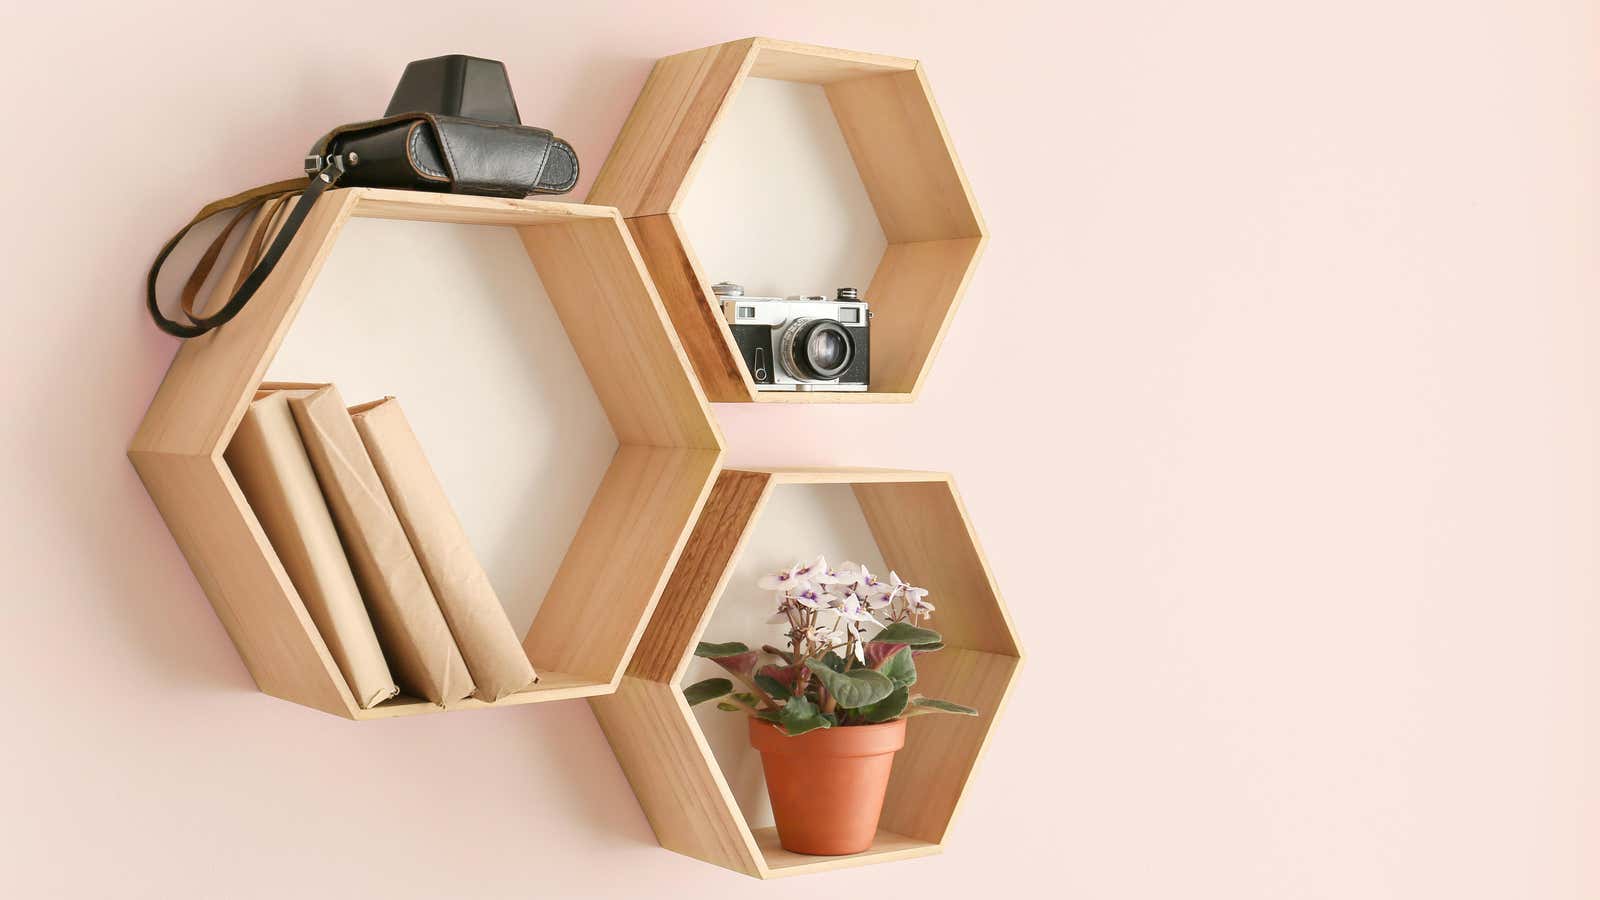
The hexagonal shelf can hold everything from cell phones to succulents, and even better, it can be made from wood waste. It’s a smart and stylish way to recycle any wood left over from home renovations, and it could save you a trip to IKEA (plus you’ll earn bragging rights).
What do you need
Firstly, a number of tools: preferred cutting saw, which can handle at an angle or at an angle, but if you do not have one of them, then fit the angular saws and hand saw . You will also need a pencil, tape measure, masking tape, sandpaper, and some wood (obviously).
Choose your materials
Choose boards for the sides of the hex shelf — new or used — between 1/2 “to 3/4” thick and no more than 5 “wide. ( A 1×4 board can be a good choice, but any size lumber will work, narrow enough to make your shelf.) It’s a good idea to collect a little more than you think you need in case of sawing errors or uneven boards. …
Measure and cut
Once you’ve selected the lumber, measure out the six sides of your hexagon. First, decide on the length of the shelf: for whatever hangs on the wall, it shouldn’t be more than 8 inches. (Keep in mind that if the inside dimension of your shelf is 8 inches, the outside dimension will be larger as the thickness of the board will add to the total finished length.) Then cut the boards at a 30 degree angle each. their narrowest edges. Find the 30-degree mark on the cutting tool and cut six pieces of wood of equal length with 30-degree angles at each end.
Attach your pieces
After you have cut all six pieces, tape the long sides of the shelf boards back to back, then flip them over. By placing the boards face up on a flat surface, you will see the gaps between the pieces — those filled with glue. Then carefully fold the pieces together to form a hexagonal shape. You will need to glue the last two pieces together and tape the last seam once you finish shaping the shape. Remove excess adhesive with a damp cloth. Make sure all edges match and let dry for 12-24 hours. Remove the tape, sand down any remaining glue, paint, or stains (if any) and you’re ready to hang the shelf.
Hang the shelf
You can hang the shelf using a flush-mount bracket or other narrow mounting bracket. Simply attach one side of the bracket to the shelf and the other to the wall at each top corner of the shelf. Be sure to measure carefully so your shelf hangs straight and the brackets line up. Check the packaging of the bracket to make sure it is rated for the weight of your shelf (and what you want to put on it). You are now ready to enjoy the stylish fruits of your custom shelf work.