How to Protect Outdoor Furniture From Rust and Debris
Water, temperature fluctuations, and sunlight can damage your outdoor furniture, but luckily, a few simple maintenance methods can restore dried wood, regain color, prevent water damage, and strengthen the joints in your furniture. You will get more life from your patio, terrace and yard items, saving you money even if you make your outdoor spaces more comfortable and inviting. (No one likes to sit on a chair covered in wood chips.)
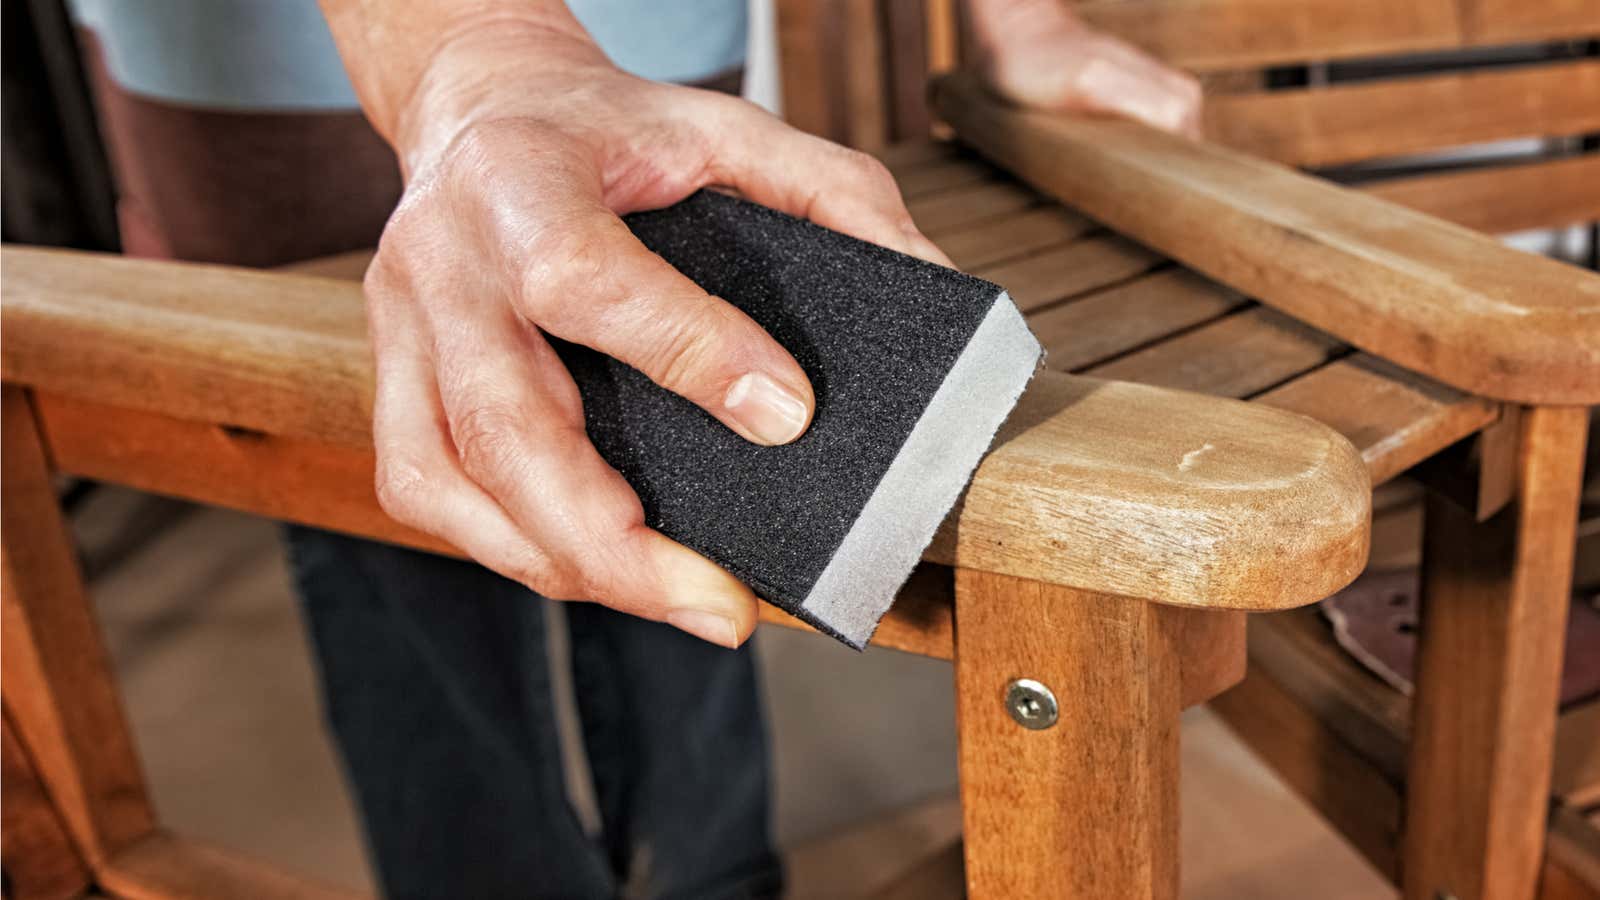
Use sandpaper to smooth the surface.
Sun, heat, and rain can cause discoloration, graying, and cracking on bare, untreated wood, but don’t worry – a little sandpaper goes a long way. Start by sanding any debris, going from coarse to fine sanding paper and working with the texture of the wood as much as possible to remove any potential catch marks. You can find sanding “project packs” at most hardware or home improvement stores that include coarse, medium, and fine grit sandpaper. Each type of sandpaper will have a number that indicates the distribution and size of the abrasive surface on the paper. Smaller numbers (say 60 or 80) are coarser, while higher numbers (180 or 220) are more accurate. To select the correct grit sandpaper, inspect your piece for large shards (larger than, say, the tip of your index finger), medium shards (about the thickness of your thumbnail), or smaller shards (that may appear fuzzy on your surface) … Align the paper with the debris: If you have large debris, coarse sandpaper is best first. For medium-sized protrusions, medium-grit sandpaper is suitable; or something smaller, fine grain paper works best. Start with coarse grit to remove larger debris, and gradually work down to finer grit until you achieve the desired level of surface smoothness. This is where the sanding block comes in handy and saves you a lot of hassle. Simply wrap the block with sandpaper to give it extra rigidity and keep your fingers from pain. Sanding blocks are available at hardware stores and are usually made from dense, slightly elastic foam, but as a last resort, you can also use a block of wood or even a dense sponge.
If your surface is relatively new and intact, it is still a good idea to hit it with sandpaper before applying the protective coating – all the better to protect it before it dries, fades, turns gray, or cracks.
Use ferrous sulfate to age the surface and give it a rustic look.
Sanding a part can also remove the gray discolored surface, revealing the natural color of the wood underneath. If your furniture looks too new, you can give it a more rustic grayish look with a compound called ferrous sulfate. This non-toxic substance, often sold as vitamin supplements, oxidizes the surface of your furniture, leaving it with a natural, worn gray. Ferrous sulfate is often difficult to find in stores, but it is easy to buy it online.
To apply, dissolve 1.4 ounces (or 2 tablespoons) of ferrous sulfate in one gallon of water, then brush, spray, or wipe down on furniture with a rag and let it dry. To ensure that the treatment produces the desired result, first apply a test patch to the underside of the furniture. Warning: Ferrous sulfate causes oxidation, also known as rust, so keep it away from exposed metals, including equipment and tools.
Condition and process your wood furniture
When you have finished preparing the surface, move on to treating the wood. Chances are, if your furniture is made of pure wood, you are trying to maintain that look. For long-lasting natural results, apply garden furniture wax. There are many waxes available for outdoor use, so choose one that has UV protection as well as waterproofing properties.
To apply wax, make sure your part is clean and dry (and that you remember to read the label on your product to inquire about safety). Also, check the weather forecast if you are working outdoors – rain and high humidity can affect the wax’s ability to properly seal the wood surface when it dries. Once you’ve created a clean, dry, and safe work environment, you can wax your furniture. Some waxes are designed to be spread on with a rag, while others are designed to be used with a plastic putty knife or putty knife, so read the label and follow directions. Apply wax in a smooth, even layer and let dry for about 24 hours.
After about a day, your wax should start to harden, but it will still be a little sticky or sticky. To fix this, wipe it down with a dry rag or buffing pad as if you would polish your car with wax. Buffing should remove the stickiness and also help smooth out the wax. Depending on the weather, it may take a few more days for the wax to dry completely, but you will no longer need your help. Now your furniture will be chip-free and protected from sun and rain damage.
A Few More Tips for Caring for Garden Furniture
Check the furniture for loose or rusted parts and tighten any loose screws with a screwdriver. If the bolt is loose, you will need an adjustable wrench and possibly another to keep the bolt from rotating while you tighten it. For rusty parts, if damage is minimal, apply a rust remover and use a wire brush and rag to remove most of the discolored surface. If it is badly damaged, it is better to replace the hardware.
Finally, if you are planning to do furniture repairs, make sure you are wearing gloves, working outside or in a well-ventilated area, and following all safety information on your product label. Tidying up your outdoor space may and should be fun, but inhaling potentially harmful chemicals in a poorly ventilated space is not fun at all.