Why Not Grill Your Own Chicken?
At the height of the pandemic last year, many of us looked to our own kitchens to recreate the fabulous out-of-home dinners we took for granted before our favorite local establishments closed. Sourdough fanaticism has led to shortages of flour and yeast, while meat production has slowed to a minimum (and we still suffer from shortages). The only thing that faded faster than anything else – at least in my woodland neck – was the humble, hot and cooked grilled chicken.
Grilled chicken, one of the greatest time savers in 21st century kitchens, can be a simple food in and of itself, or it can be tomorrow’s chicken salad , chicken noodle soup, or a quicker chicken noodle casserole . But you don’t need to rely on Costco or your local grocery store. Spinning yourself is easier than you think.
Why you should grill chicken
Grilling chicken at home is easy and takes almost 90 minutes, and it works with any grilling or marinade you can think of. Instead of faintly fragrant store birds, here you are in complete control. There is one small need: You need a skewer for your grill. This will depend on the make and model of your grill, but universal kits are available and won’t cost you an arm, leg, or wing. If you find that this is what you like, you can add wings, vegetables and even whole fish to the basket .
However, there is much more you can do here than just thread a steel rod through the chicken. First things first: you need to learn the ropes.
Case related
Mushrooms work best when they are properly balanced. If this is your first time using it, my advice would be to set it up on a grill using only forks and test it to see how it works. Insert the rod, flip the switch. There is nothing to think about – until you start increasing the weight of this rod. If the stick is not balanced correctly, you will hear the ingredients squeak and groan throughout the entire cooking. This can negatively affect the grill motor, requiring more torque from it than is needed to rotate the spit. Since the grill does not wobble, it can cause breakage of parts and the premature death of your new appliance.
To facilitate this, we turn to the rafter structure. Tying the limbs and shaping the chicken will maintain optimal rotation of the grill and ensure even cooking, which is always important. The ultimate tie-in guide – take a look at this video from Alton Brown .
Get your hooks
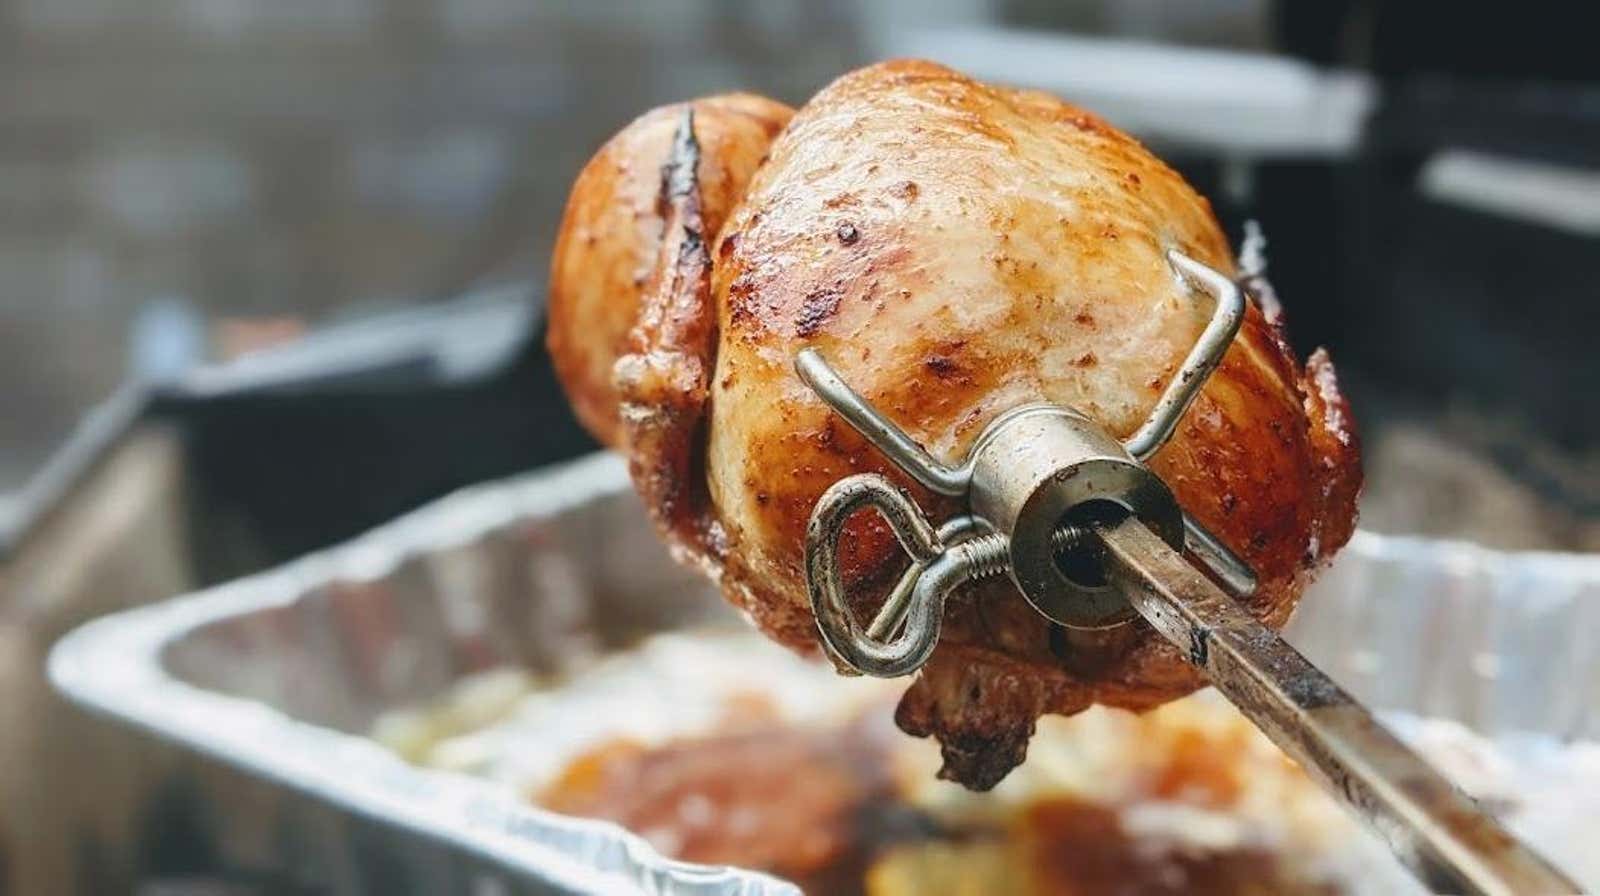
Meat hooks, grill forks, wolverine claws, whatever – now bury them deep and securely, because the chicken will shrink during cooking and you don’t need to stop cooking to pull out the 400 ℉ steel bar, unscrew As the poultry sizes vary, try to anchor the forks deep in your chest and thighs. The chicken in these images weighs about five pounds. One thing I really recommend is to try to position the front fork over the sternum, providing support in the heaviest area when rotating the trochanter.
Prepare your grill
Your setup will differ depending on the grill and grill you are using, but for the most part, the process is standard: remove the grates (and for Weber models, leave the fragrance sticks in place).
One of the most important components you will need is a pallet. A disposable aluminum skillet is best, but try to get a half-height option – taller pans can interfere with the rotation of the chicken, causing the bird to bump into it and even tip it over. Not the end of the world, but it will be full of chicken fat and next to the fire, and we already figured out why this is bad. Set the burners to medium or high heat, aiming at 375-400 ℉ and use oven mitts. This is the moment of truth. Well, the first one. There are a few more things to do.
Spin to Win
This is my favorite part! The kid’s trick is when you put the skewer into the motor and it spins great. Take any heat resistant gloves, lift the grill lid and secure the spit to the motor. All that’s left to do is flip the switch and wait.
If the chicken ends to fry too quickly, turn off the engine and temporarily reduce the heat. Remove the spit from the motor and place it on a flat, heat-resistant surface (preferably on another drip tray or chopping board with juice tray). Place a square of aluminum foil over the end that should act as a deflector, similar to how you would with a pie crust, and carefully collect everything on the wire rack.
As you cook the poultry, it is important to stop from time to time to check the temperature. Cooking times will vary based on chicken size and cooking method, but a four- or five-pound chicken will only take about 90 minutes to cook. This particular sample was ready for a short rest in an hour and twenty minutes, but I tested it after 30, 60 and 90 minutes to make sure I was keeping a good pace. When you have reached the desired temperature, turn off the engine and leave the grill lid open. It’s easier to leave the chicken here than trying to take it apart on the counter or countertop.
Now there isn’t much work left to do but deciding what to do with your beautiful bird. With all that free time ahead of you, you have a pleasant leisurely pace ahead of you to prepare a scrumptious vinaigrette for a green salad, whip up a batch of lemonade, or boost your coleslaw to 11 with a shot of pepper jelly . They all go well with the fruits of your almost any labor.