How to Cook Your First Batch of Kombucha
If you are reading this, you probably already know that there is Kombucha, but you may not know what it is if you know what I mean. You may have felt experimental when you first grabbed a bottle of GT’s Trilogy, and perhaps you were intrigued by the curiously tart and effervescent experience it gave you, but you probably haven’t given much thought to what it takes to make this strange drink. in the first place, can you, yes, participate in the process yourself.
Kombucha is a fermented beverage made from sweetened tea, usually black tea, although you can also find options that use green tea, oolong tea, or even puer. The important point here is that he uses real tea from the tea plant. Experienced brewers sometimes experiment with herbal infusions, but traditionally kombucha is made from brewed tea, sugar, water, and SCOBI (more on this in a moment).
Kombucha has been around for a very long time; its earliest documented appearance dates back to 221 BC. in China, where it was consumed as a medicinal drink. Even today, kombucha has a tremendous ability to cure a range of diseases, from cancer to diabetes. Unfortunately, these claims are hardly supported by science. Most reputable scientists tend to agree on one thing that, like many fermented foods, kombucha is full of probiotics, so it’s likely that consuming it could offer the same benefits as any probiotic intake – basically, it’s a well-balanced gut microbiome. and more, mmm, normal bowel condition.
Personally, I drink kombucha because I love the taste and have experimented quite well with flavors as well. If you’re looking for kombucha for potential medicinal properties, I won’t tell you no. I’ll just say that kombucha, or any food or drink, is not medicine, so I suggest you only consume it if you really enjoy it. Homemade kombucha is a very different creature than store-bought kombucha, so even if you’re not a fan of commercial kombucha, you can actually get to the bottom of what you can make yourself.
Meet the SCOBY gang
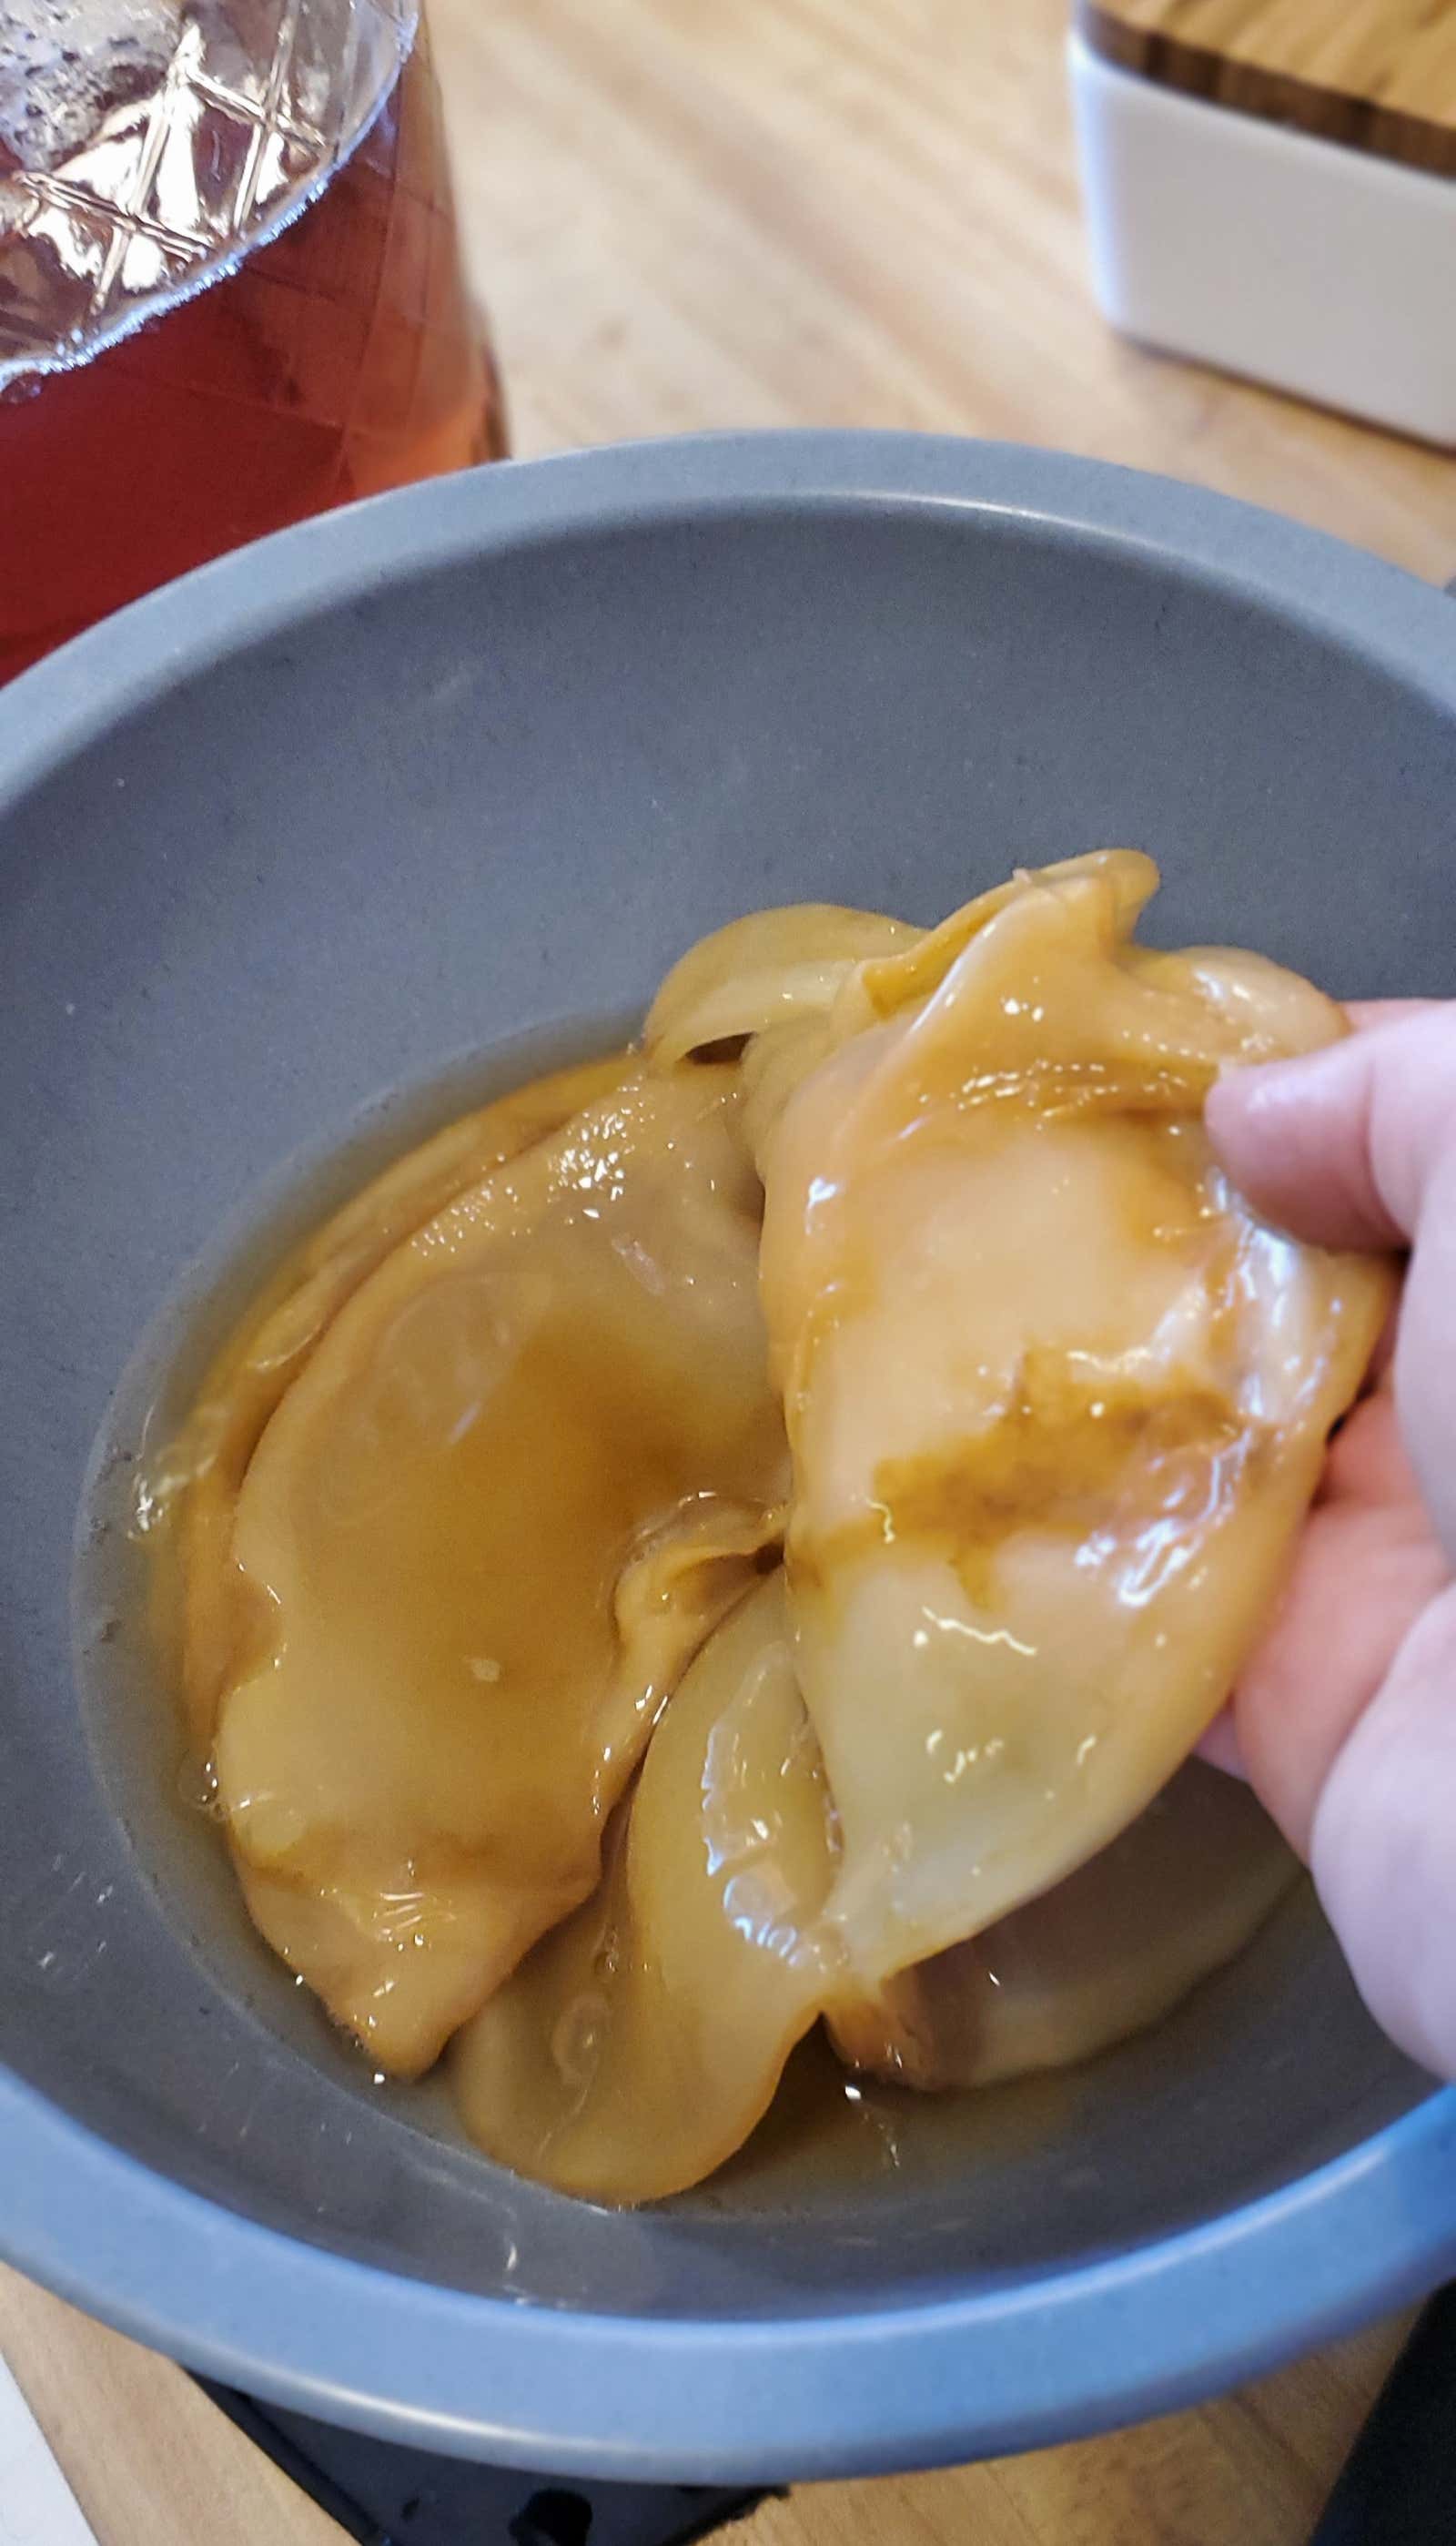
Let’s talk about SCOBY, the coolest part of making kombucha. SCOBY stands for Symbiotic Culture of Bacteria and Yeast. Honestly, it looks like a seriously ill elephant will sneeze at you, but you need to make up with a giant snotty blob if you’re going to try making kombucha.
It took me a while to get comfortable with the process of making kombucha, and putting my hands on this slippery spongy colony of organisms was a big part of why. But despite the slimy vibes, SCOBY is a wholesome microbial mat that does all the real work after you’ve cooked up its adorable little tea bath. SCOBY cultures eat the sugar from sweet tea and convert it into acids, carbon dioxide and some alcohol. It is also sometimes called “mother,” and is similar (but not quite the same) to the filmy muck you see in a bottle of unfiltered apple cider vinegar. (It is also sometimes called “mushroom”, but this is completely wrong.)
SCOBY may not adhere to cultural standards of beauty, but over time I began to think of her as beautiful; she’s plump, healthy and ferments my sweet leafy juice. I’m not saying that I sometimes talk to mine or give her small grateful pets, but I’m not saying any of that.
Where can I get my own SCOBY? You can buy them online these days, but you may have the option to purchase them locally. One of the first books I read about cooking kombucha said something like, “You might be surprised to learn that someone you know is making kombucha!” and I thought, “Shut up, book, you don’t know my friends.” But then it turned out that a local friend was making her own kombucha and she was an extra SCOBY to pass from me. Book 1, Leslie 0.
The SCOBY replicates as part of the kombucha process, so the original SCOBY you place in the vessel grows into a new SCOBY as a second layer on the surface. Each batch equals one new SCOBY to make the next batch of Kombucha! You can compost the excess, build a SCOBY hotel to stay for a long time, or become the Kombucha fairy in your city and deliver the little SCOBYs to all the up-and-coming homebrewers in your area. (Some people seem to be using additional SCOBYs for their skincare products . This is out of my interest, but maybe you like it.)
Don’t give a fuck about a bitch
Before we get into the process, we’ll talk a little about food safety. Like all forms of home fermentation, kombucha comes with a degree of risk as it is much more difficult to prevent contamination in the home kitchen compared to stricter commercial premises regulations.
However, kombucha has never been unequivocally linked to a foodborne disease outbreak. There was one documented case in 1995 where a person could die, and it is this story that usually comes up when discussing the potential risks of kombucha. But all medical attempts to determine the cause in this case were unsuccessful, and the two sick people seemed to have only one possible common – they both drank homemade kombucha made with SCOBY, obtained from the same local supplier. More than a hundred other people have also contracted SCOBY from the same location without incident, so it is not really a fact that the cause was kombucha, but the incident was frightening enough that it hindered the safety of the kombucha for a long time. time.
Currently, the generally accepted advice is that kombucha should be avoided by pregnant and lactating people, as well as people with weakened immune systems, but the evidence to support this is not overwhelming and it might be a matter of caution. Likewise, the CDC recommends drinking no more than four ounces a day, which is not much for kombucha (your regular store bottle holds 16 ounces). I’m hardly prepared to contradict the CDC, but I will say that your personal consumption of kombucha should be determined by what works best for your own body. Pay attention to how the kombucha gets into your intestines and decide how much is enough for you.
Perhaps now is the time to point out that one of the hardest parts of homemade kombucha is the highly unpredictable alcohol content. Yes, part of the fermentation process involves the production of alcohol. Commercially available kombucha must have an alcohol content of less than 0.5%. if not, it must be labeled and marketed as an alcoholic beverage, which obviously has a profound effect on how it enters the market. (Back in 2010, Whole Foods took all kombucha off the shelves after tests showed higher alcohol levels than expected.)
Homemade kombucha is unlikely to have more than 2% ABV under normal circumstances – by comparison, beer can range from 3% to 13% – but this is an important difference for people who avoid alcohol. In addition, while there are strategies for making drunken kombucha, it is not easy to control precisely whether you want to increase the alcohol strength or minimize the high. The point is, if you are sensitive to drinking, you can try a different hobby.
Mighty boo
Stop talking. Let’s start brewing. Here’s what you’ll need to make one gallon of kombucha:
- One gallon of de-chlorinated water (also suitable filtered or bottled)
- Five standard-size black tea bags (organic, if you have one)
- One glass of white sugar
- SCOBY
- At least one cup of unflavored mature kombucha (available at the store)
And for your instruments:
- A minimum 1.25 gallon brewing vessel with a wide top opening.
- Clean kitchen towel
- Non-reactive stirring device
- Swing-top storage bottles for finished kombucha (I love these )
- Funnel to fill these bottles
- pH strips (or pH meter, if you have one handy)
- Food thermometer and / or sticky thermometer (optional but useful)
First things first: brew the tea. Bring one quart of water to a boil, then turn off the heat, remove the kettle from the hotplate if it is electric, and submerge the tea bags. They can be infused for five to 15 or even 20 minutes, depending on how strong you like your drink.
While the tea is brewing, it’s time to make sure your brewing vessel is clean, clean, and clean. Using antibacterial soap may seem like a good idea, but it is not – it can leave residues that can make it difficult to brew. Instead, use very hot water and / or a 50/50 mixture of distilled white vinegar and water. I usually do a final vinegar rinse right before I start loading the brew vessel, just to make sure it is well prepared for my future kombucha.
While there are several different types of brewing vessels, I highly recommend using a glass one. First, the ceramic jars must have a kombucha-safe food glaze, and this information is not always available from all suppliers. Also, at least until you get used to the process, it is helpful to be able to see what is happening day in and day out.
Pour the remaining three liters of room temperature water into the container. The tea should be brewed by this time, so discard these tea bags in the compost. Add a cup of sugar to the tea, stirring occasionally, until it is completely dissolved. Do not try to make the Kombucha diet using less sugar or replacing any other sweetener, as SCOBY requires a certain amount of sugar for fermentation to occur. Also, use plain old refined white sugar until you are more experienced; using raw sugar may be fun later on, but it’s kind of an advanced trick that can produce unpredictable results.
Let the tea concentrate cool slightly. When you are ready (and the sugar has completely dissolved), pour the tea into the container with the remaining water. Check the temperature with a clean finger. If it seems much warmer than body temperature, throw on a tea towel and let it cool. If you have a thermometer, try to keep it below 100 ℉ – much warmer than that could harm your SCOBY.
When you feel good, take those clean hands and throw SCOBY. Once the SCOBY is in the bowl, pour one to two cups of mature kombucha on top. “Ripe” or “strong” kombucha is a fully cooked kombucha; if you don’t have access to fresh, unflavored kombucha, you can use store-bought kombucha instead – just make sure it’s unflavored. At this point, your SCOBY may drown; if so, don’t worry, it will still work.
Cover the jar with a clean tea towel. The air needs to circulate, so any fabric you put on top needs to be permeable, but you don’t want the weave to be too loose, as your growing kombucha will smell fantastic for any insects in your home (don’t use cheesecloth, that’s what I say). I like to secure the kitchen towel with a rubber band or string just for more confidence.
At this point, you can move the entire shebang to a warm place, away from direct sunlight, where it is unlikely to be disturbed. An ambient temperature of 75 ℉ –85 ℉ is fine, but kombucha will still cook at lower temperatures, it just takes longer; This thermometer, which I mentioned above, attached to the side of your vessel, may be useful here.
Now: wait. Your kombucha will begin to ferment and its taste will depend on how long you leave it on. You will begin to see the SCOBY baby forming on the surface like a blanket, and the longer you let it sit, the thicker it will become. After about five to seven days, you can begin testing by gently lowering a clean spoon or glass along the edge of the SCOBY to collect the sample.
Before trying a new batch, I highly recommend testing it for pH. Paper test strips are cheap and easy to use and can confirm that your drink has reached a safe acidity; for basic kombucha, a pH of 2.5 to 3.5 should be expected, which is acidic enough to prevent the growth of most forms of unwanted (and dangerous) bacteria.
The first taste of your own kombucha is just magic. As long as your pH is within the acceptable range, you can bottle the batch when it reaches the flavor you like best; early kombucha is sweeter and late kombucha becomes more tart. When you’re ready, you can bottle it as it is, or bottle it and add flavorings and then give it a shorter secondary fermentation period at room temperature to get more complex flavors and create some fizz in closed bottles.
You can flavor kombucha with just about anything – herbs, spices, ginger, syrups, fresh fruit, or even jam – but the total amount of flavors should be no more than five percent of the bottle’s volume. It doesn’t sound like much, but I’ve learned that a little taste matters a lot. Add your own flavors and then fill the bottle with kombucha, leaving some headroom at the top. For convenience, I recommend using flip-top bottles. You can leave the flavored bottle for a day or three, depending on the temperature, for secondary fermentation, but then refrigerate it to slow it down – hopefully before the drink gets too strong or sour for your palate. (At high temperatures fermentation accelerates, at low temperatures it slows down.)
Warning: if you add sugar flavors, this will restart the fermentation process, except that this process is now enclosed in a sealed bottle. The development of carbonation is a tricky balance that requires conscious attention. Chilling the kombucha will slow this down, but it is wise to periodically “burp” any airtight container you used to store the kombucha. I laughed at other people’s tales of exploding bottles (because I’m a dumb asshole!) Until the bottle on my counter exploded literally seconds after I left the kitchen. Fortunately, the situation has worked out, but trust me, kitchen cockiness does not prevent explosions.
That’s it – the first batch is ready! There are additional processes for the continuous preparation of kombucha and many options for crazy taste experiments worthy of scientists, but that is beyond the scope of this article. You can check out one of the many great books on the topic to further your brewing journey – I love The Big Book of Kombucha by Hannah Krum and Alex Lagori as a beginner’s guide.
Now you can relax with a glass of your own fresh kombucha, gratefully pet your SCOBY (wash your hands first!), And feel the deep satisfaction of spending weeks preparing at home what Whole Foods used to require. It’s called self-confidence and it tastes so good .