How to Make Your Own Home Recording Studio
Whether you are a podcaster, musician, or actor working during a pandemic, having a home recording studio of some sort can be essential to your business. Much of the recording work has moved into our homes this year, but professional grade sound is often still required. Unfortunately, setting up a home studio is not the most intuitive DIY project. In fact, you may feel completely lost without a professional to help you. But with a little effort and ingenuity, you can reproduce studio quality sound in your home. Here are a few steps to follow to get the best sound quality in your makeshift room.
Soundproofing a small space
Sound insulation is essential when it comes to clean, clear sound. Large rooms have a large surface area for sound to propagate, while rooms with bare walls or high ceilings will create echoes that will pick up on any microphone. Angela Sarakan, Senior Sound Producer at Dipsea , advises: “Capturing quality sound requires more than just a microphone – you need to try to absorb as much of the sound as possible from the environment.” Sarakan notes that the easiest and cheapest way to do this is to sit under a thick blanket with a microphone while recording, or in addition, in a closet full of clothes that will buffer the sound. From experience I can say that the first method works as a one-off, but it can get hot and sweaty under it. For permanent recording sessions, a semi-permanent setup will be much more convenient.
I spoke with sound engineer Daryl Bolichek of Wild Horse Recording, LLC , who advised me on the best solutions for soundproofing my home. Bolicek notes that the cabinet is actually ideal for fitting with sound-deadening materials – a small space will naturally limit echoes, and it will be easier to make it sound-deadening. If you do not have a toilet large enough, you can use any normal size room, provided you can fit the proper sound-deadening materials.
Use sound-absorbing foam
If you have the budget to get the job done, the quickest way to set up a home studio is to use sound-absorbing foam . This material resembles foam for egg crates, is thick and available in a limited range of colors such as black, red or blue (if you want a color scheme). It’s pretty cheap – anywhere from $ 30 to $ 48 per pack. 12 “by 12” panels, sufficient to cover 48 square feet of space. The good news is that you don’t need to cover the walls with foam from top to bottom. “You don’t have to do the whole room. You really want to nail the front part at the back and [the walls] that line up with the microphone, ”says Bolicek. The best way to make sure you cover your bases is to paint an X on the wall in front of the microphone, both in front of you and behind you. Xs mark the areas where sound will hit the wall and bounce directly into the microphone, so that’s where you most need to set the foam.
A great way to soundproof when you’re short on large toilets or spare bedrooms is to use a small storage box. First make sure the box is large enough to fit the microphone, then line it with sound-absorbing foam and place the microphone inside. This setup is suitable for scoring concerts, recording poetry, or presenter – any recording in which one person speaks directly into a microphone. I went even further by attaching the foam to a triple-folded presentation board that covers more space and allows me to record while standing. (The triple-fold board also allows you to record two people at once.)
As with any hardware purchase, you get what you pay for. “Unfortunately, the more expensive the better the foam,” says Bolicek. Therefore, if you are investing in your business, getting better quality foam will give better results. Cheaper foams will do, but more expensive ones – when combined with other quality hardware upgrades – can make a difference. Personally, when listening to podcasts, I’ve noticed that it is more difficult for tits to enjoy an item when it is hard to hear or there is a lot of noise in the audio mix. The better the sound quality, the more your listeners will be involved (especially since they have nothing to visually interact with). Better materials are more important for professional musicians and voice actors, as your career will depend on your ability to create high quality recordings.
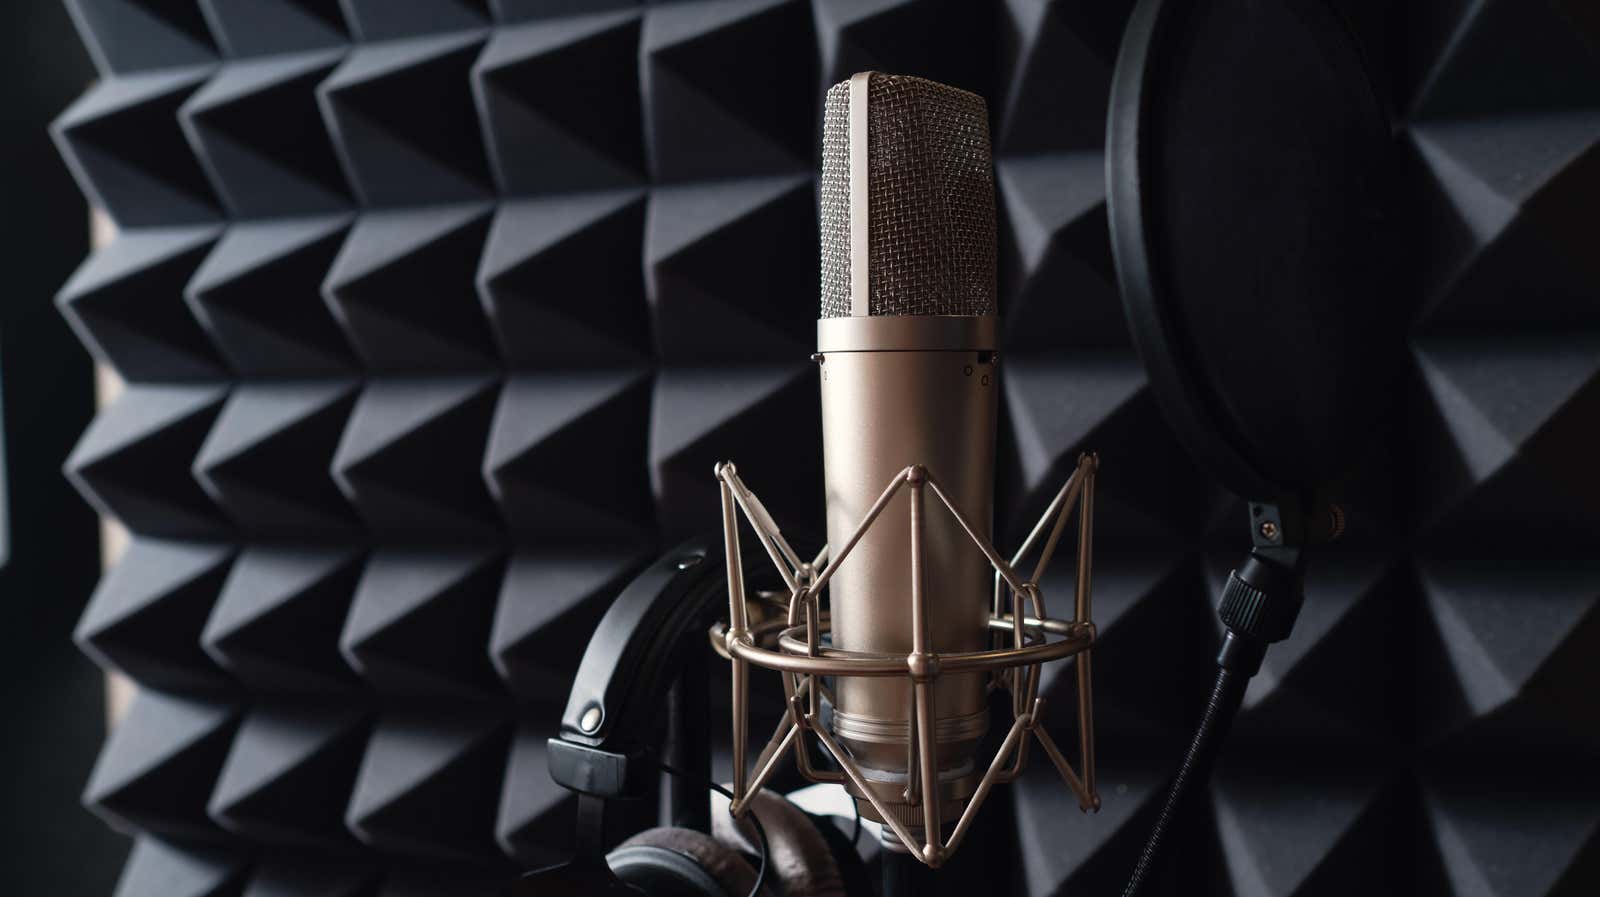
Buy the right microphone
As with soundproofing materials, the more money you spend on recording equipment, the better the end product will be – and you’ll want to start by purchasing a microphone. You don’t need to break the bank; just make sure you choose the mic that suits your space, needs, and budget. I use AKG XLR condenser microphones to record my behind-the-scenes performances and entertainment podcasts. Condenser microphones are easy to find, relatively cheap (like microphones – $ 99) and offer great sound quality for the price. However, condenser microphones are very sensitive and require a well-soundproofed room to avoid picking up unwanted noise. For this reason, Bolichek offers to purchase a dynamic microphone. Dynamic microphones are not as sensitive or pick up as much background sound as a condenser microphone. If you want a great dynamic microphone, it will cost significantly more ($ 400 to $ 500). You can find them for as little as $ 99, but you’ll want to research them ahead of time to make sure the quality is up to par.
Use an external audio recorder
Once you’ve set up your space and selected your microphone, you’ll need the appropriate equipment to record clean sound. Depending on the microphone you choose, you can connect it directly to your computer using a USB cable, but these cords are less than durable and don’t always provide the best sound quality. Instead, use an audio recorder to record audio from an external microphone and save it to your computer or SD card. Programs that turn your mobile phone or tablet into a microphone with recording software are unreliable. Using Sarakan sheet music with an external microphone and audio recorder is preferable to using the speakers of your computer or phone app, as it allows you better control over the accuracy of the sound (which minimizes the risk of audio distortion).
I am using a Focusrite Scarlett 2i2 with a condenser microphone for dubbing. The Scarlett connects easily to Garageband on my computer and will set you back about $ 159 for the dual mic model. For our two-week podcast, my co-hosts and I use an H6 Zoom recorder (not to be confused with a video calling service – I’m talking about hardware). The Zoom recorder is better suited for multiple users with six microphone ports. (This was more relevant in the pre-pandemic period.) It’s a bit more expensive – around $ 329 – but older versions (H5 or H4) can be a cheaper option from $ 229 to $ 279 and are of comparable quality. Any of these recorders work very well, but I find Scarlett easier to use when it’s just me and my computer.
Setting up a home studio is an investment, so take your time to plan and save money. Recording higher quality audio can provide a greater return on your investment.