How to Install Windows 10 on Your Computer
Whether you have a new Windows laptop or give your PC a little help in the form of a fresh reinstallation of Windows 10, getting your operating system right is easy. Of course, there are many variables that you may not be aware of, but this is not rocket science. It doesn’t take long to get Windows 10 up and running, and setting it up is worth the time you want to spend – after all, you only need to do the basics once.
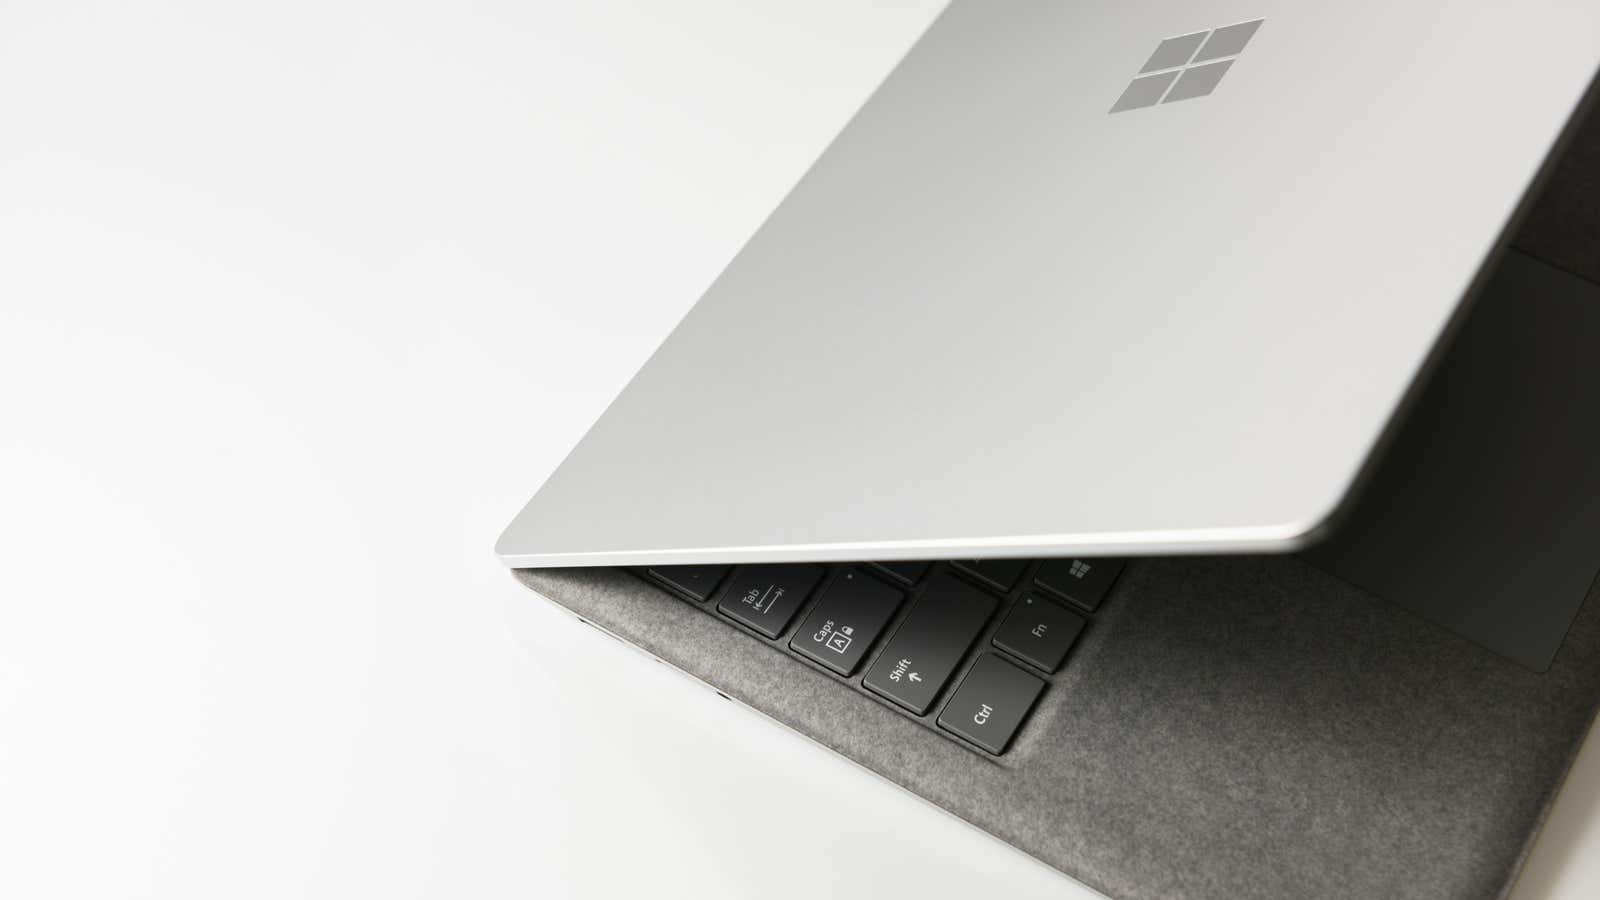
Reinstalling Windows doesn’t take as long as you think
I’ll walk you through the Windows setup process on a Surface Pro laptop, which may have multiple options or screens other than the desktop or laptop you’re using. If you don’t need help installing Windows 10 and want to jump straight to some of the settings and setup tips, just click here .
When the Windows setup process starts – on my Surface Pro at least – Microsoft uses Cortana to say hello and explain a few basic steps. It can be a little annoying when your laptop starts making noise at you, so I quickly turn Cortana off (sorry) as soon as she starts her monologue. When she’s done, Windows will ask you to confirm your location – it’s easy – and then you will be asked to confirm the desired keyboard layout. I bet 99 percent of you will choose the default, as you should.
Also, a little sidetrack: since Cortana is listening for the installation process, you don’t even need to click on any prompts. Just say the word in the box you want to select, like Ignore if you want to lazy-style your operating system.
From there, Windows will ask you to connect to a wireless network. I recommend using your system’s Ethernet connection, if applicable. Either way, you need to connect your computer to your home network so that Windows 10 can receive any updates it needs during the initial installation process.
After that Windows will continue to work and make some “important settings” that will take “a moment”. In the end, you will have to accept the Windows 10 EULA, which you probably won’t read until the end (or most likely won’t even start reading). Other “momentary” background tasks follow.
Windows will then ask you if you want to set up your system for personal use or set it up to manage your organization remotely. Chances are, most of you will be using Windows with a personal Microsoft account. Choose this option.
At this point, Microsoft will ask you to sign in with a Microsoft account. If you don’t have it, subscribe to it. If you have one, sign in with it; this will allow Windows to carry over some of your settings and personalized items from previous versions of Windows, as the OS will automatically sync them to your account. This is a great way to save some time when setting up a new PC. Plus, linking a Windows activation key to your Microsoft account makes it easier to reactivate Windows when reinstalling the OS, especially if you’ve made some hardware changes.
Since you’ve (hopefully) turned on two-factor authentication for your Microsoft account , you’ll also have to enter the code sent by email or text message after you’ve entered your password.
My Surface Pro has a built-in webcam that supports Windows Hello, which is both cool and convenient, so next time the OS prompts me to set up Windows face recognition for an easier (and more secure) login. I grin, stare at the laptop’s webcam, and continue.
As a fallback, in case Windows cannot identify who you are, the operating system will ask you to set a PIN to log into Windows (easier solution than entering a long Microsoft account password or passphrase). You can use ATM-style numbers or a mix of numbers, letters and symbols. Your call.
Ready? Not really. Microsoft will also ask if you want to pair your smartphone with your computer. I don’t often forward messages between my computer and smartphone, so I try to skip this step. In addition, Microsoft will simply send you a text message with a link to download the app; other than that, it doesn’t do anything with your phone number.
Windows should then ask if you want to make Cortana your personal assistant. I don’t use digital assistants on my laptops, but again, if you like to say “Hey Cortana” and get useful information, immediately press (or say) “Yes”.
Finally, Microsoft will ask you about the various privacy settings that you would like to check for your Windows PC. Here you can enable features such as Find My Device, which you should use in case you ever lose your laptop; Diagnostic data, if you do not want your laptop to send information to Microsoft about the applications you use or the websites you visit; and “Personalization”, which is Microsoft’s way of personalizing content for you based on what information Microsoft collects about your interests and application use.
The Windows installation process then continues in the background while you stare at the Minute screen, wondering how long Microsoft thinks the “moment” is actually going on.
Once Windows is shut down – which hopefully won’t take that long – you’ll be taken directly to the operating system (with the Edge welcome screen raised, of course). Close that up and let’s have some more fun tweaking your OS.
All the settings to change in your new Windows 10 OS
The first thing I like to do when setting up a new Windows system is to make sure it is fully up to date in case something slips through the cracks during the installation process. To do this, click the “Start” button, type “update” and click ” Check for Updates” . In the window that opens, click the big button “Check for updates”.
While this works, click on Advanced Options . Here you can toggle whether you want Windows to also update other Microsoft products that you installed at the same time and notify you if it plans to reboot your system as a result of the update. You can also pause updates – seven days for Windows Home users and up to 35 days for Windows Pro users.
Click the back arrow and select Change Active Hours. Here you can set the time – for example, your workday from nine to five, or precious hours after work – and Windows will not automatically reboot your system for updates during this period.
While anything Windows 10 installs on your system should cover the basics – updates, system drivers, and more – there is always the possibility that your desktop or laptop manufacturer might have newer or more specific drivers, other software updates, or firmware updates. Visit his website to see what’s available, especially if there are any other apps you can install to manage this process in the future. If you’re building your computer yourself, you probably only need to worry about updates from your motherboard manufacturer, so start there.
Consider joining the Windows Insider Program
To try out new Windows features with regular users, click the Windows Insider Program in the same Settings window and click the Get Started button.
Follow Microsoft’s instructions and choose the type of preview updates you want to receive: I recommend choosing the Beta Channel option as it gives you the perfect combination of new features and stability.
Explore other Windows 10 settings
Click the Home link in the upper left corner of the preferences window to return to the main preferences screen. There is a lot to adjust here, so I’ll only focus on some of the more useful settings:
System
- In the Display tab, consider turning on Night Light to adjust the warmth of the screen during the evening hours so you can go to bed more easily when you’re done.
- On the Sound tab, use App Volume & Device Settings to adjust the volume of sounds for each app you use (whether you want to hear them through your headphones or through the laptop’s built-in speakers). This is also where you’ll be able to reset the audio levels of each app, which is an incredibly useful troubleshooting technique if some things on your PC sound much louder or quieter than others.
- In the Notifications & Actions tab, you can turn off Microsoft Tips and Tricks if you’re already a Windows expert. More importantly, you can customize which applications are allowed to send you error messages (and how said notifications should appear on your OS).
- Focus Assist lets you specify when you want Windows to block all notifications or only allow priority notifications to bother you, including when you’re working, playing, or when you show your screen.
- The Power & Sleep tab is where you set how long Windows should wait before shutting down your system or putting it to sleep – both when it’s plugged in and when it’s running on battery power.
- The battery is pretty self-explanatory. You can see how much battery power you have left, and you can tweak when Windows should toggle battery saver mode, which disables some background updates, live tiles, and apps you’re not actively using to give you the same amount of time on yours. battery as far as possible.
- The Vault is where you go to turn on Vault Control, which automatically deletes temporary files and files in your recycle bin on a regular basis. Click “Change how space is automatically reclaimed” to specify exactly what Windows removes on your behalf.
- Check out Shared Experiences in order for Windows 10’s Neighboring Sharing feature to be an amphibious-like experience that allows you to more easily transfer content to other 10 Windows systems over Bluetooth or Wi-Fi.
- You can enable the built-in Windows 10 Remote Desktop feature in the appropriate tab, but I find it just as easy (if not easier) to use something like Chrome Remote Desktop .
Network and Internet
Return to the Windows defaults window and click Network & Internet. Yes, I skip devices, but feel free to play around with them if you want to tweak your printer, tweak the number of lines that scroll with each mouse wheel click, or what default autoplay settings Windows should use when you plug in a particular device. The phone does not matter as it is the same “send to smartphone download link for Windows applications” option as before.
On the Network & Internet Status tab, you can click Change Adapter Settings to explore your system’s wired and Wi-Fi capabilities in detail – and this is how you configure your system to use a faster DNS service if you want.
The Network and Sharing Center link is what you will use to configure whether your system can be found on your network (and whether you want others to have access to your shared files or printers).
One little trick: Click the Properties button on the Status tab to toggle your current network between Public and Private in case your home Wi-Fi is – for whatever reason – incorrectly set to Public “. This only matters if you’ve configured your security and sharing settings for browsing at your local coffee shop differently from browsing at home, which I recommend doing in the aforementioned sharing options screen.
Elsewhere, under Network & Internet, you can add new Wi-Fi networks, VPN services, and enable Airplane Mode for your laptop as needed. You can also set up a mobile hotspot, which allows you to share your laptop’s connection – Ethernet or Wi-Fi – with any devices that connect wirelessly to your laptop.
You can set data limits on the Data Usage tab if you don’t want to go beyond your internet provider’s data limit. I also like to browse Browse to see how much data I’ve used in the last 30 days. Thanks, Steam is downloading.
Personalization
It is very important. Here you can set the desktop background (or one image from the image slideshow), the Windows 10 accent color, how the lock screen should look (and what apps, if any, should appear on it), and how you want both the start menu and the taskbar to look. You can also set your system to use everyone’s favorite dark mode from the Colors tab.
All Windows Personalization settings are fairly easy to define, but definitely don’t overlook the Start tab. You can use Show More Tiles on Launch to expand the menu, turn off suggestions for the most used or recently added apps (if you don’t need reminders), or even have the Start menu go full screen every time you press the button. “Start”. button. Rampage.
In the Taskbar tab, you can specify whether you want the taskbar to automatically hide in desktop or tablet modes, whether it should use regular or tiny buttons, and where it should appear on your screen. More importantly, the Notification Area allows you to decide which icons should populate your taskbar, which can help you keep it clean if you have tons of applications that just want to be on your Windows OS all the time.
And if you don’t want the little People button in Windows 10 that you can use to more easily access your favorite contacts on the taskbar, you can also turn it off here.
Programs
The most important thing you need to know about apps is which is where you go to uninstall what you no longer need on your Windows 10 system.
You can also try using the Default Applications tab to set specific programs that Windows should use when opening certain file types, but I find the Windows implementation is not as good as it used to be. (I still can’t use Set App Defaults to have my VLC media player open all the file types it can handle.)
You can also use the Startup tab to see which applications start when your system boots, but I find it easier to just open the Windows System Configuration screen (enter System Configuration after clicking the Start button) and configure which applications to launch. from there.
Accounts
Since you already set up your Microsoft account when you installed Windows 10 (right?), There isn’t much to set up in this section. However, in the Email & Accounts tab , you can add third-party accounts from services such as Google, Yahoo, iCloud, or other POP (or IMAP) accounts that you can access. When you add your accounts, they will be available for default Windows apps like Mail, Calendar, etc.
The always important sign-in options tab is one that you visit if you want to change your system password or PIN, or turn Windows Hello on or off (if applicable). You can also set a picture password if you like.
If you would like family members to use your system with their accounts, you can set them up on the Family & Other People tab. You can also create regular system accounts for people who are not members of your family.
There is no particular reason not to use the “sync settings” feature of Windows 10, which you will find on the corresponding tab, as it allows you to easily configure multiple Windows systems with the same settings that you know and love. You can customize what will sync, or disable it entirely from this screen.
Games
In this section, you can decide if you want to use the Windows Game Bar – this handy little group of shortcuts that makes it easy to take screenshots, start recording, and stream your games. You can also assign hotkeys for each of these functions.
Tab “capture” – this is the place where you want to go if you want to enable background recording, when Windows will always be recorded when you play. This is useful if you want to go back to any point in the session and highlight your amazing accomplishments.
It’s the magical world of Windows; let’s go explore
Even after this crash course, I feel like I’ve only scratched the surface of what the operating system offers. Heck, we haven’t even covered the dashboard yet, and there are still plenty of options to look out for.
We hope this guide helps you get the hang of the basics; Now you can use all the time saved to explore all the other features, applications, and hidden Windows configuration menus. Look for future guides that delve deeper into the OS. In the meantime, let’s go have some fun with Windows. You deserved it.
This article was originally published in May 2018 by David Murphy. He updated it in December 2020 with new screenshots and explanations for today’s Windows 10.