Avoid Security Risks With Apple’s New Security and Privacy Guidelines
We try to cover pretty much everything you can do with your iPhone, but even if you feel like you’ve mastered an Apple smartphone, there is always something new you can learn. To stay on top of the people (and companies) that might be accessing your device, data, and account, Apple has released a super-helpful support guide that walks you through a host of key features across your various Apple devices.
This may not be the brightest read – unless you are me – but it is a document that you should definitely spend at least ten minutes perusing it, and either bookmark it or save it on your system so you can refer to him later if you ever need help locking your device (or Apple ID). Or, even worse, if you do have some sort of security or privacy issue and need all the ammo you can get to solve it.
While I highly recommend that you skip to page 18 of the Apple doc where Apple gets into its quick security and privacy checklists, I also looked at Apple’s full text, Accessing Devices and Data When Personal Safety is At Risk. document and extracted all the good advice I can find.
My favorites include (emphasis mine):
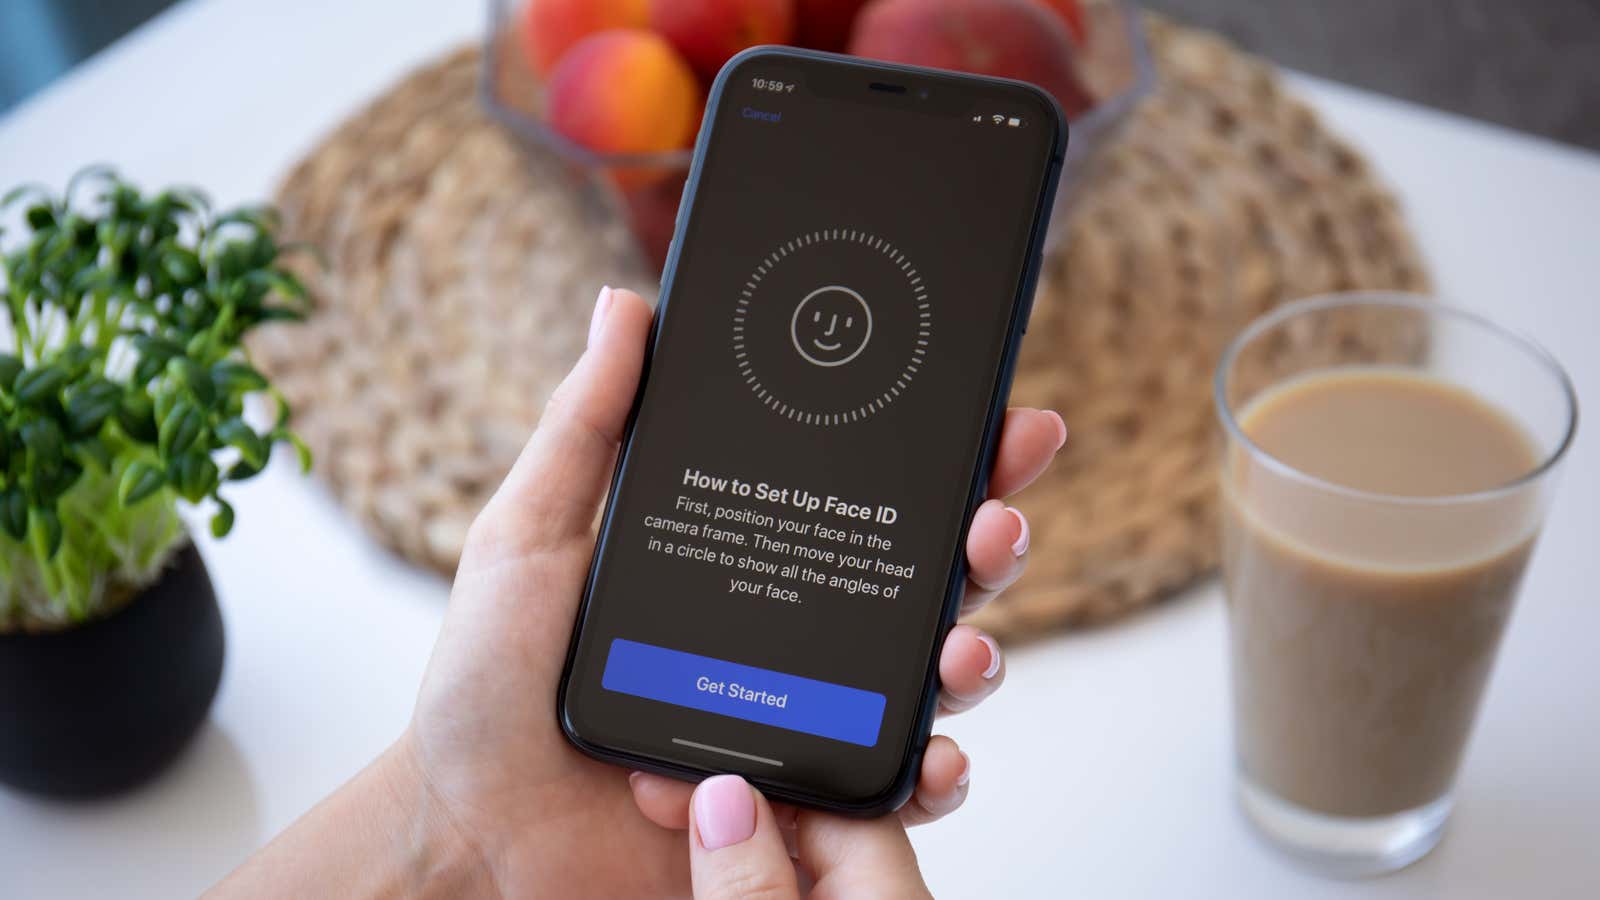
Keeping your Apple ID safe
Don’t share your Apple ID password with anyone, not even family members. When you share your Apple ID, you are giving someone else access to all of your personal information and your content. If someone else has set your Apple ID and password, you must change your password. You can use Family Sharing to share information and services without sharing accounts.
Use two-factor authentication for your Apple ID. Two-factor authentication is designed to ensure that you are the only person who can access your account, even if someone else knows your password. With two-factor authentication, you will need to provide your password and a six-digit verification code, which will automatically appear on your trusted device (s) when you first want to sign in on a new device.
Pay attention to your Apple ID notifications. Apple notifies you via email, text, or push notifications when changes to your account are made, such as when you first sign in on a new device or change your password , so it’s important to keep your contact information up to date. Date.
Double check your app’s privacy settings
In Settings> Privacy, you can see the applications that you have allowed access to certain information, such as geolocation services, contacts, camera, files and folders, etc., as well as grant or revoke any access to this information in future.
Select a data type from the list to see which apps have requested permission to use that data. An app won’t appear in the list until it asks for permission, and you can grant or remove permission for any app that has requested access. An app can only use a datatype in a setting if you’ve given the app permission.
Make sure no one is tracking you through Find Me
To see the people you share your location with, go to the People tab. When someone shares their location with you, you can choose whether to send their location back to you or not.
You can stop sharing your location with a specific person from the People tab. Just select a person, scroll down and select Stop Sharing My Location. Or you can stop sharing with everyone by turning off Share my location in the Me tab.
If you stop sharing your location on Find My, that person will not receive a notification, but they will not be able to see you on their friends list. If you turn sharing back on, they’ll receive a notification that you’ve started sharing your location with them.
If you share your location from iMessage and not from Find Mine and you stop sharing your location, the person you stop sharing will see a notification that you have stopped sharing your location.
Deny apps and services from accessing your location
To stop sharing your location with apps and services, even for a short period of time, go to Settings> Privacy> Location Services and turn off location sharing. As a result, all applications on your device, such as Maps, will not be able to use your location. Nobody will be notified if you turn off location services, but features may not work as expected without access to your location.
In Settings> Privacy> Location Services, you can also share your location with individual apps and specify how often the app can use your location.
Stop sharing your photos with others
To see who you’ve shared albums with, choose Photos> Albums> Shared Albums. Select a shared album and tap the People tab to see the owner of the shared album and who is shared with the album.
If you own the album and want to stop sharing, tap the subscriber’s name to view options.
Stop sharing your calendar events with others
To see who you have shared your calendar with, go to Calendar> Calendars. Select the shared calendar and tap the Info icon to see who has shared the album.
If you own a Calendar and want to stop sharing, tap the subscriber’s name to view options. If you are a subscriber, you can select Delete Calendar at the bottom of the screen.
Make sure there are no unknown configuration profiles on your iPhone or iPad.
If you see a profile installed on your device and don’t know any reason for it, you can uninstall it and uninstall all associated apps. If your device belongs to your school or organization, check with your system administrator before removing the required app or profile.
To remove a profile or MDM configuration from your iPhone, iPad, or iPod touch, go to Settings> General> Profiles & Device Management. * Select a profile, click “Delete Profile” and follow the instructions on the screen. Reboot your device.
Don’t fall for phishing from scammers
Be careful if you receive unwanted messages asking you to accept gifts, download documents, install software, or follow suspicious links. People who want to access your personal information use whatever means they can – fake emails and texts, misleading pop-up ads, fake downloads, calendar spam, even fake phone calls – to trick you into sharing information such like your Apple ID or password. , or for you to provide a verification code for two-factor authentication.