How to Use HDR Mode When Taking Photos
HDR – or high dynamic range image processing – has been a common feature on both iPhone and Android for some time now, and can definitely help you take more beautiful photos. But is this always the best option?
Below, we’ll go over everything you need to know about how and when to incorporate HDR into your photography repertoire.
HDR stands for High Dynamic Range Imaging, and it is an old photography practice introduced on camera phones like iPhones and some Android devices a few years ago (and available using dedicated apps ). It should enhance your photos, but your results will depend on when you use it. Here’s a quick guide on how HDR works, and when you should and shouldn’t turn it on.
How HDR works
HDR, as the name suggests, is a technique aimed at adding more “dynamic range” to photographs, where dynamic range is the ratio of light to dark in a photograph. Instead of taking one photo, HDR actually uses three photos taken at different exposures. In the old days of digital SLRs, you could then use image editing software to combine the three images and highlight the best parts of each photo.
But when you use HDR on your smartphone, your device does all the work for you – just take a picture and it will output one regular photo and one HDR photo. The result should be something that looks more like what your eyes see, rather than what your camera sees.
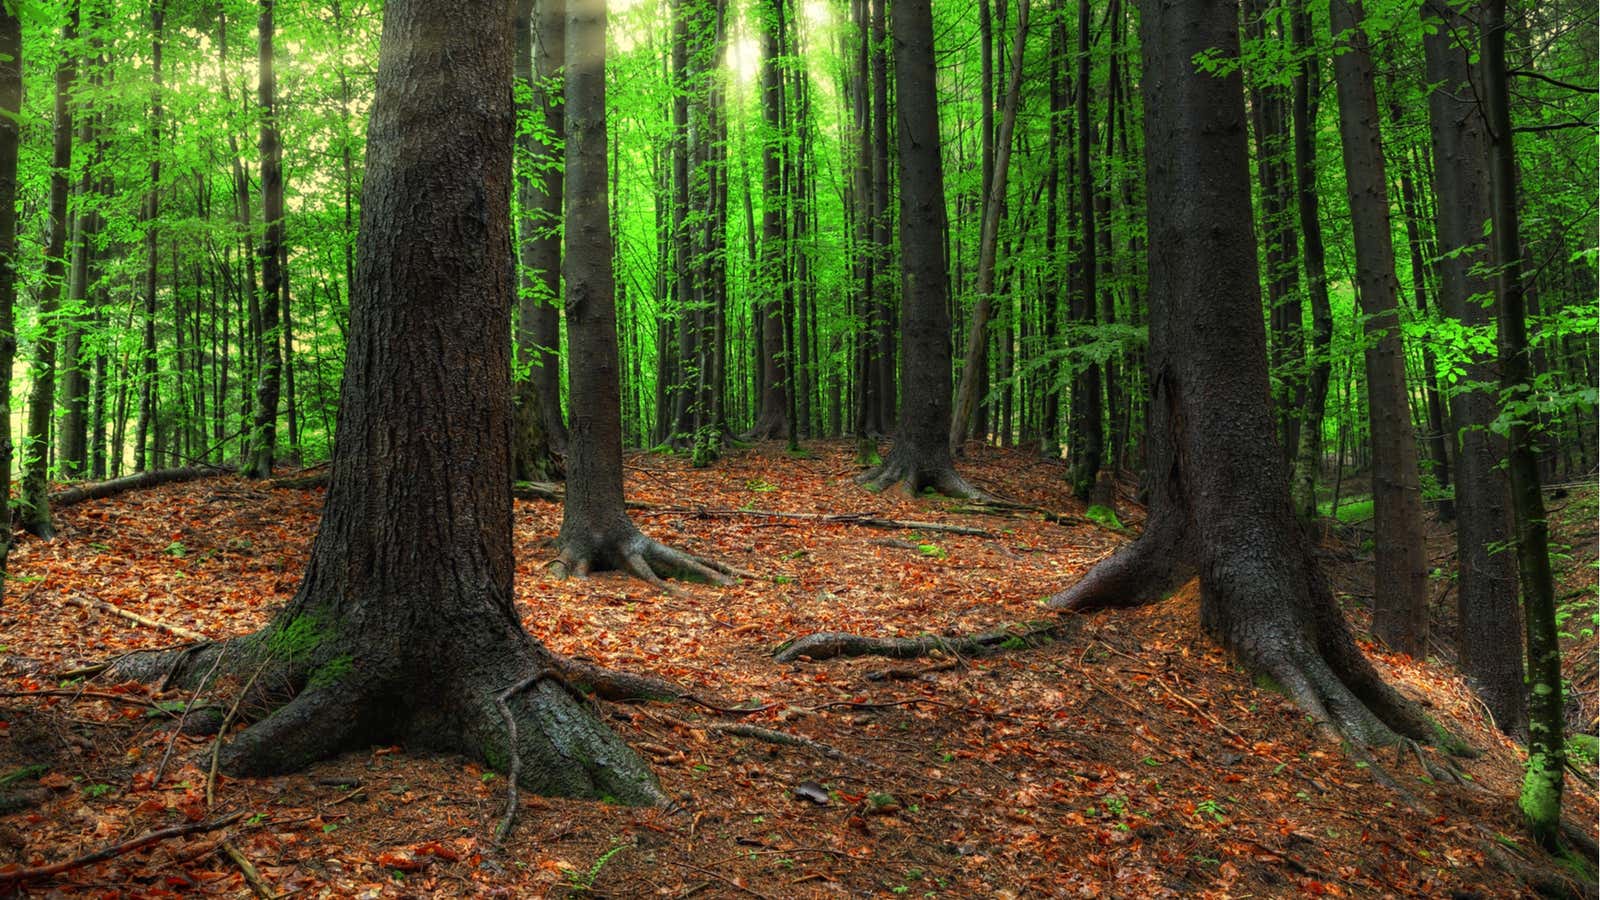
When you take a picture in HDR mode, your phone actually takes three pictures, not just one. See the image above for an example; it wasn’t done on a smartphone, but it’s a good demonstration of the HDR capabilities. If you’re looking for more details on how HDR works, the folks at How-To Geek have a great explanation .
When should you use HDR
As we said, HDR is designed to help you take better photos, especially in certain situations. That’s when you should try HDR – keeping in mind that many newer phones have an “auto-HDR” mode that can actually tell when a phone thinks it’s best to shoot in HDR or not.
- Low-light and backlit scenes (see above): If your photo looks too dark – which often happens if there is too much backlighting in your scene – HDR can brighten the foreground without blurring well-lit parts of the photo.
- Landscapes : Large landscape photos usually have a lot of contrast between the sky and the ground, and it is difficult for your camera to handle this in a single shot. With HDR, you can capture the details of the sky without making the ground too dark, and vice versa.
- Sunlight Portraits : We all know that lighting is one of the most important aspects of good photography, but too much light on someone’s face – such as harsh sunlight – can cause dark shadows, bright highlights, and other unflattering characteristics. HDR can even do all of this and enhance your subject.
When not to use HDR
Of course, as you’ve discovered, sometimes HDR does degrade your images. Here are some situations in which HDR is best to ignore:
- Photos with motion (see above): If any of your subjects is moving (or might be moving), HDR increases the likelihood of a blurry photo. Remember that HDR takes three shots, so if your subject moves between the first and second frames, the final shot won’t look good.
- High-contrast scenes : Some photos look better with a sharp contrast between dark and light parts of the photo, for example, if you have a dark shadow or silhouette that you want to emphasize. HDR will make it less intense, resulting in a less interesting photo.
- Vivid Colors : If your scene is too dark or too light, HDR may bring back some of the color. However, if you are dealing with already very bright colors, HDR can blur them.
Luckily, most HDR camera phones will give you two images, one with HDR turned off and one with HDR turned on. This means you can always take an HDR shot and see what the comparison looks like before turning it off entirely (if you have time to sit out an extra few seconds of photography). As with everything about photography, you can’t go wrong with experimentation.
How to turn HDR on or off
There are advantages to leaving HDR enabled on your smartphone because, as noted above, the latest phone cameras, operating systems, and chips are pretty good at determining when it is beneficial to shoot in HDR. But if you’d rather manage things manually, here’s how to do it.
iPhone (iOS 14)
IOS 14 has Smart HDR enabled by default. If you prefer to manage things manually, go to the application “Settings” and scroll down to “Camera”. Scroll down to the very bottom and you will see a switch to turn Smart HDR on or off . Once you’ve turned off automatic HDR, a toggle to turn it on or off will be visible in the top right corner. corner of your arm whenever you take a photo. Just tap the HDR icon to turn it off. (You’ll know it’s off because a forward slash appears across the icon.)
Android
As with Android phones, options and settings will differ from device to device, but you should be able to manually turn HDR on and off in your camera settings. For example, if you are using a Samsung device , you need to open the Camera app, then click the gear icon in the upper left corner to open the camera settings , and then find the switch to turn automatic HDR on or off.
These guidelines should help you, but don’t be afraid to take some pictures and watch them later. Once you get the hang of it, HDR can be a great tool for capturing better images. While you’re at it, check out our general tips for improving the quality of your phone shots .
This post was originally published on Lifehacker in March 2013. It was updated on May 5, 2014, June 12, 2019, and December 17, 2020 to add more recent information.