How to Twist Curls at Home
Learning how to do your own hair is an invaluable skill these days. Many salons are still closed across the country, and those hairdressers who make appointments could be booked for months. But twisting your own elbows can be like trying to wax your back: you can’t see what you are doing, and it hurts more than you think. But while you can’t grow your eyes out on your hands, there are some easy ways to make it a little easier to re-twist your own elbows.
Collect everything you need before you start
If you’ve never done touch-ups or twists yourself, there are a few things you might need: curl gel or cream, hair clips, a parting comb , a towel, and a hairdryer. InStyle magazine has a list of recommended natural hair care products to start with.
Wash locations before re-twisting
First, you need to work on clean hair. As with any hair type, dirt, sweat and even lint can build up in your hair , and you don’t want these things to end up in your curls. Locologist Yanni of Locs by Yannie suggests washing with peppermint soap . In particular, a “residue remover” that “helps to get rid of excess oils that build up over the course of several days or weeks between washes.” In addition, mint can stimulate hair follicles and give hair a fresh scent.
You want to rub your scalp and let the shampoo rinse your scalp completely. ThatSister.com , a site dedicated to hairstyles, beauty and fashion for black women, suggests washing your hair starting from the scalp, lathering well and then rinsing thoroughly, allowing water and shampoo to drain down the entire length of the curls. NaturAll Club offers an apple cider vinegar gargle instead of a curl and styling conditioner.
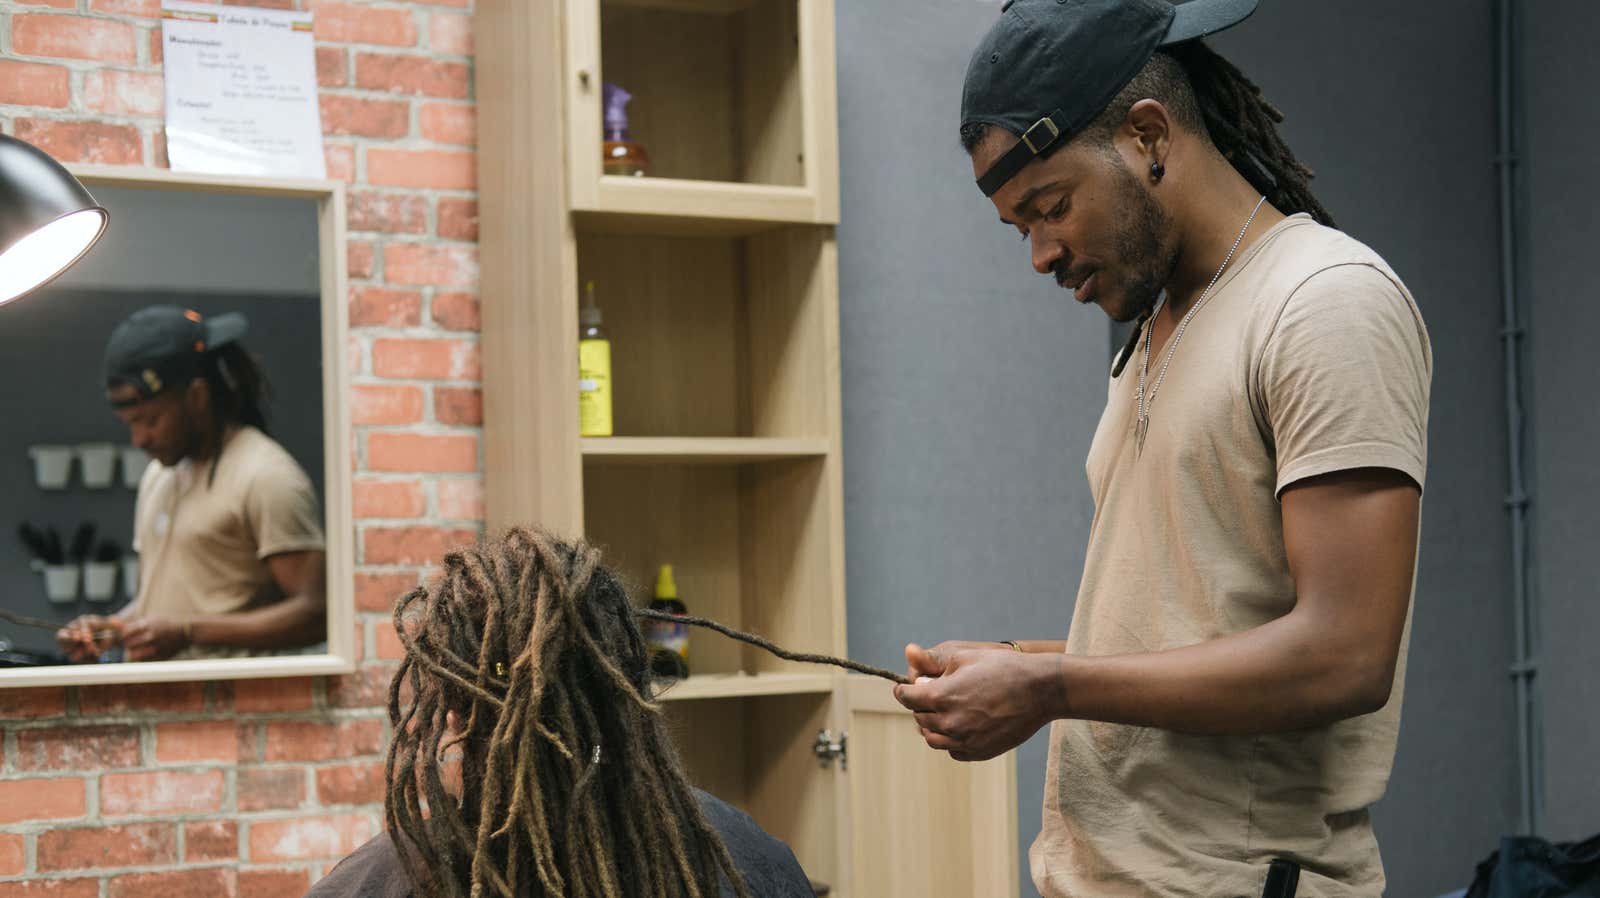
Divide and twist your seats
Using the pointed end of the comb will help you create precise areas where new hair will curl into existing hair. (You can also cut off the hair with your fingers if creating sharp lines is not necessary for your look.) Bringing the growth into the curl is the most important part of re-curling.
Use a finger toothbrush to brush through the finer hairs at the same time while twisting the curl. This tool is small and nimble, so you won’t miss a single hair. Use a curling gel or cream at the root to keep the hair in place .
InStyle Magazine spoke with Stasha Harris of Magic Fingers Studio, who said, “To secure the twist, you can use the double ribbon clip or twist your elbow until it creates a small Bantu knot at the base.”
There is some debate about whether to curl clockwise or counterclockwise, but you want to decide based on the curl pattern of your own hair. “Clockwise is preferred over counterclockwise because more people have circular growth patterns that run clockwise,” says the Knatty Dread website.
In addition to rolling the lesion, you can also try thepalm roll technique. This method is done with the palm of your hand, not your fingertips while curling. After joining the new scion, place a strand between your palm and roll your palm over it to tie the strands together.
Dry your locations to set your new turns
There is a reason this is called “ wash and set ”. The correct drying time will allow the hair to lock in and the perm will last much longer. Proper drying can also prevent mold from forming after washing and styling. Drying time can take up to three hours, depending on the length of your hair. You can test dryness by squeezing the strand between your fingers: if it seems damp, it may take a little longer to dry.
A great way to bring your salon into your home is to attach your home hairdryer to the hair dryer attachment on the hood . This soft cap attaches to a regular hairdryer, allowing you to relax and dry your hair like a professional.