Try Android 11 Today Using Google Android Flash Tool
Many of us are itching to get Android 11 Beta 1, the public beta of the next Android operating system, which is likely to be much more stable and less buggy than the developer preview of Android 11. While a few lucky Android users have gotten their hands on this, the rest of us are now stuck with Android 11 Developer Preview 4.
But that’s okay! If you want to live on the very edge of Android and try out all sorts of new features before anyone else – at the risk of a little stability, of course – you can play with Android 11 right now.
While I usually urge you to wait for the public release of Android 11 Beta 1, I’m not going to stop you from trying the beta right now. In fact, I’m going to install it myself on my (non-mainstream) Android smartphone; after all, it’s a Lifehacker .
Oh, and I’ll show you how to do it too.
What devices can run the Android 11 Developer Preview?
Sorry Samsung fans. Right now, only Google Pixel 4/4 XL, Pixel 3a / 3a XL, Pixel 3/3 XL and Pixel 2/2 XL smartphones can play with Android 11 developer preview. But hey, you have Bixby! If you listen carefully, you can almost hear the sounds of envy coming from Pixel owners in your area.
How to start installing Android 11 Developer Preview?
Luckily, Google has made flashing your Pixel with the new beta incredibly simple. First, you need to install Chrome or Edge Chromium if you are not already using any of the browsers. Next, you’ll want to click the following device-specific link, which will launch the Google Android Flash Tool browser:
If you are using Windows, you may have to take one more extra step before you can begin: install these USB drivers (or these ). If during driver installation you don’t see your Android listed in Windows Device Manager, make sure you set USB mode to File Transfer via Settings> Connected Devices> USB .
Next, you’ll need to make sure you’ve set up developer mode on your Pixel (via Settings> About Phone , scroll down and start tapping Build Number frequently). You will also want to enable USB debugging in the new developer options ( Settings> System> Advanced> Developer options ). Finally, make sure you enable OEM unlock on the same screen.
Once you’ve done that, click on “Add New Device” in the Android Flash Tool to start the process of flashing your Android with the beta OS.
Once your device is detected, you only need to click on it to start the update process:
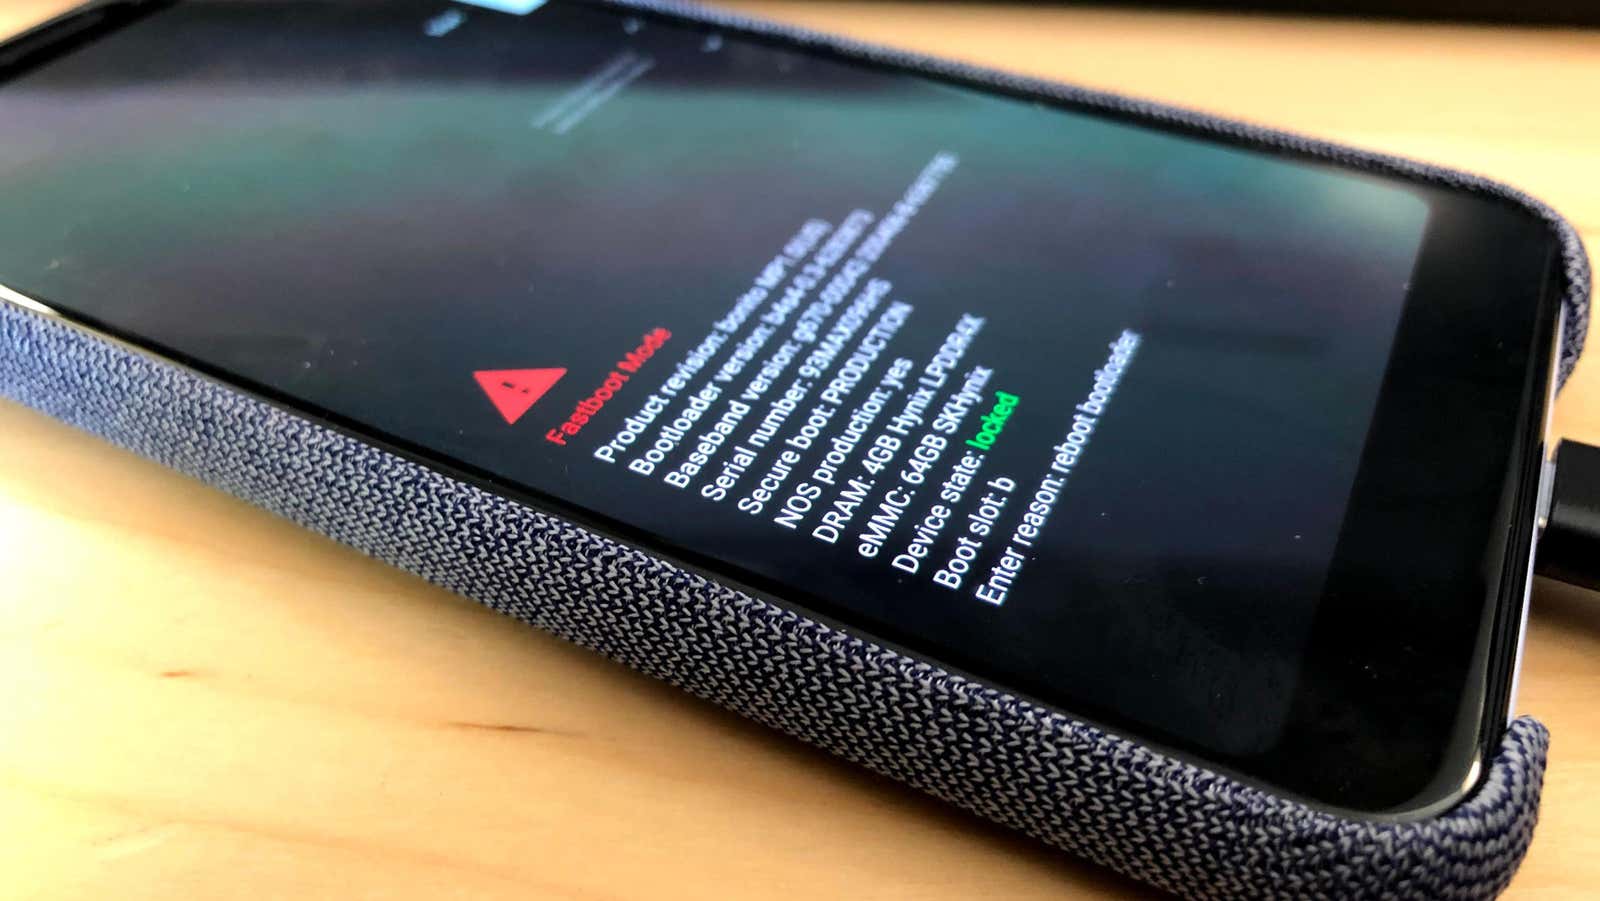
However, before clicking this button, you can click the pencil icon to the right of the build and select the “Clean Device” option – this is useful if you want to start from scratch with a beta OS. You should also enable the bootloader lock option when done. And finally, I recommend disabling all ad blockers in your browser or whitelisting the Google Android Flash Tool before you start, otherwise you might run into a curious “network error”.
During installation, do not touch your Android device unless you are asked to do something . Go get some lunch or something so that you don’t be tempted to tinker with your device while the process is in full swing.
You will be prompted to unlock your Android bootloader on the smartphone itself, which is about as long as you need to do while the update is being downloaded and installed. Remember, do not touch your device. As tempting as you are, if it seems to you that it does nothing, do not touch your device. The Android Flash Tool will tell you when you need to do something like re-lock the bootloader. Be patient!